

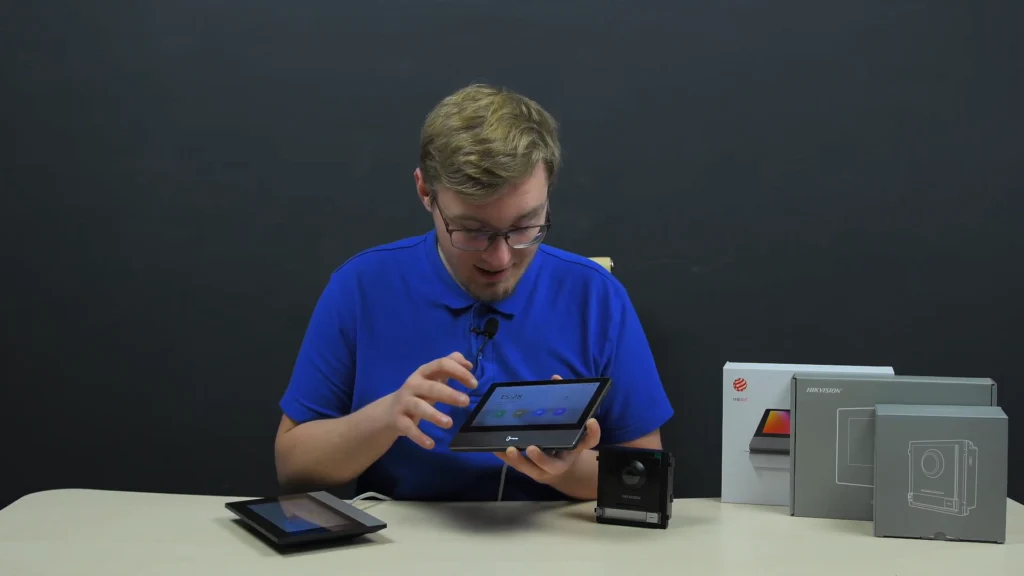
Today we’re going to set up and enroll an extra monitor into the second-gen Hikvision intercom system, consisting of an Indoor and Outdoor station.
Roadmap
Recently, we have activated, launched, and configured this Door Phone and the intercom to work together. The article is available here. If you are just beginning to work with the system, we advise you to start from there. We continue from the moment of activation. Our task is to add an additional monitor to the already operating system. In our case, both monitors and the outdoor station are activated and enrolled in the IVMS-4200. In order to make a call go to both intercoms at once, we need to have the main monitor tied to the Door phone, and after that, we need to designate the main and a secondary monitor. This can be done via IVMS-4200 on a PC, or we can do that with no software at all, directly from the monitor itself. Today, we are reviewing both options. Aerospace-design monitor with a key button will be our main one, and KH6320 is going to be an extra one – we begin with the IVMS option.
Configuration Via IVMS-4200
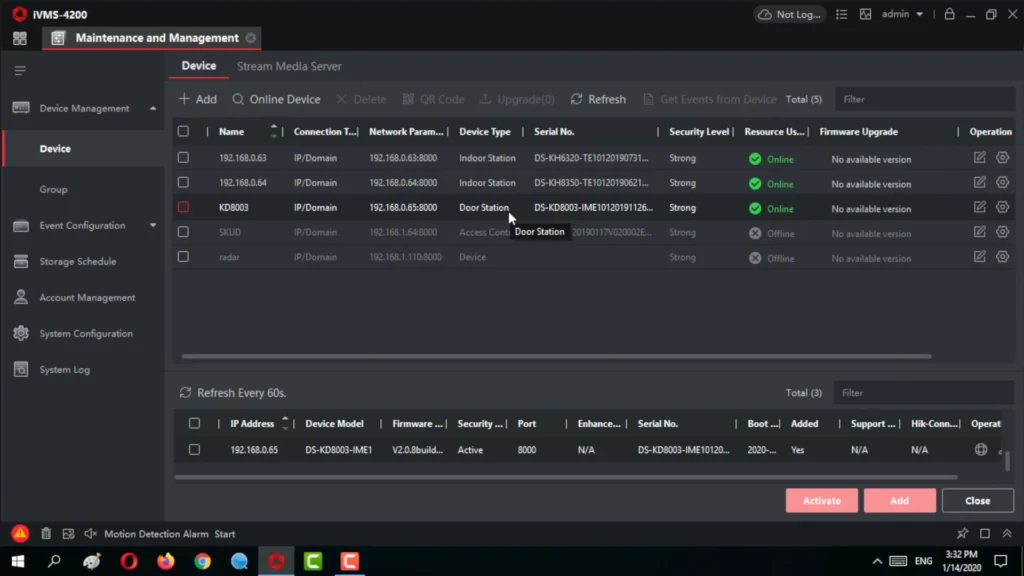
As mentioned before, the devices are activated and are enrolled in the IVMS already, but no adjustments have been applied. What we do next – inside the IVMS, we select the KH-6320, the second monitor, and we go into its settings. Here we need to designate it as an extension device and input the main monitor IP address in it, but not the Door phone. We go to the Intercom tab, and the first item is ID Configuration. Here we choose that our monitor is an extension, and assign it the second number.
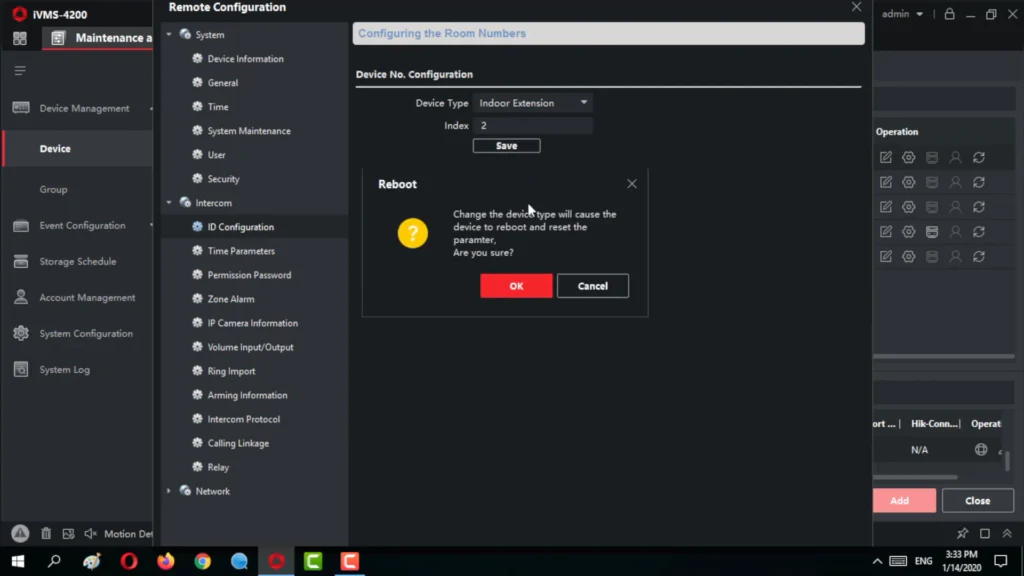
The device will reboot; we’re giving it its time. To mention, it won’t happen with the activation on screen of the monitor itself, it’s just completely free of all that. Going to the monitor settings again, but the Network tab this time, and there we select a Linked Network Configuration item. The type of our monitor has changed to the extension type, too. Now we are typing in the IP address of our main monitor, saving, and we’re done.

Demonstration
That’s what we got. I initiate the call from the Door phone, and we can see the feedback on both monitors simultaneously. We can also go to the live view tab on both Door phones, and everything is also active there; the functionality is the same. We can instantly open the door from any of them. But now I’m going to restore factory settings on the extra intercom, and then show you 2nd way to tie into our system. Note that I’m leaving the main unit and the door phone activated, but when I do the restoration, it turns off automatically.
Set Up Via Monitor Itself
The device started up and requires me to create a password, which means it’s not yet activated. I’m creating a password, selecting language, and then I click on DHCP once to get the address for device in my network, because, you see, from a factory Hikvision devices are usually set to 0 network, and, of course, we got to modify that to make it work under our network. It changes to our network, the gateway too – awesome. I am just bowing to the system for its simplicity – right here we activate and configure, and tie the additional monitor to our main one. Just select a 2nd type and make it go under 2nd number. On the auto search screen, you can see that we’re able to select a monitor but not the Door phone – everything is thought out here to not complicate. Completed – we make a call and get a simultaneous response on both devices. And here we can also go into the live broadcast at the same time and see the identical results.
Conclusion
In conclusion, I want to say that I was simply struck by the ease of setup and activation, and specifically, the ability to configure both monitors and the Door phone, and then just instantly link them all into a single system without even using any PC software. It is amazingly simple and convenient.