

Today, we’re going to launch and configure the access control functionality, password, and Mifare card authentication on the Hikvision 2nd Generation IP Modular Intercom System.
Although the entire system can be launched, activated, and be work-ready with no PC software like IVMS-4200 or Batch – I mean it’s possible to set up everything right here on the monitor in literally 4 touches. But if we talk about a more interesting and complex functionality, like a certain kind of access control system, user card enrollment, and so on, we can’t do the whole thing without an IVMS-4200, although we can set an entry password straight on the monitor itself. Anyways, we will overview all the available options we have, and here you can read material that features activation and initial setup of a Hikvision 2nd Gen intercom system available here in case you’ve missed it. Today's goal is to add a card reader and a keypad module to our Hikvision intercom system, and accordingly, due to these modules, we will create access control rules for users so that they can authenticate and enter the premises using an individual card and a personal password.
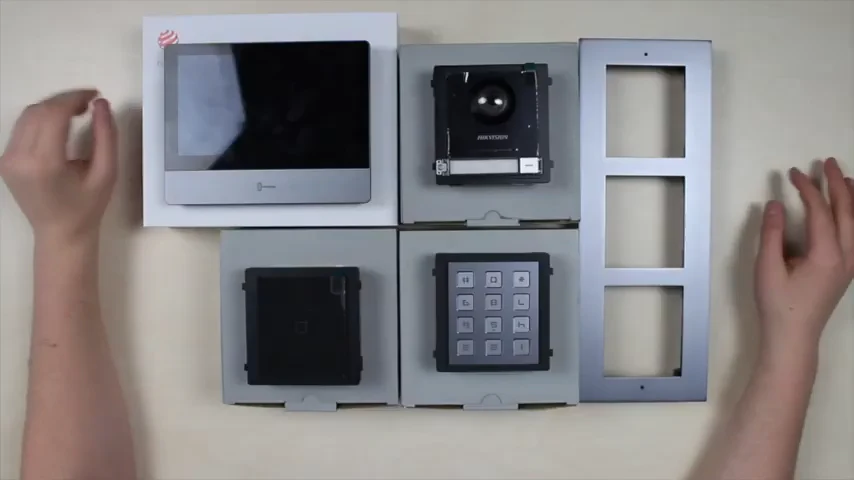
Equipment
The Interfaces / Connection
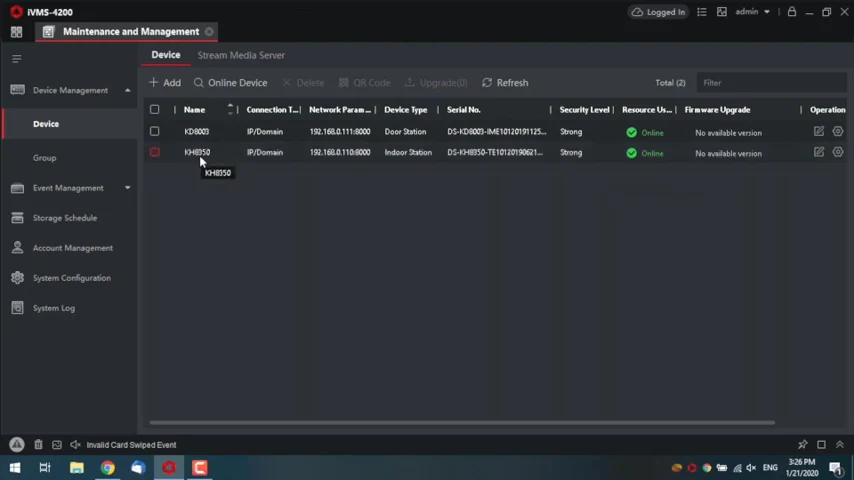
Enrolling Card and Password Via IVMS-4200
Since everything is connected, we move on to the configuration part in frames of the option #1 – the PC software. All devices are activated and added to the IVMS-4200. We’ll start by enrolling a card – we go to the “Person” tab in IVMS and create an organization, Pipl. Now we add the employee, Daniel. Random birth date, random employee ID. Now we need and read the card and assign it to that user. Credential tab, card, and click on the “+”, settings, selecting our reader – the KD8003 panel itself, clicking Remote reading, and selecting our panel in the list. Now, press read, insert the card into the reader itself, and after you hear a signal from the reader, you are ready to go further.

1 / 2
Assign a card number and click “Add”.
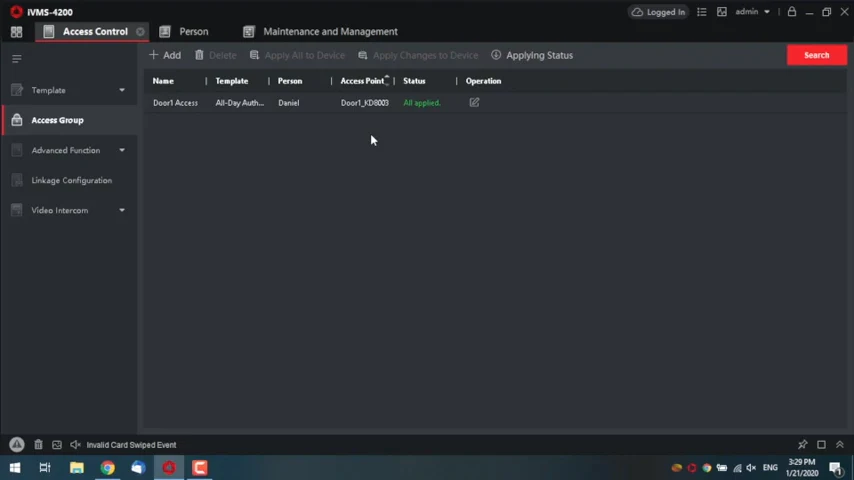
Now, below – open the Resident Information and in the Bind tab – attach your door phone, add the number of the building, and the room number below. Now we need to upload this information into the panel. Open the Access Control tab, select Access Group – click “Add”. Enter a number, select the company, and the person in it. Below, select the panel as the access point, then save and close. Now the rule appeared, and we uploaded it into the device. Clicking “Apply to all devices”, and a pop-up with a progress bar will display 100% – you’re done. About the user password – it’s even simpler. Go to devices, go to intercom settings, the Intercom tab, and the Permission Password item. Choose “unlocking password” and set it. I’ve made it “123456”, entered it 2 times, and saved.

1 / 2
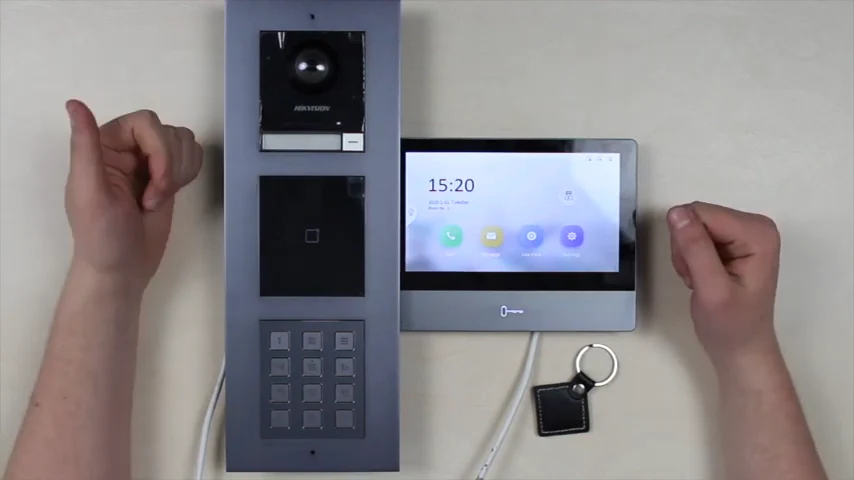
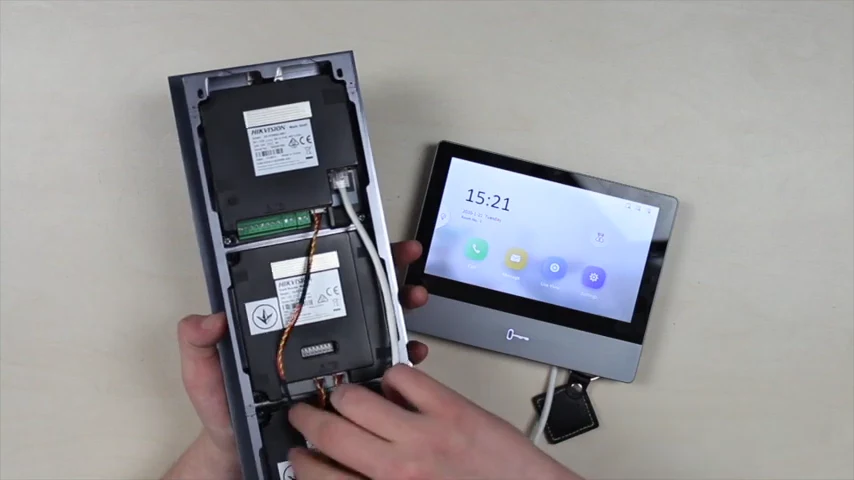
Demonstration
The monitor, door phone, and 2 modules. And here is my Mifare card. Pressing it, and we hear the notification that the door is open. And now the password is as simple too. Number sign, one to six, number sign – and you hear – got it open too. Now I’m resetting the devices to the factory settings and showing you the second way – how to enroll a password with no PC software – straight only on the monitor screen itself.
In the Video, You Can See the Full Version Of A Review And Activation On the Monitor’s Screen!
Conclusion
We like the system for that how simple and intuitive everything is made in it. You don’t have to be an experienced installer or a technical engineer to understand the thing because everything is very simple – from connection to configuration, which is a way easier in compare to many other manufacturers. Plus, on top of that there’s a flexibility of the system with a wide modules selection for a variety of tasks to fit perfectly into your idea and your vision of the project. In the Pipl Systems Store we have a wide selection of these modules for you ?