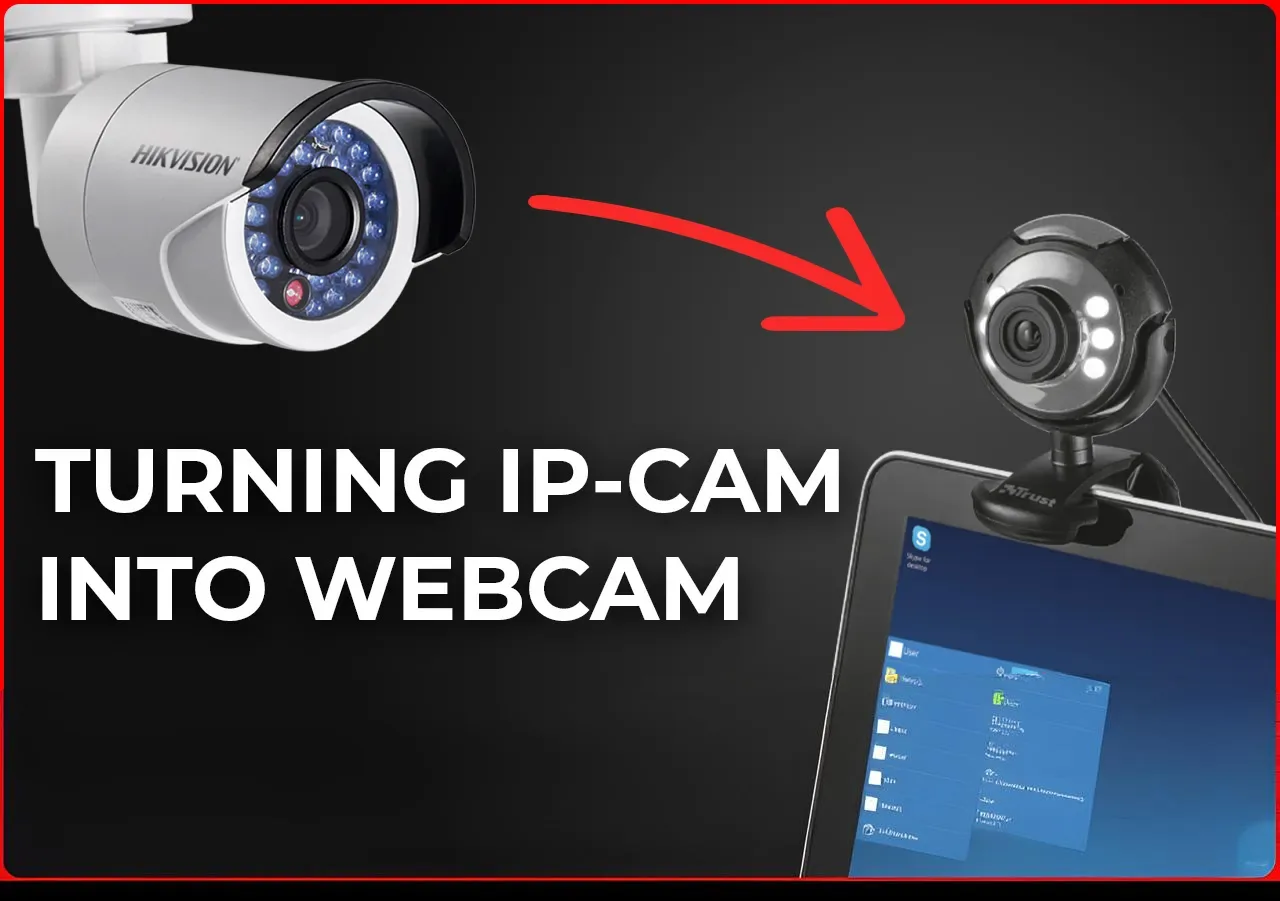
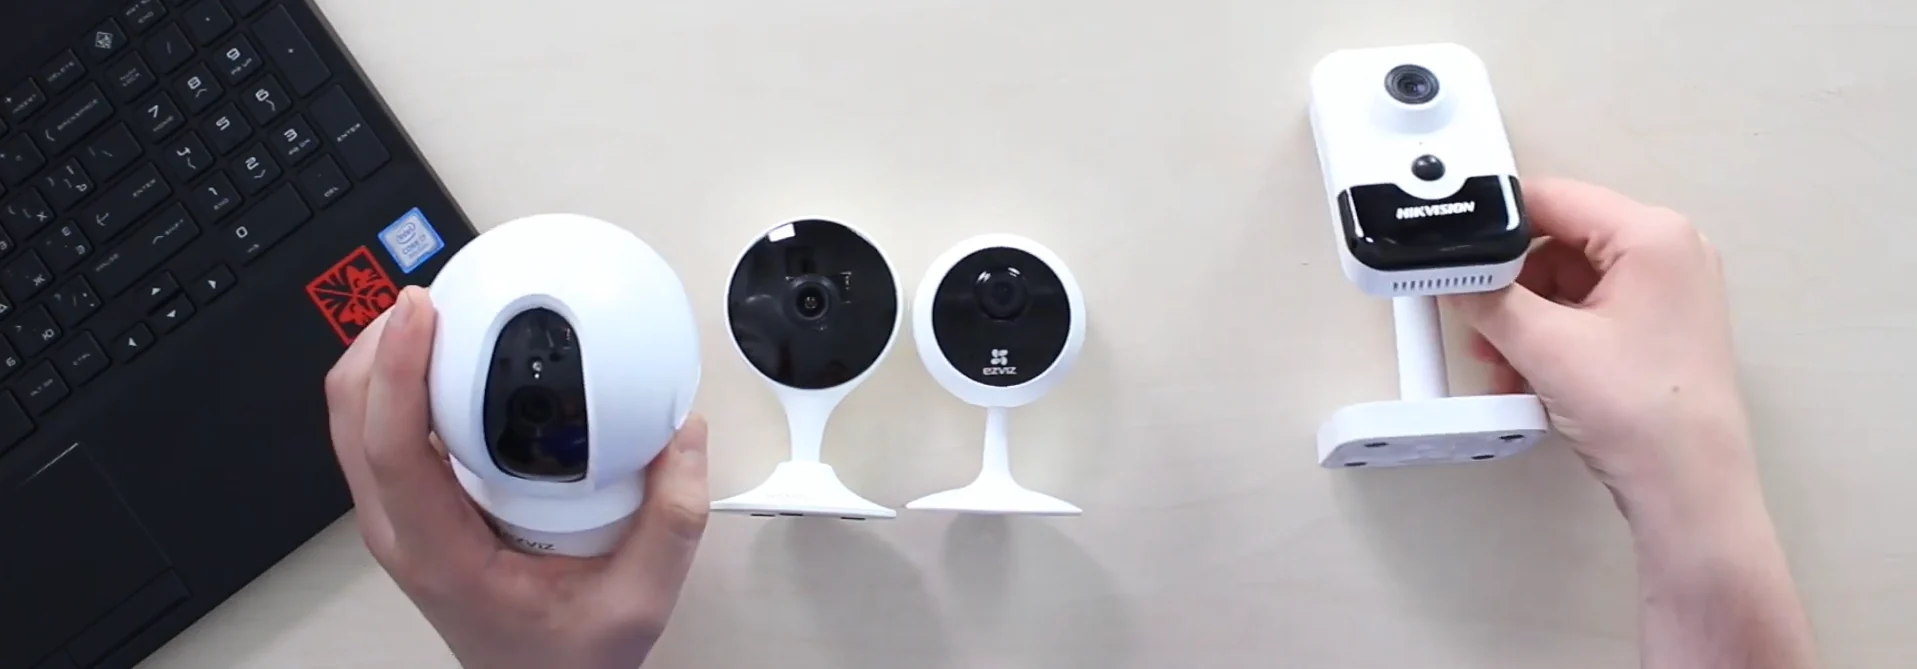
This time we are turning IP-cameras / home WiFi cameras into Virtual webcams for a computer, if you have a video conference or a video call upcoming, and you don’t have a webcam or it’s awful, but you have a home security network camera. We’ve got different cam types, shapes, and manufacturers to showcase in the best way possible. Hikvision 4MP. DS-2CD2443G0-I cube, IMOU, Ezviz regular home Wifi cams, and Ezviz Pan-tilt C6CN camera. BUT! This is applicable to literally every network camera.
1. Tools & Preparation
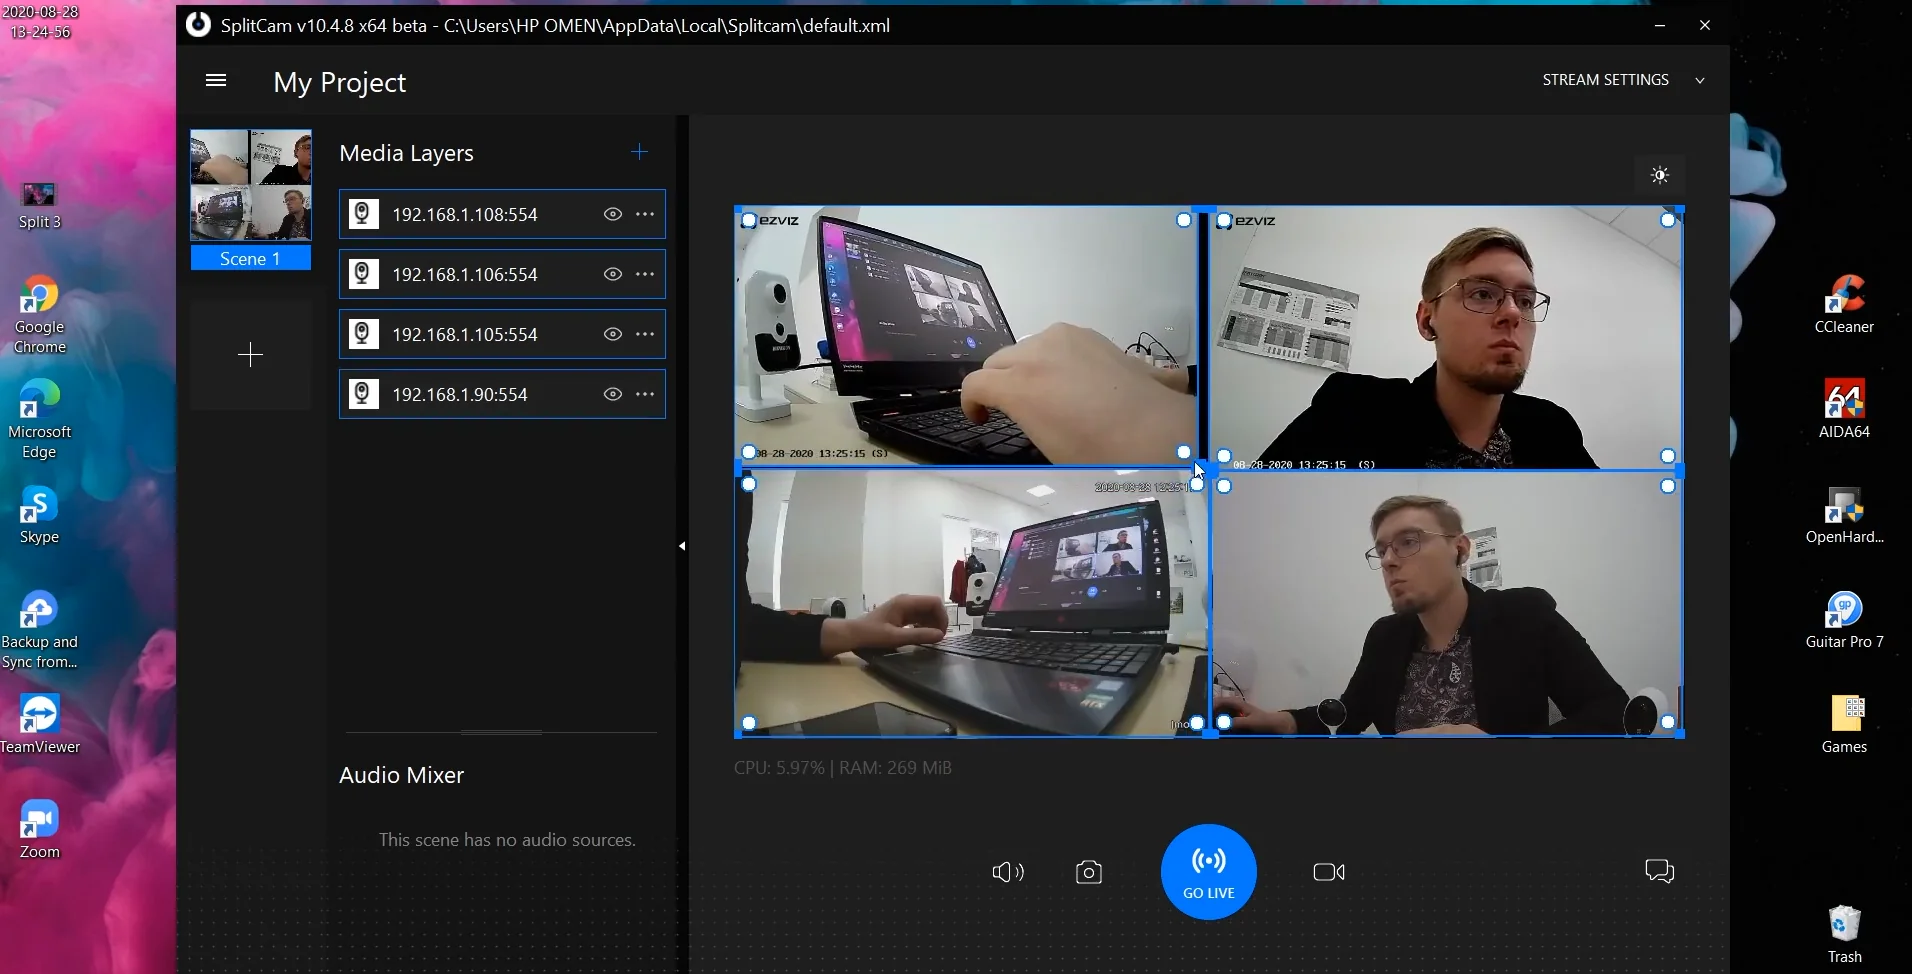
On the web, I found several ways to do that – a driver for Windows on GitHub, the OBS streaming software plug-in, an older IP Camera Adapter that I couldn’t get to work whatsoever, then I found the ManyCam tool that can do that, but I ran into some restrictions there.. And Finally! Somehow I came across aSplitCam software and Boom! It works just great! It’s plug and play, easy to work with, has Windows and MAC OS versions, and is completely free – the choice is made. Go to SplitCam.com → download → install → and launch.
2. Creating the RTSP-link
The 2nd part is about creating the RTSP-link – the address of that live video stream from the camera that allows you to view the camera from your phone in live mode. Normally, you go search the web with a question that sounds like “How to make RTSP link with Axis / Reolink / Dahua / Hikvision / Vivotek / Lorex and etc. camera”.

Unfortunately, I am physically unable to provide all RTSP-links’ formulas for every single cams’ manufacturer due to that they’re atypical and there’s hundreds of manufacturers. Seriously, go ask Google to give you the RTSP-link formula for your camera’ manufacturer. BUT! I will provide formulas for a few popular cams’ manufacturers.
Hikvision
- rtsp://:@:554/Streaming/Channels/1 (or 101 / 02 – depending on how your channel was set up)
Ezviz
- rtsp://:@:554/Streaming/Channels/1 (depending on how your channel was set up)
Axis
- rtsp://:@/onvif-media/media.amp
- rtsp://:@:554/axis-media/media.amp
Lorex
- rtsp://:@:554/cam/realmonitor?channel=1&subtype=1
Reolink
- rtsp://:@:554//h264Preview_01_main
Pick up your Reolink products via our affiliate link
P.S.: Usually, the default user name is Admin– fields you have to fill with your user data
3. Set-up & Launch
Alright, after you got the formula, it’s assumed that you already have your camera up and running (in case you didn’t know, wow that’s rude, sorry).
- From that moment, all you do is create a new media source in the SplitCam and select an IP camera as a source.
- You’ll only have a single field → paste that link in there → ready to go;
- Head to Skype / Zoom / Meet / Teams and get to the video settings
- Select “Splitcam Driver” as a source for video input, and we’re done.
4. Demo: Skype & Zoom
5. A little Back-end
Also, let me tell you a bit about the back-end – we’ve got an RTSP-protocol stream incoming from the camera. The Splitcam software and similar tools act here as a decoder. What they do is convert the incoming from a camera's unique RTSP-stream into the widely supported RTMP-stream, used by all major streaming services like YouTube, Twitch, Facebook, and at cetera. And also this tool emulates that we have a web camera connected to the PC via a common USB cable, making the system able to recognize it as a regular web camera. And this is how we can call with a video from our network camera using Skype, Zoom, Google Hangouts, and cetera.