
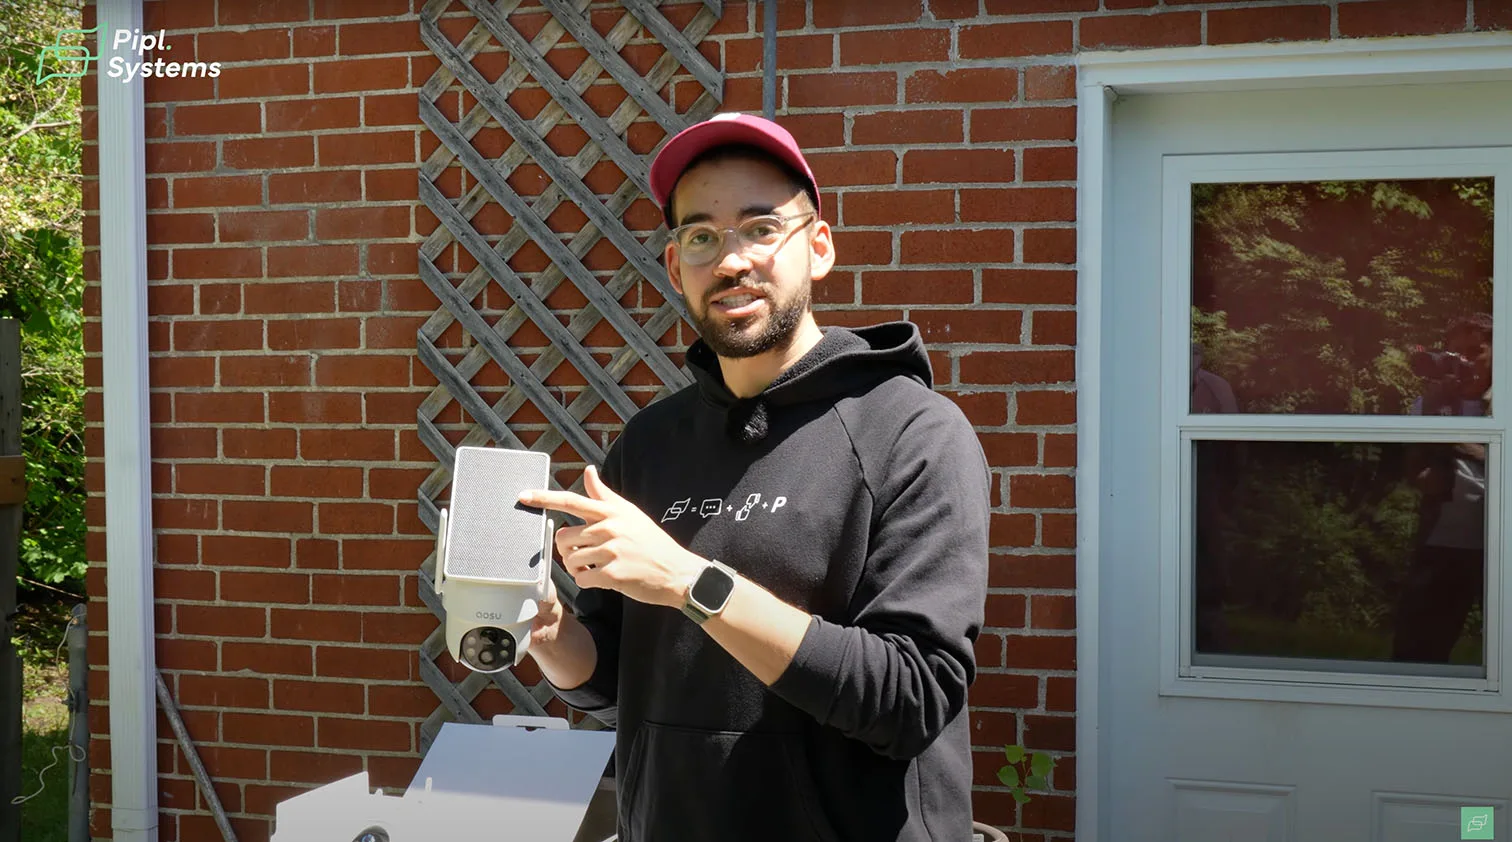
When we unpacked the aosu SolarCam D1 Classic Kit in the Pipl Systems studio, our goal wasn’t just to run through another spec sheet. This kit promises a practical answer to one of the most common issues homeowners face: how to secure a property without running wires, replacing batteries every few weeks, or paying for another cloud subscription you didn’t want in the first place. With a solar-powered approach, local storage, and two included cameras, it seemed to check a lot of boxes right out of the gate.
What made this kit even more interesting for us is how well it aligns with what many North American homeowners are looking for right now: low-maintenance setups that actually deliver. The rise of aosu security systems in the DIY space isn’t a fluke. As more users search for home security cameras that don’t require constant babysitting, aosu enters the scene with a promise that felt worth putting to the test. And in our experience, first impressions matter, especially when your goal is real protection, not just another app notification.

1 / 10
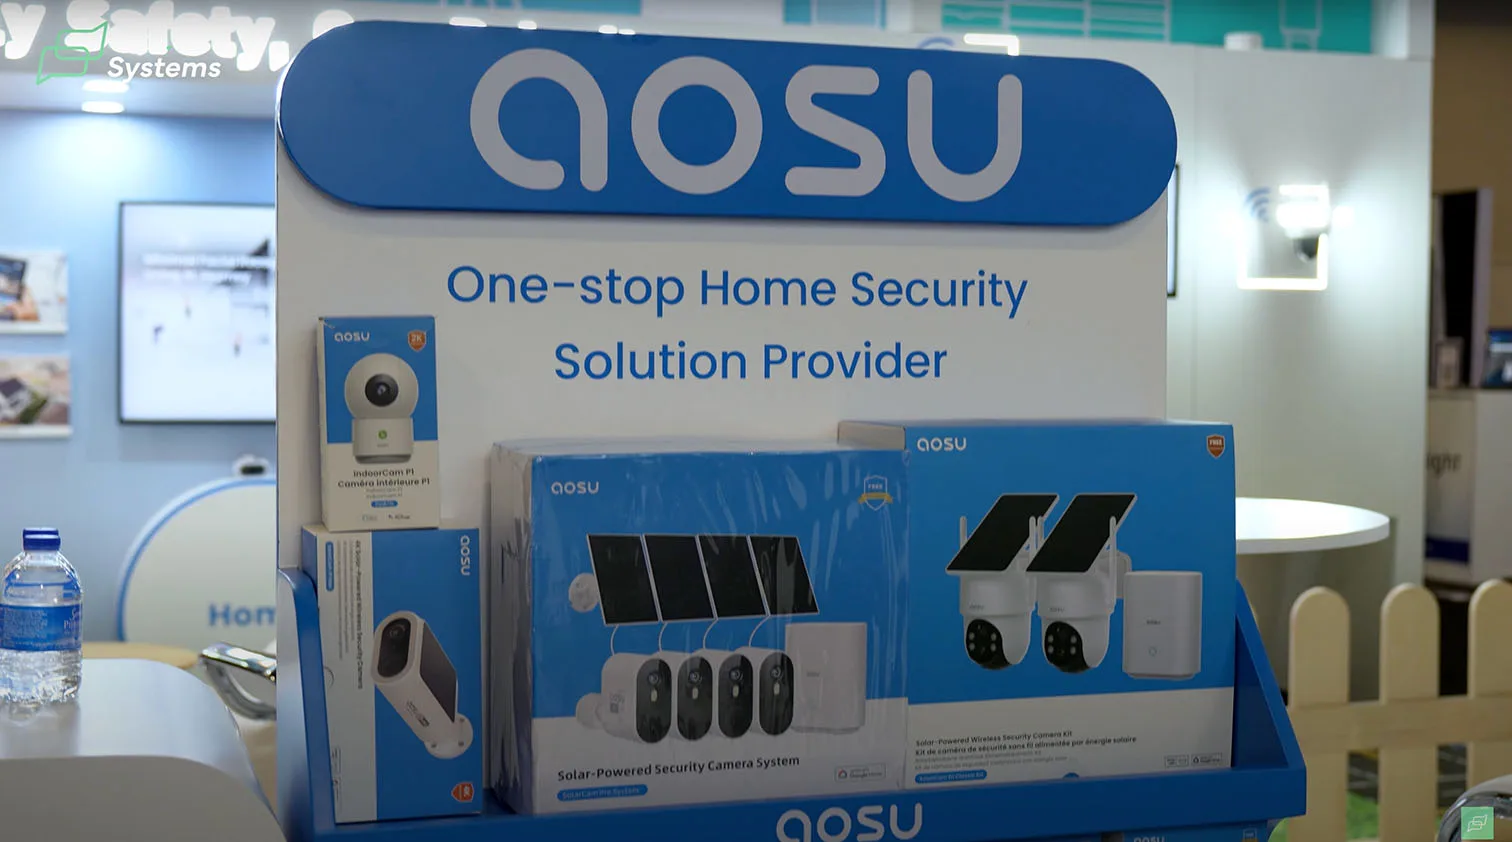
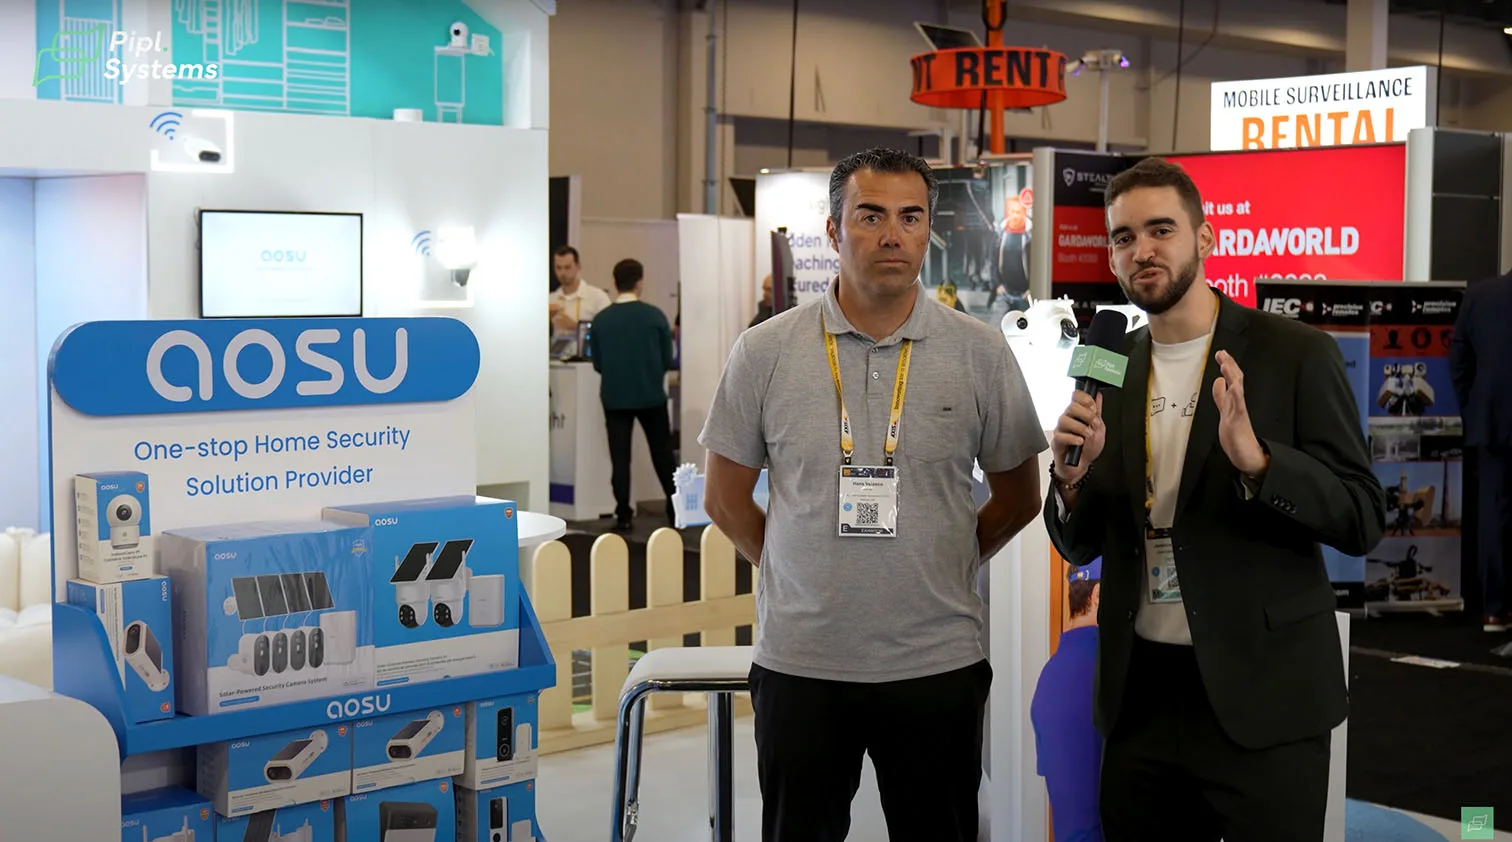
How It Started: Visiting aosu at ISC West 2025
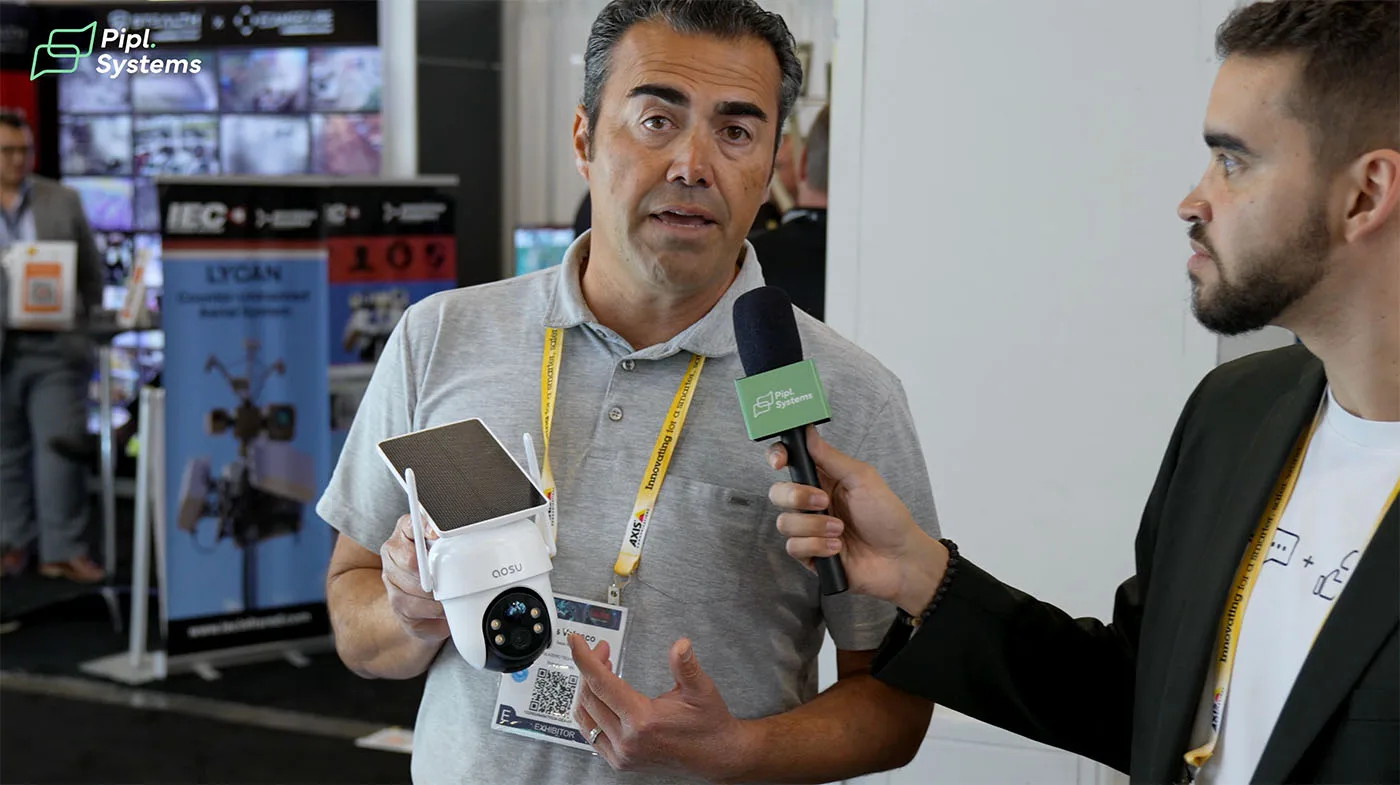
We were guided through the demo by Hans Velasco, aosu’s Product Manager. He wasn’t focused on specs or technical jargon - he kept circling back to how the system fits into people’s lives.
“We wanted visitors to feel what it’s like to actually live with our system. From the front door to the pool, it’s all about blending protection with peace of mind.”
That comment struck a chord. It’s exactly what many North American homeowners are looking for - something simple, self-sustaining, and good enough to forget it’s there until it’s needed.


1 / 8
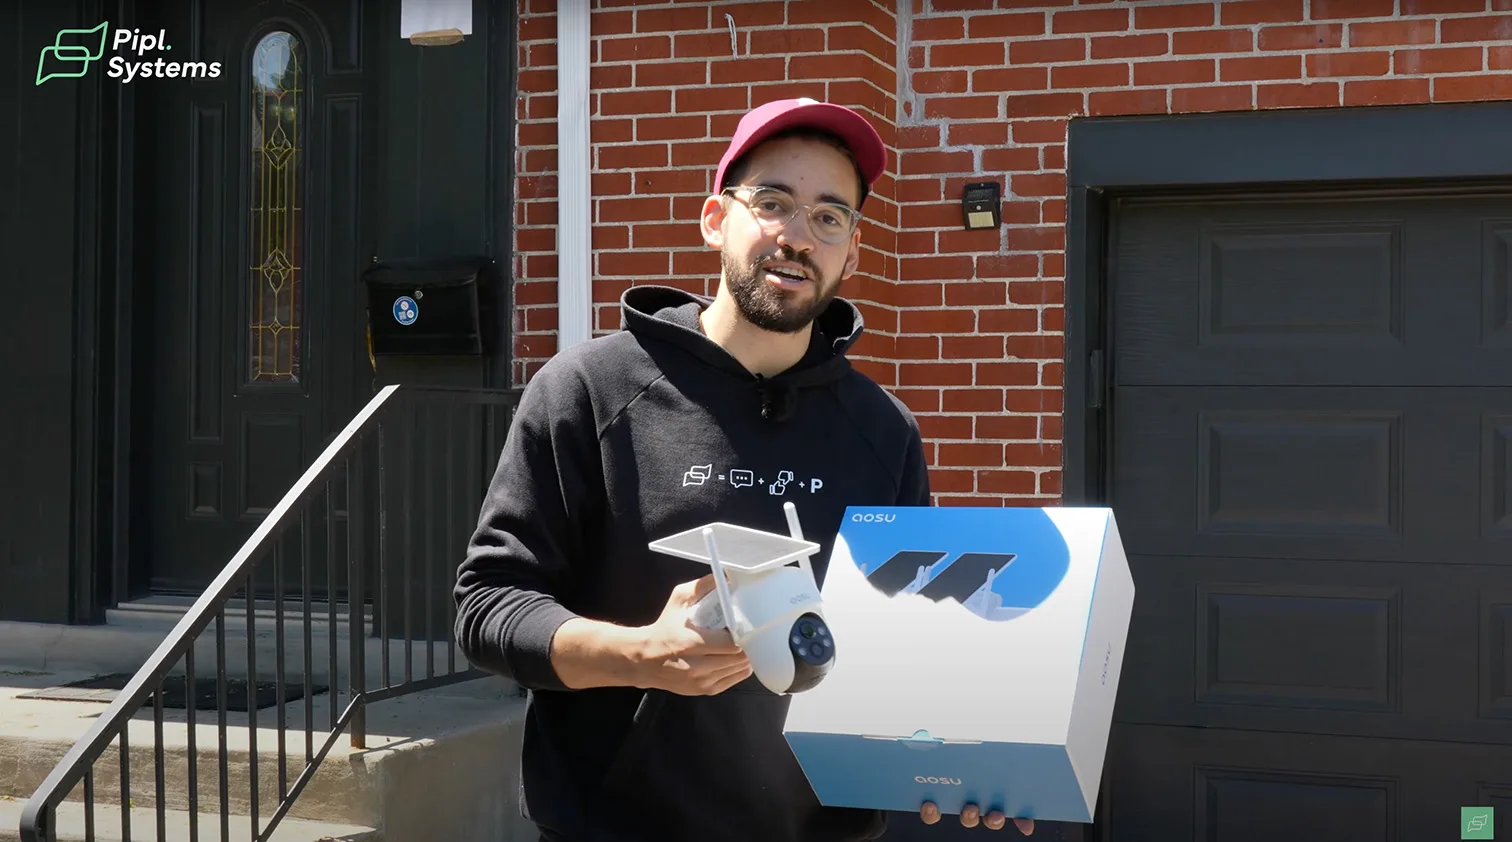
That’s what made us bring the aosu SolarCam D1 Classic Kit into our test studio. We weren’t looking to just verify if the camera works. We wanted to see whether this wireless solar-powered setup could realistically replace the multi-component, high-maintenance systems most people still struggle with. And in this article, you’ll find exactly what we learned through real testing, everyday setups, and a few unexpected surprises along the way.
What’s Inside the Box
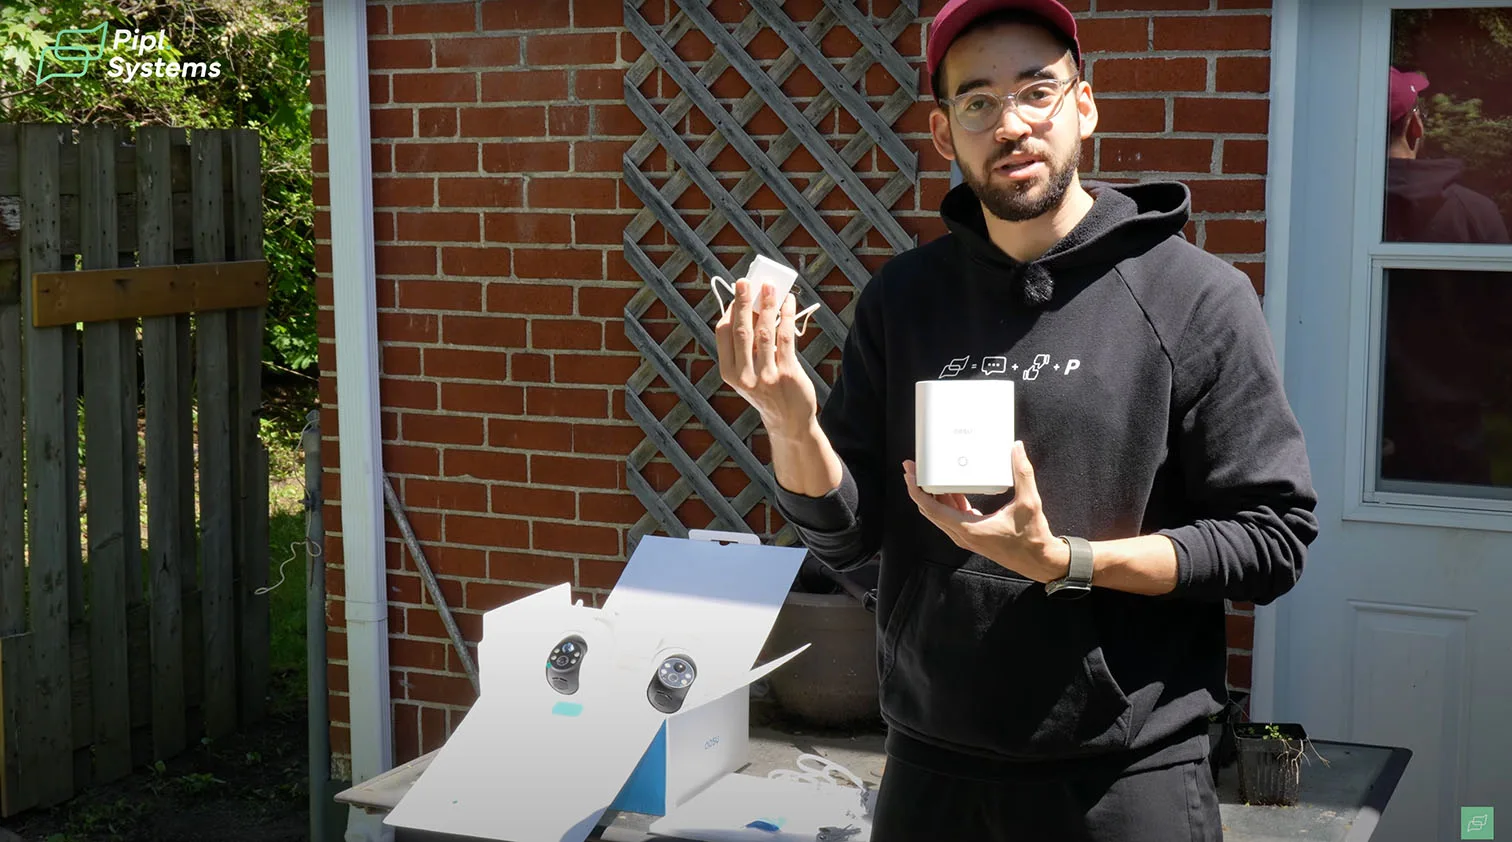
Unboxing & First Look
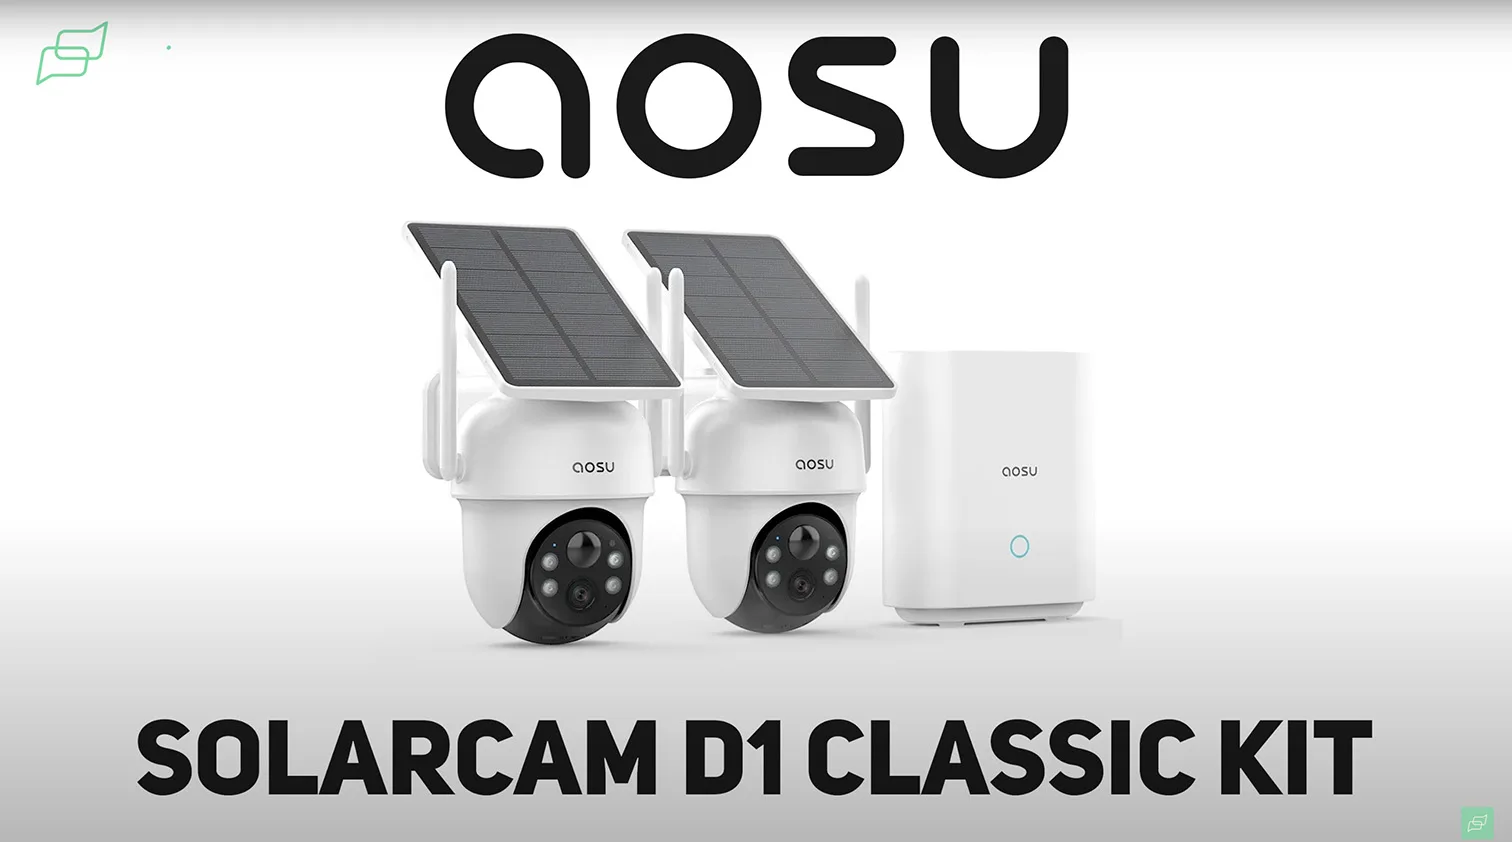
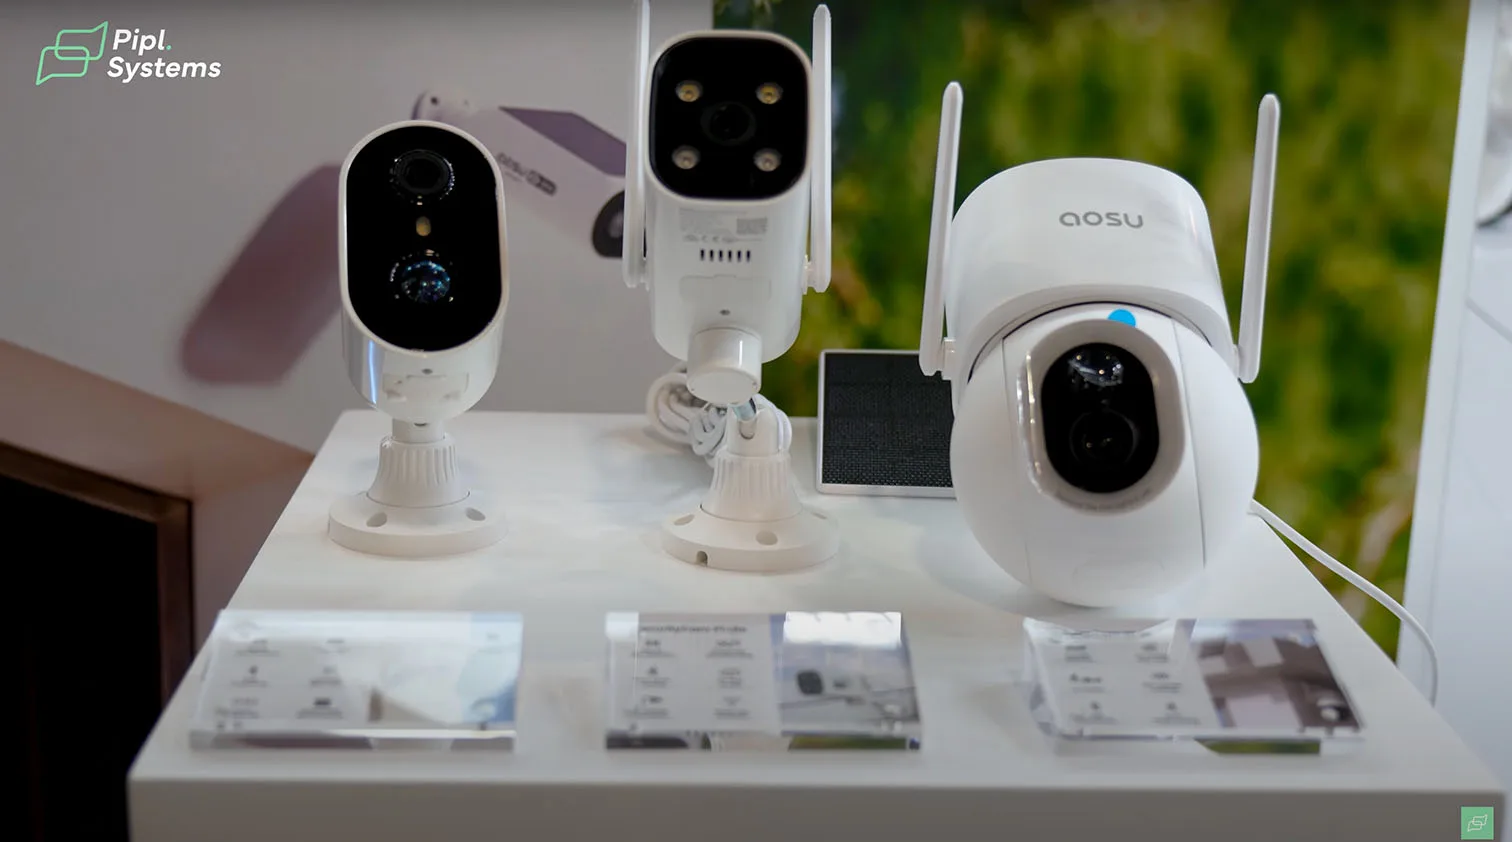
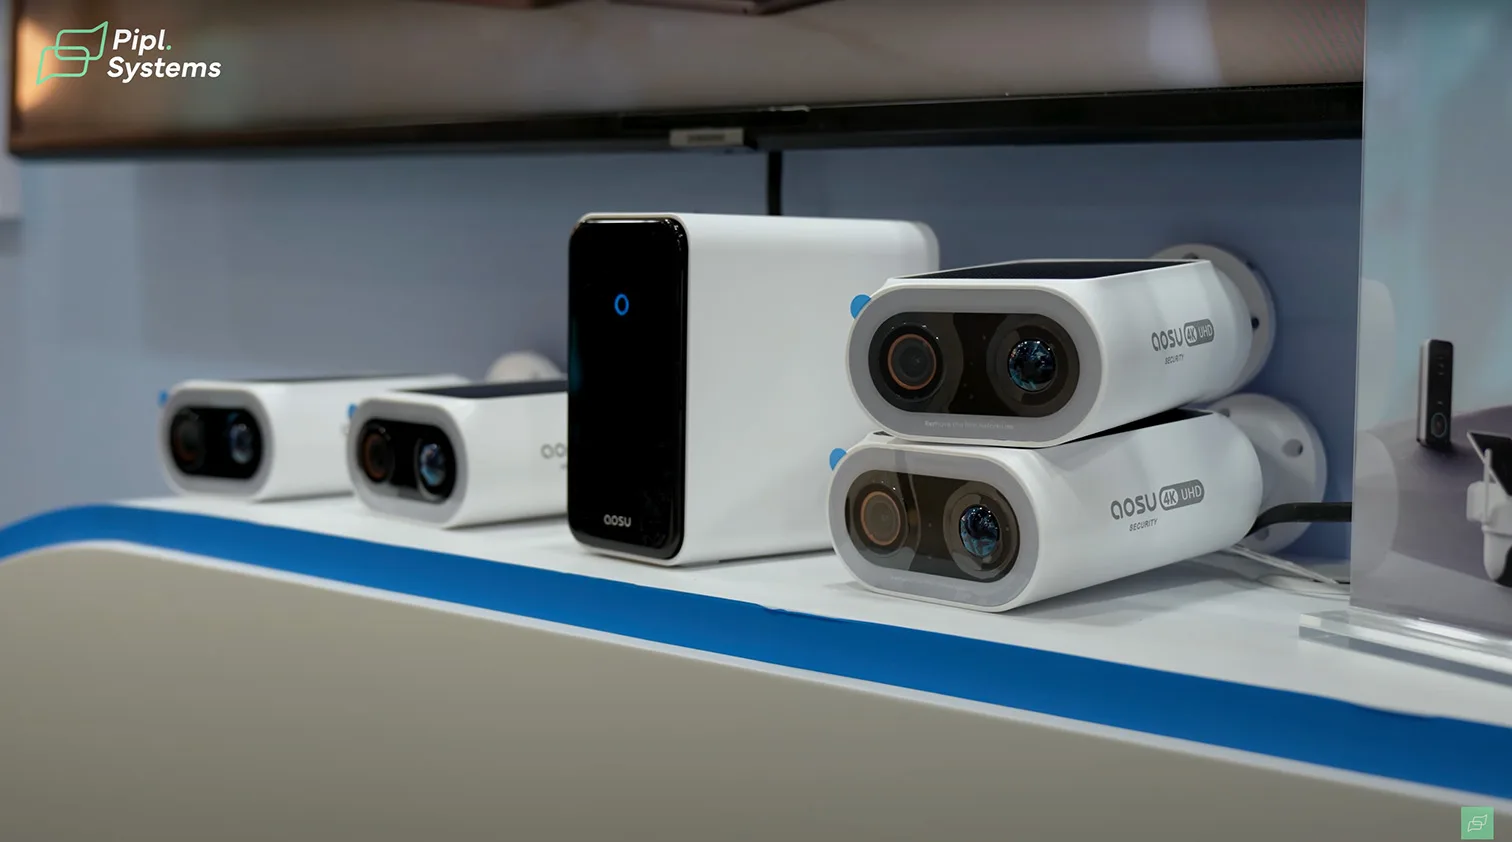
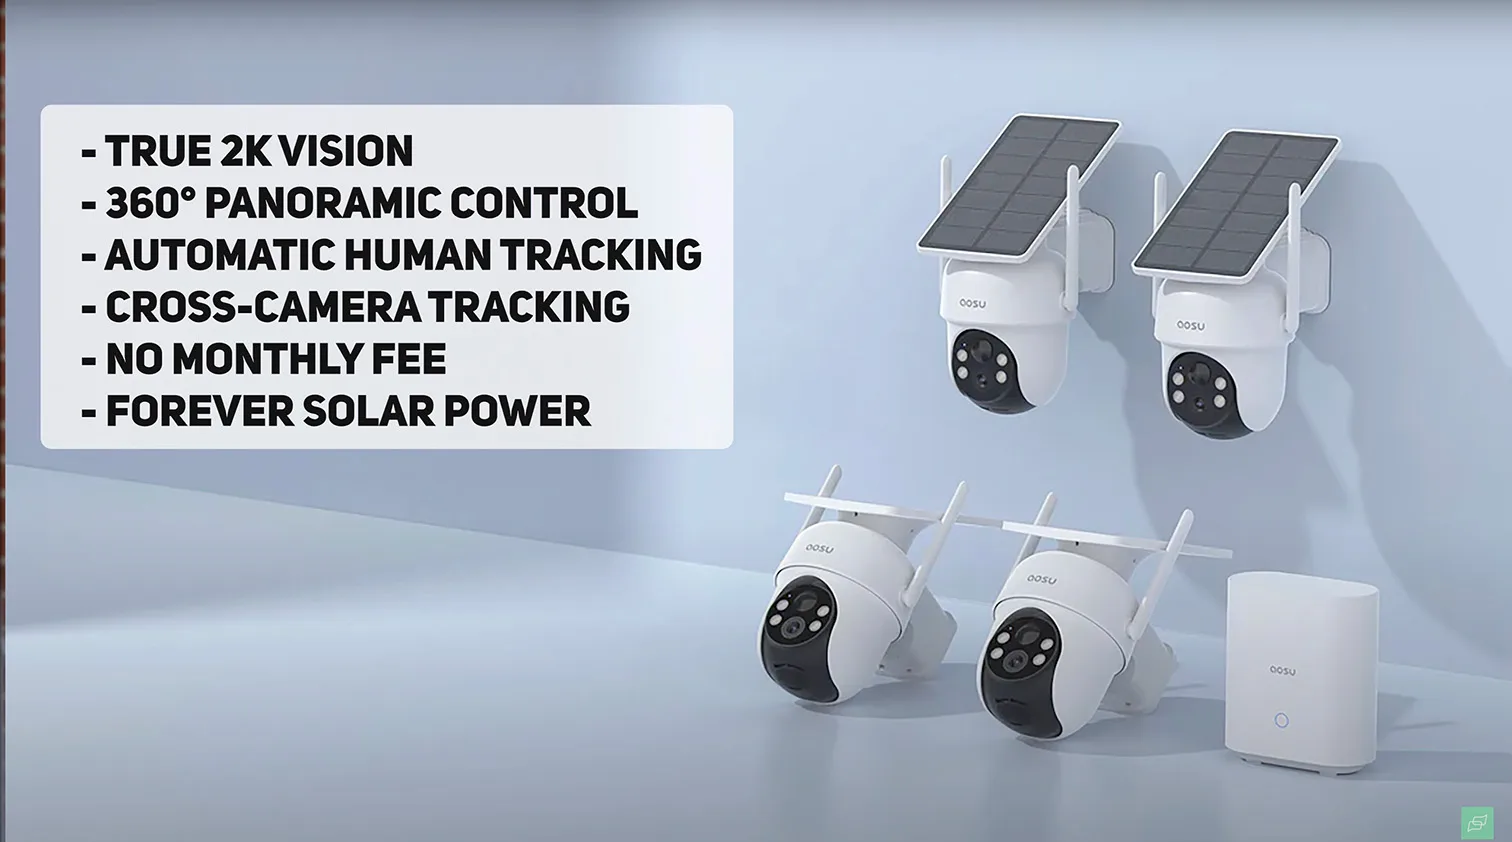
From the moment we opened the aosu SolarCam D1 Classic Kit, it was clear this wasn’t just another off-the-shelf bundle. Inside the box, we found two compact PTZ cameras already paired with a single HomeBase, streamlining the initial setup. Both cameras are entirely wire-free, no need for outlets or PoE, and each comes with its own angled solar panel for continuous charging.
The packaging is tight and deliberate. You get mounting templates for quick drilling, labeled USB cables, a full set of screws, and hardware packed with more care than we usually see at this price point. The solar panel brackets feel durable, with flexible tilt mechanisms that should handle outdoor exposure well.
1 / 7
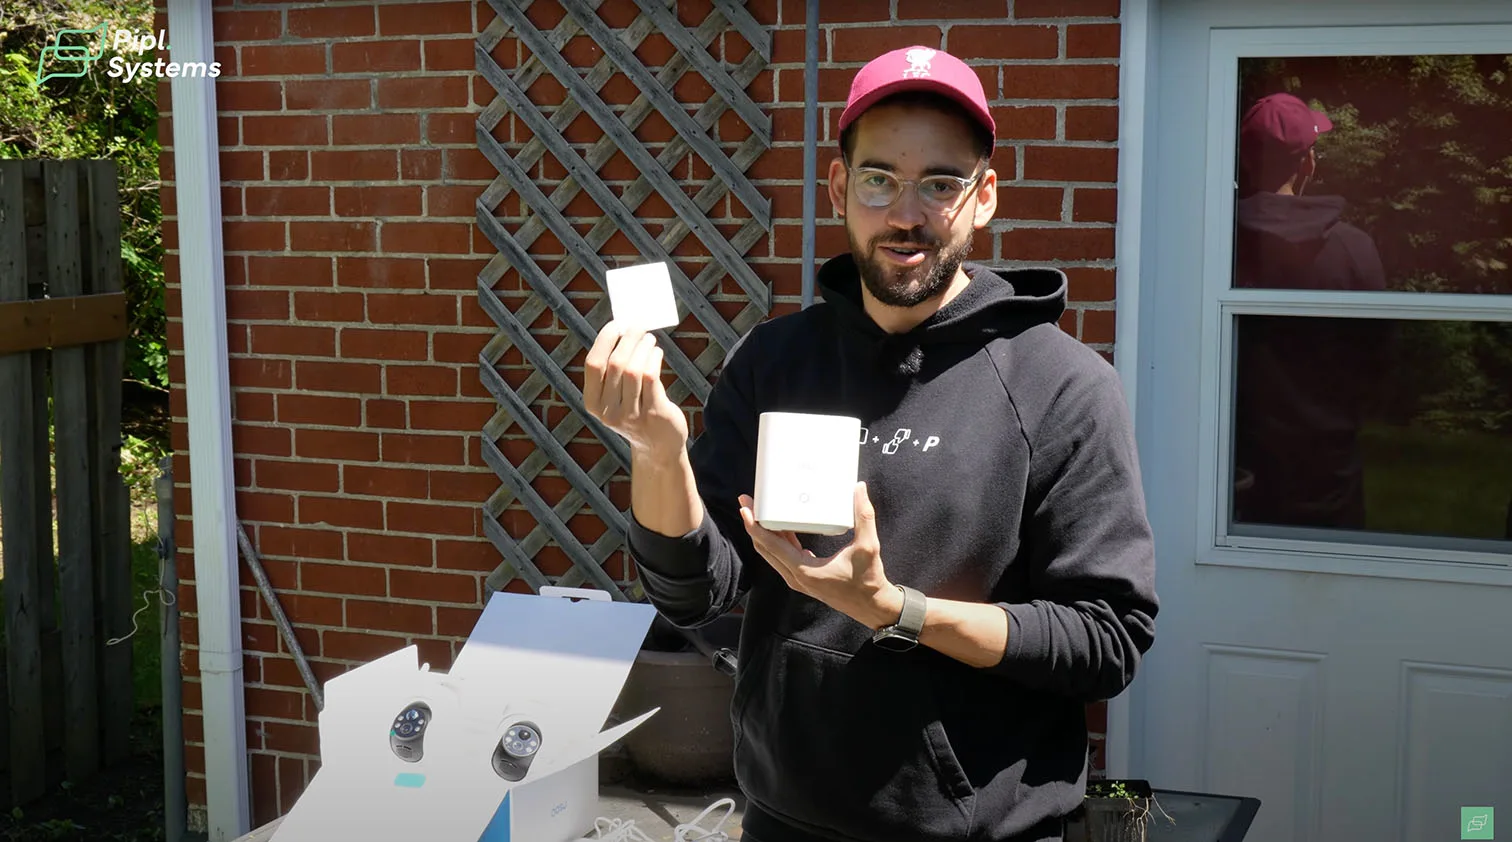
First Impressions
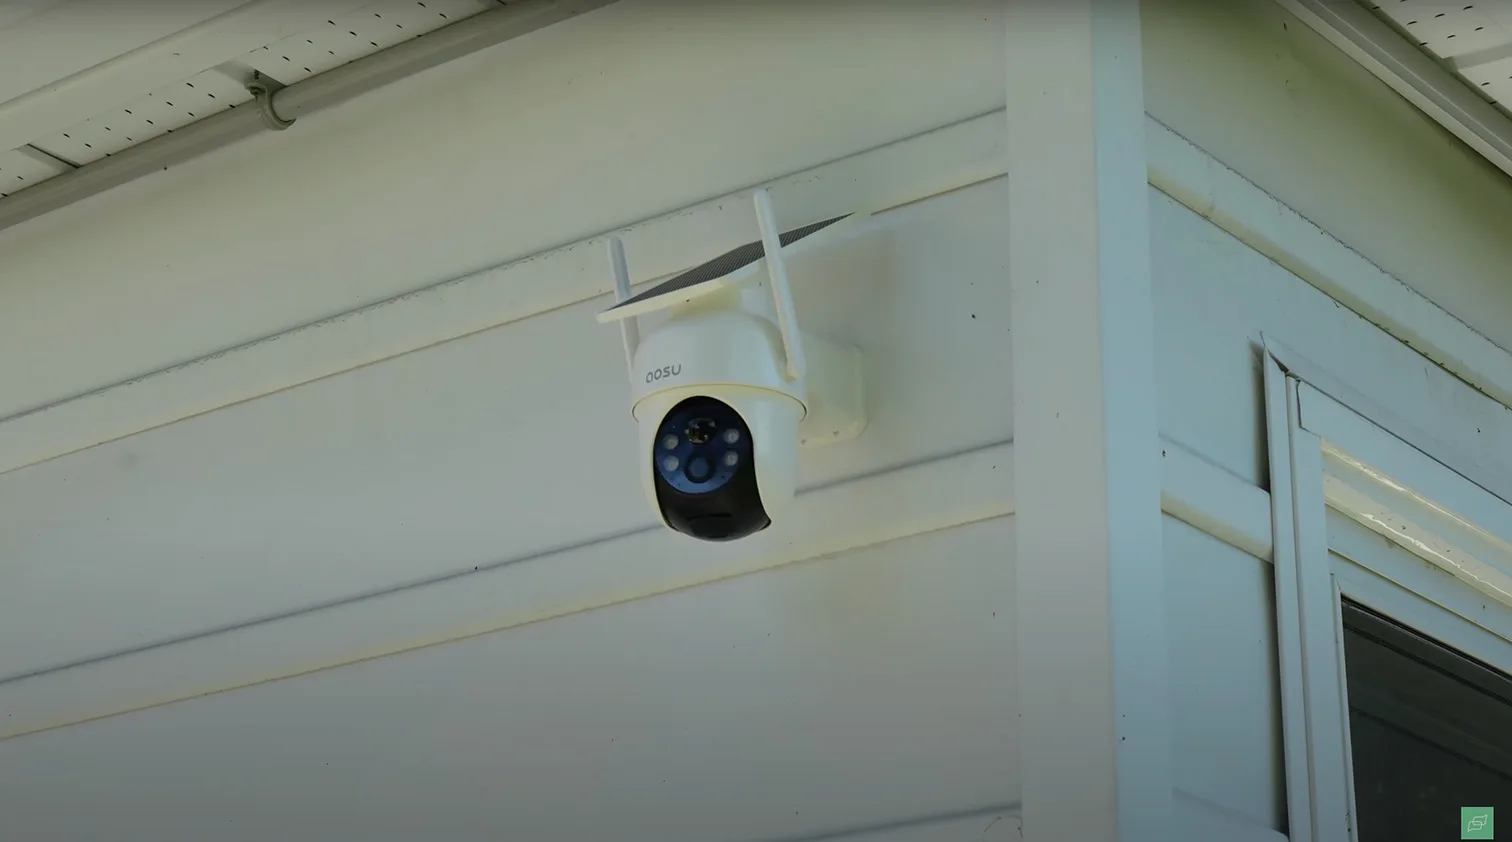
Visually, the entire kit keeps a clean, modern aesthetic. The white matte finish across all devices looks discreet, but premium, something that fits well on most home exteriors. When we handled the cameras, they felt solid, not plasticky. The bracket mechanisms rotate smoothly and lock into place firmly, which adds confidence for windy environments.
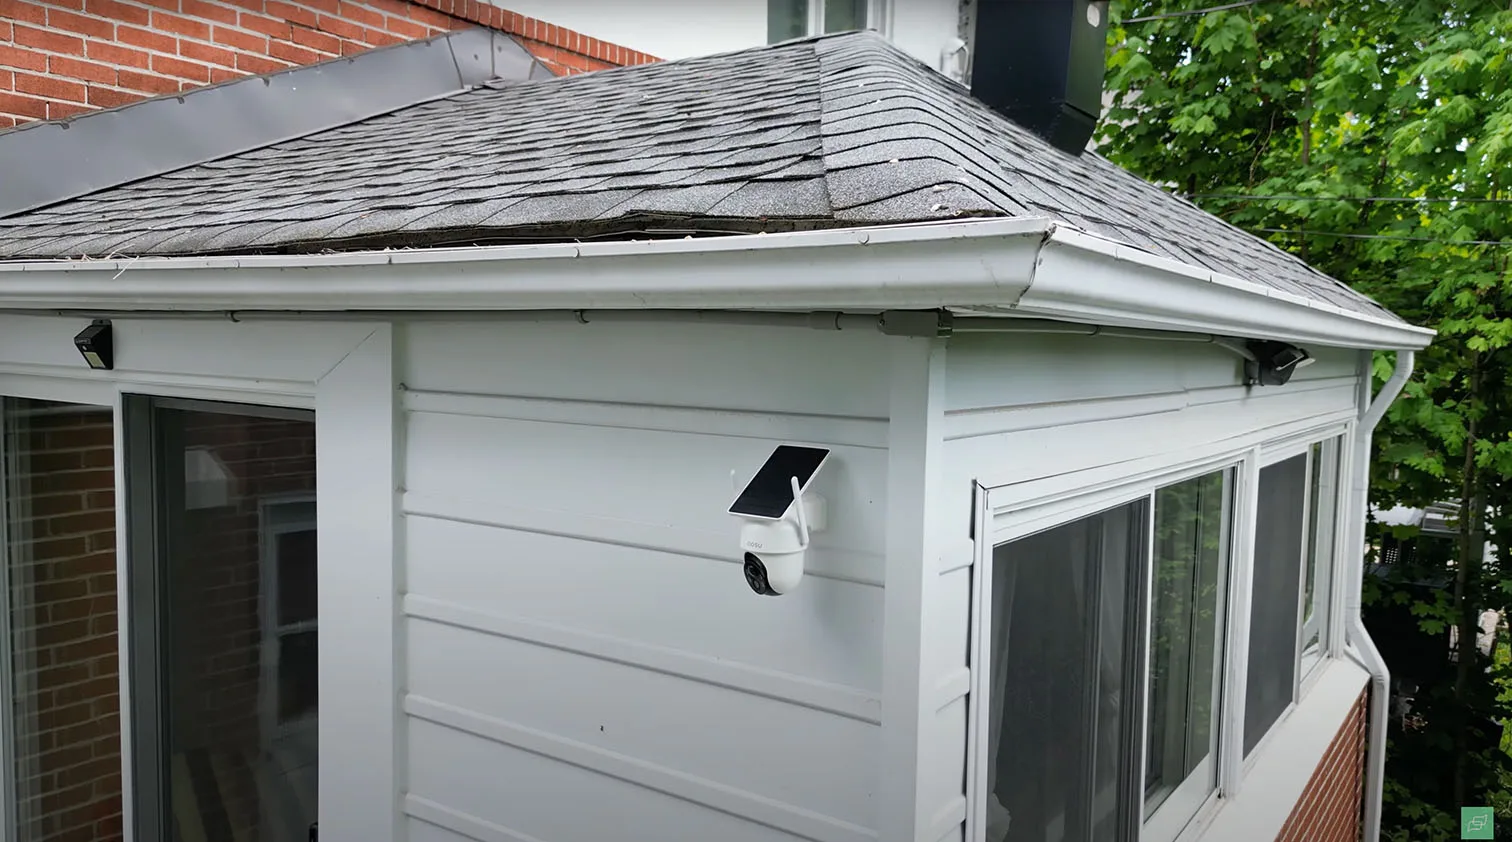
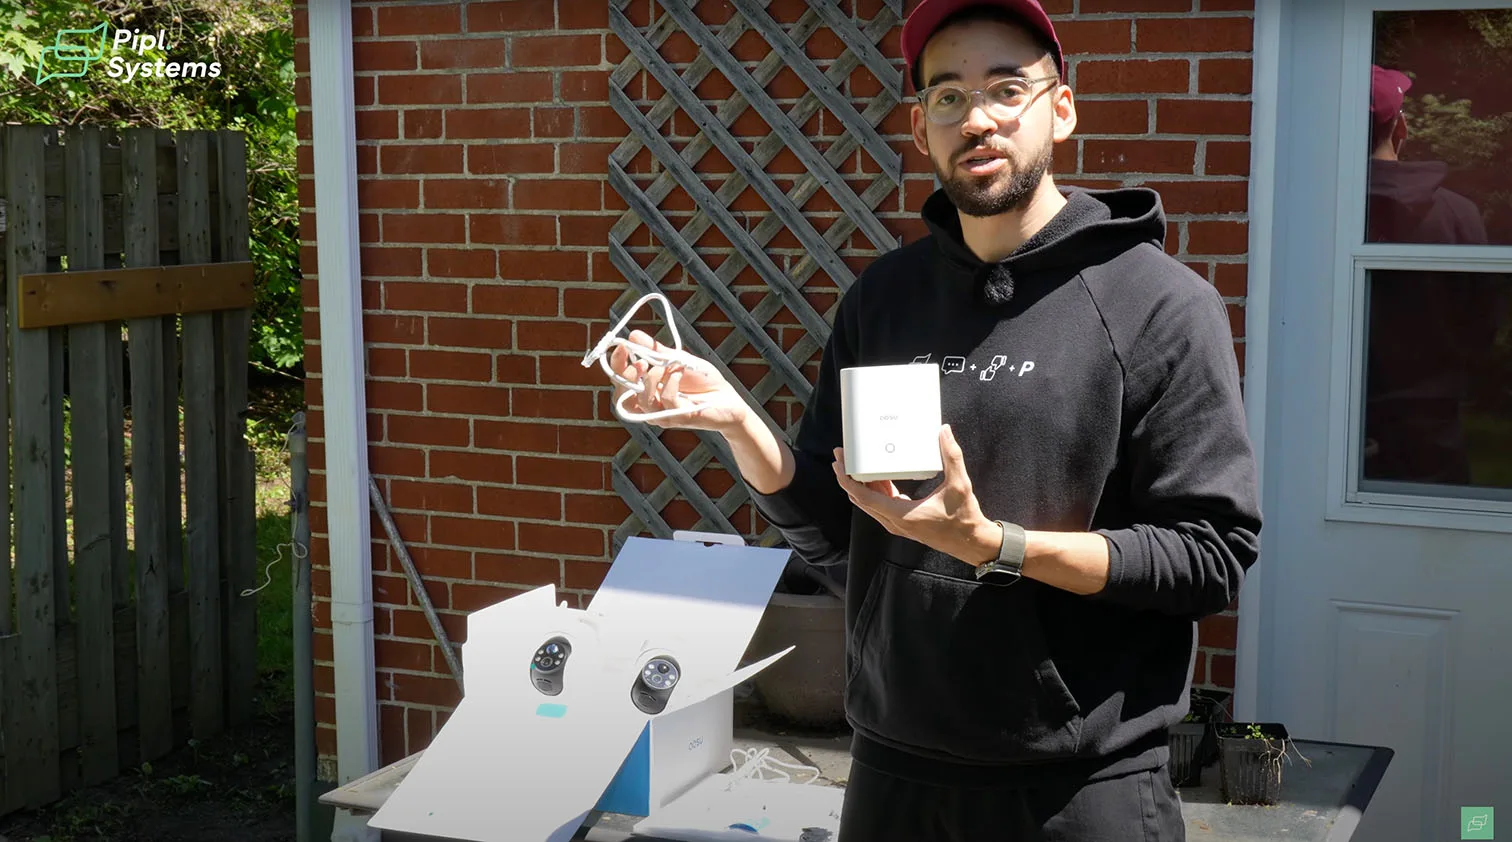
The solar panels surprised us too. Each includes a long integrated cable that gives real flexibility when choosing optimal sunny placement, especially when mounting the cameras under soffits or eaves. Right from unboxing, it was clear this Solar-Powered Home Security System is built with both functionality and user-friendliness in mind.
Setting Up the HomeBase
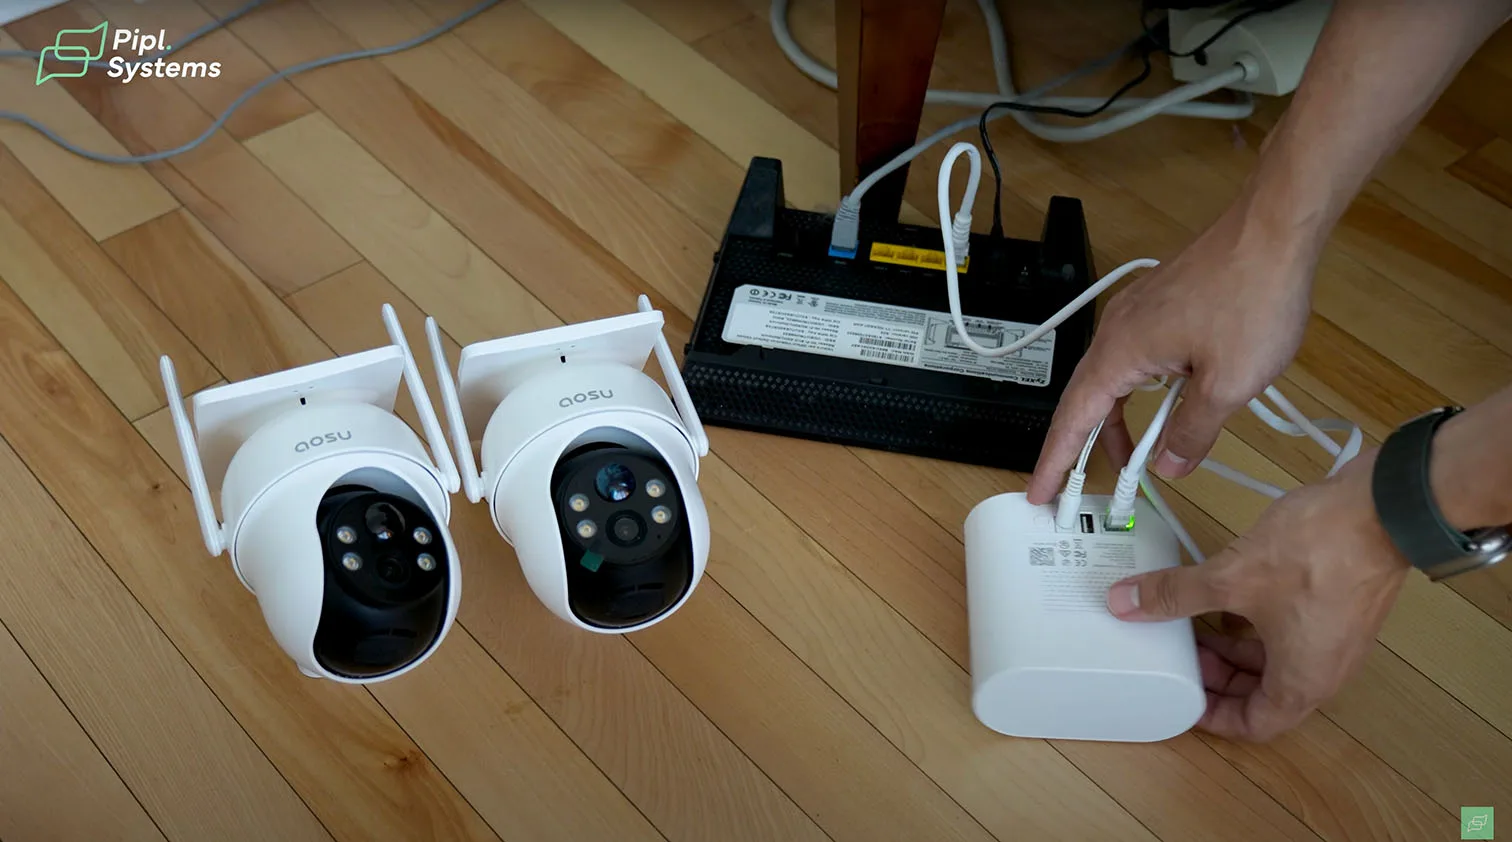
Simple Ethernet Setup
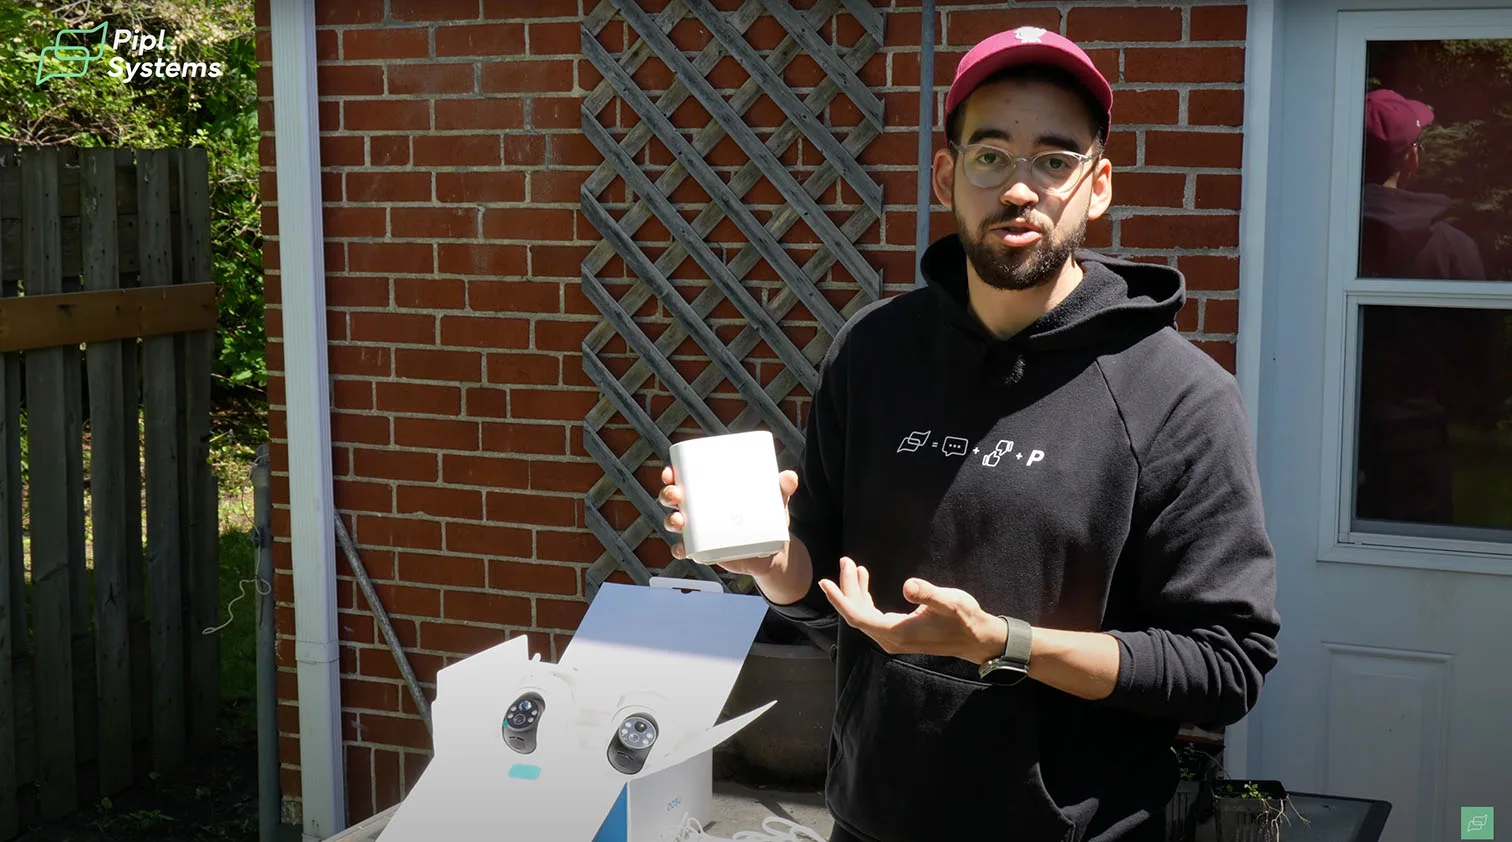
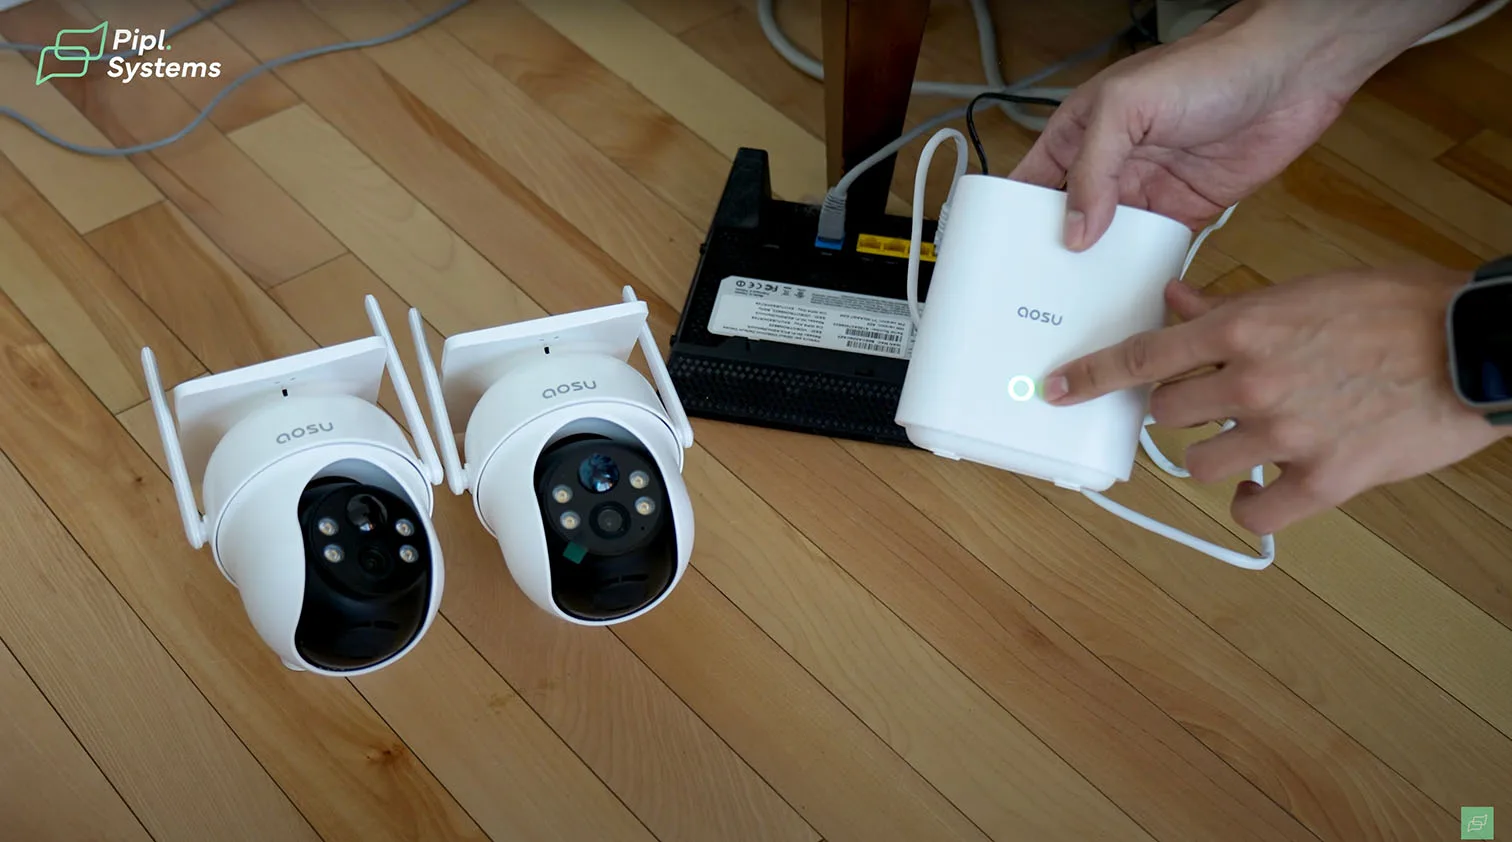
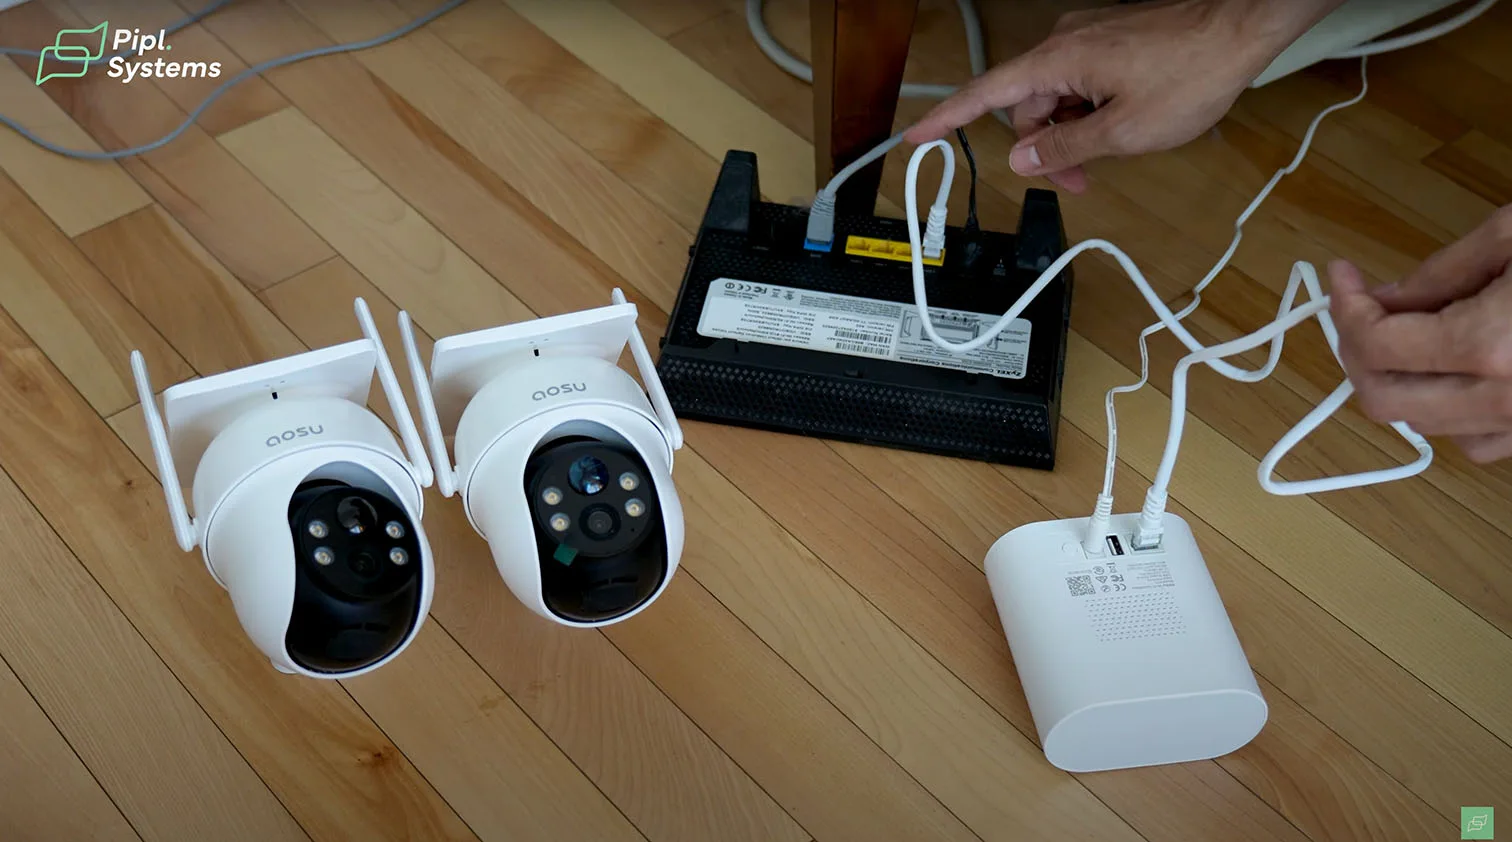
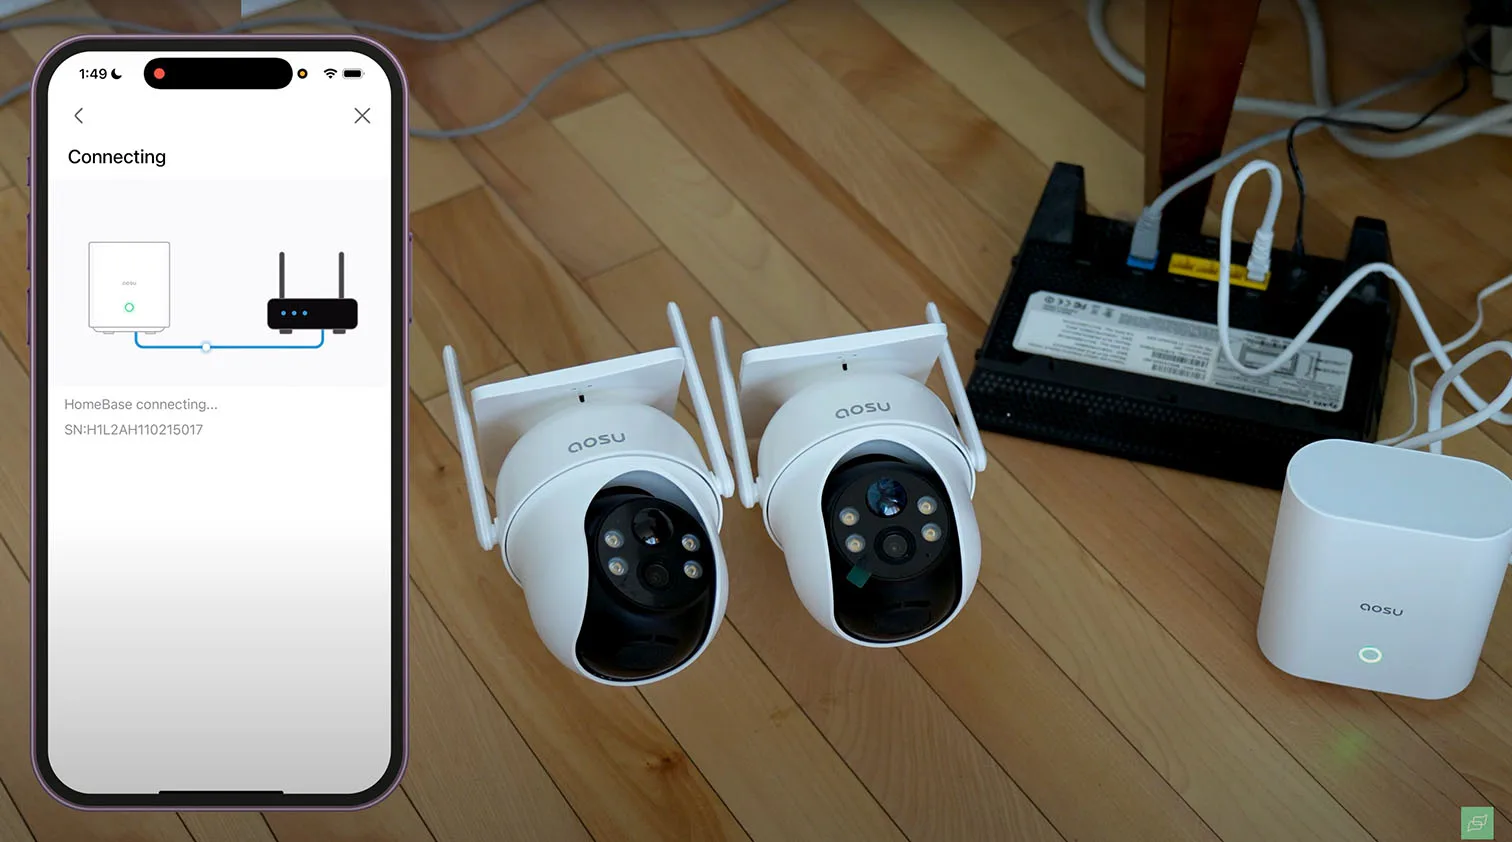
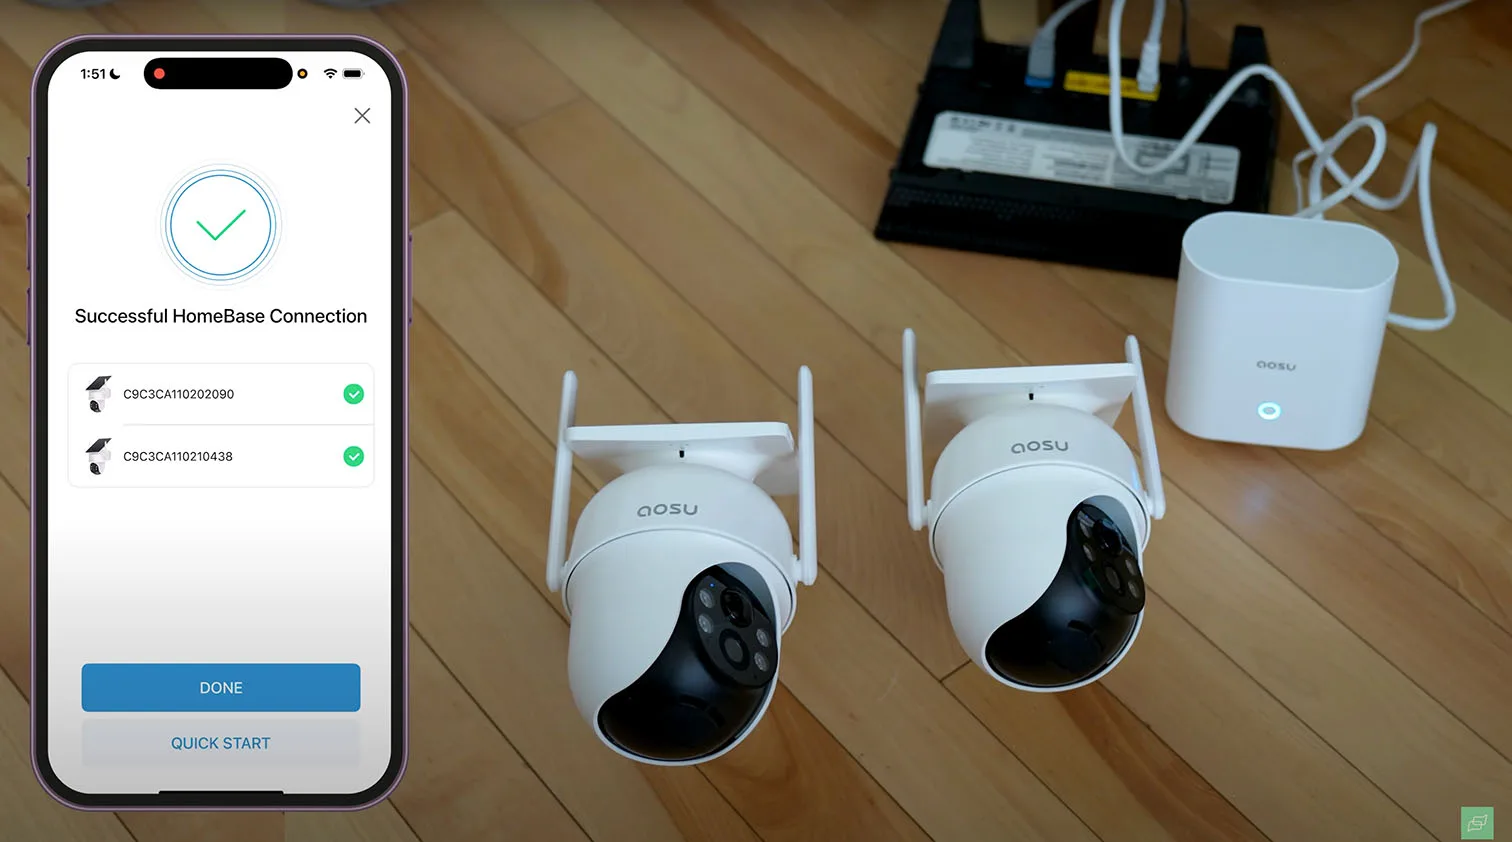
Once we brought the aosu SolarCam D1 Classic Kit into the studio, the HomeBase setup was about as straightforward as it gets. We connected it to our router with the included Ethernet cable, powered it up, and within 30 seconds, both cameras were automatically synced and online. There’s no pairing menu or code scanning involved - the base unit recognizes its pre-linked cameras right out of the box.
The HomeBase itself includes a front-facing LED system that clearly indicates when it's connected, recording, or in standby. It’s a small detail, but helpful for confirming that everything is working as it should, especially for those managing home security cameras without deep technical know-how.
1 / 6
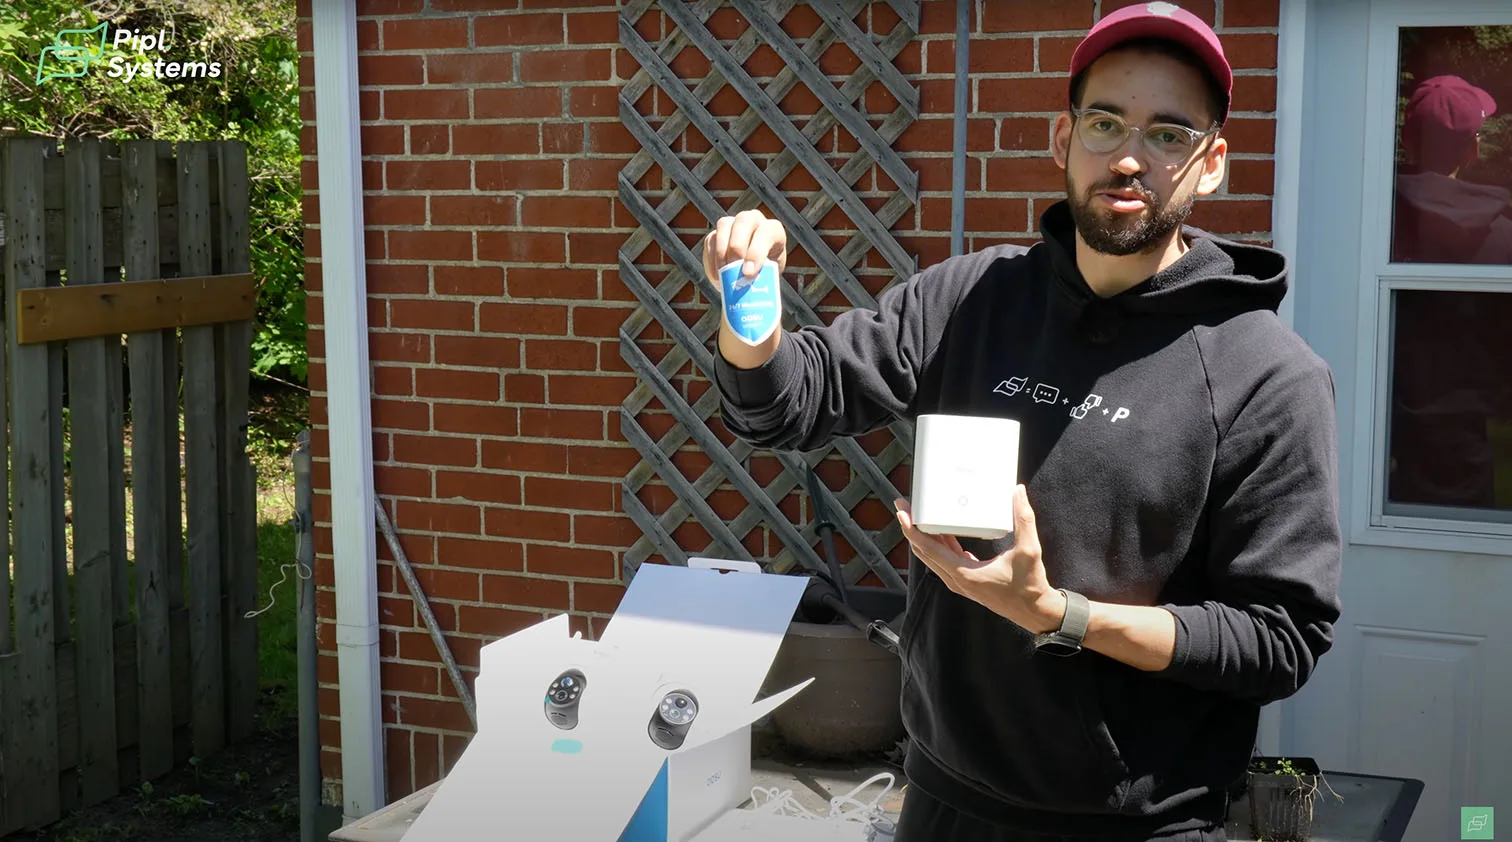
Local Storage and No Subscriptions
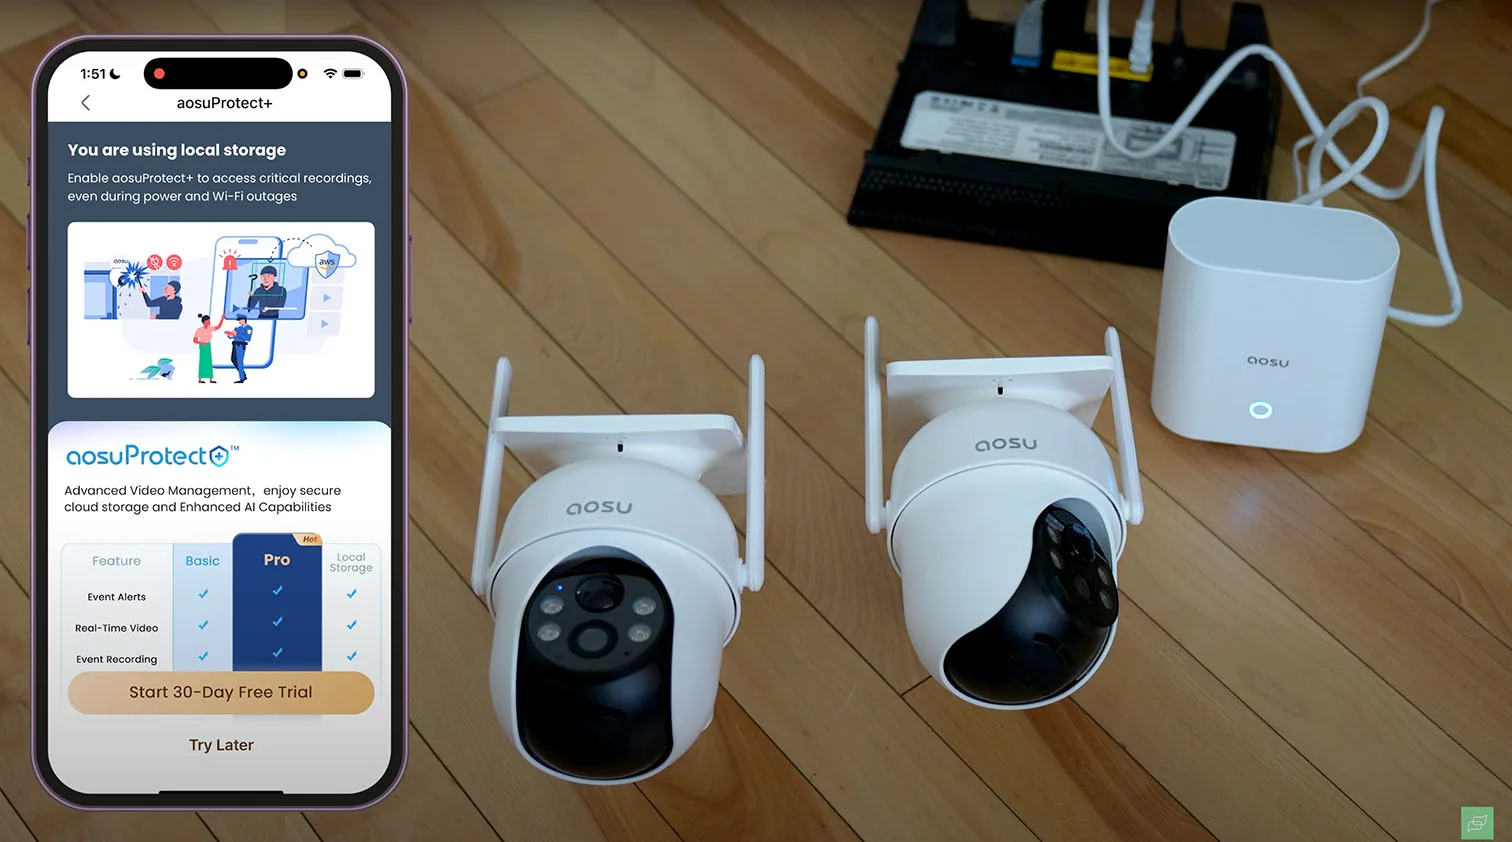
One of the biggest reasons we wanted to test this system is because aosu security offers something rare: fully functional local storage with no mandatory subscription. The HomeBase supports a microSD card of up to 128 GB, which you can install in seconds. From there, all motion-triggered events are stored locally and organized by date and time inside the aosu app.
That means no cloud syncing delays, no hidden costs, and no ongoing data risks. For North American users tired of monthly payments and complex video retrieval, this is a welcome return to simplicity.
Activating the Cameras
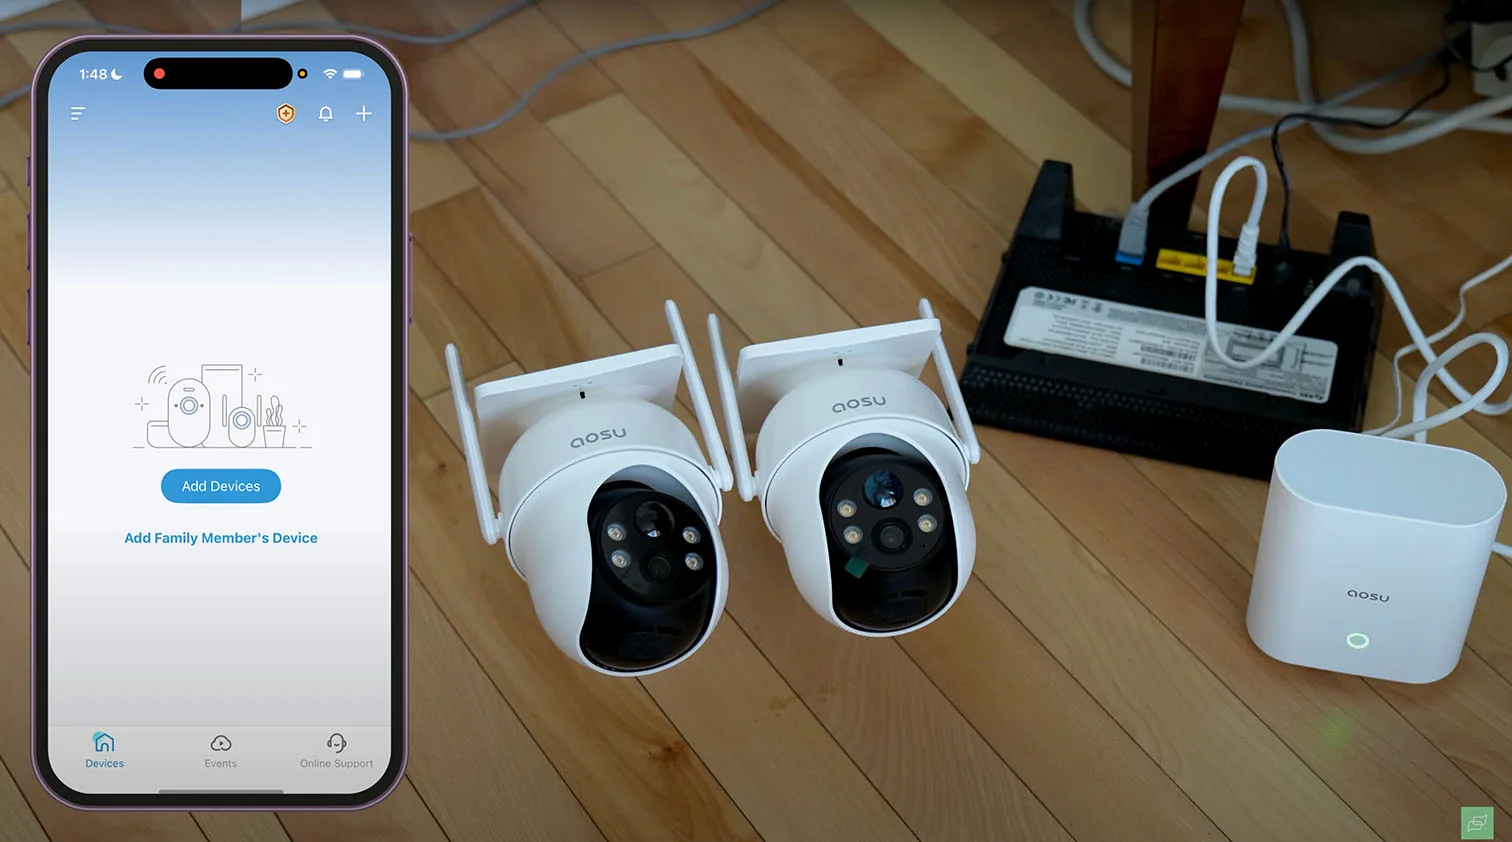
Quick Pairing With the App
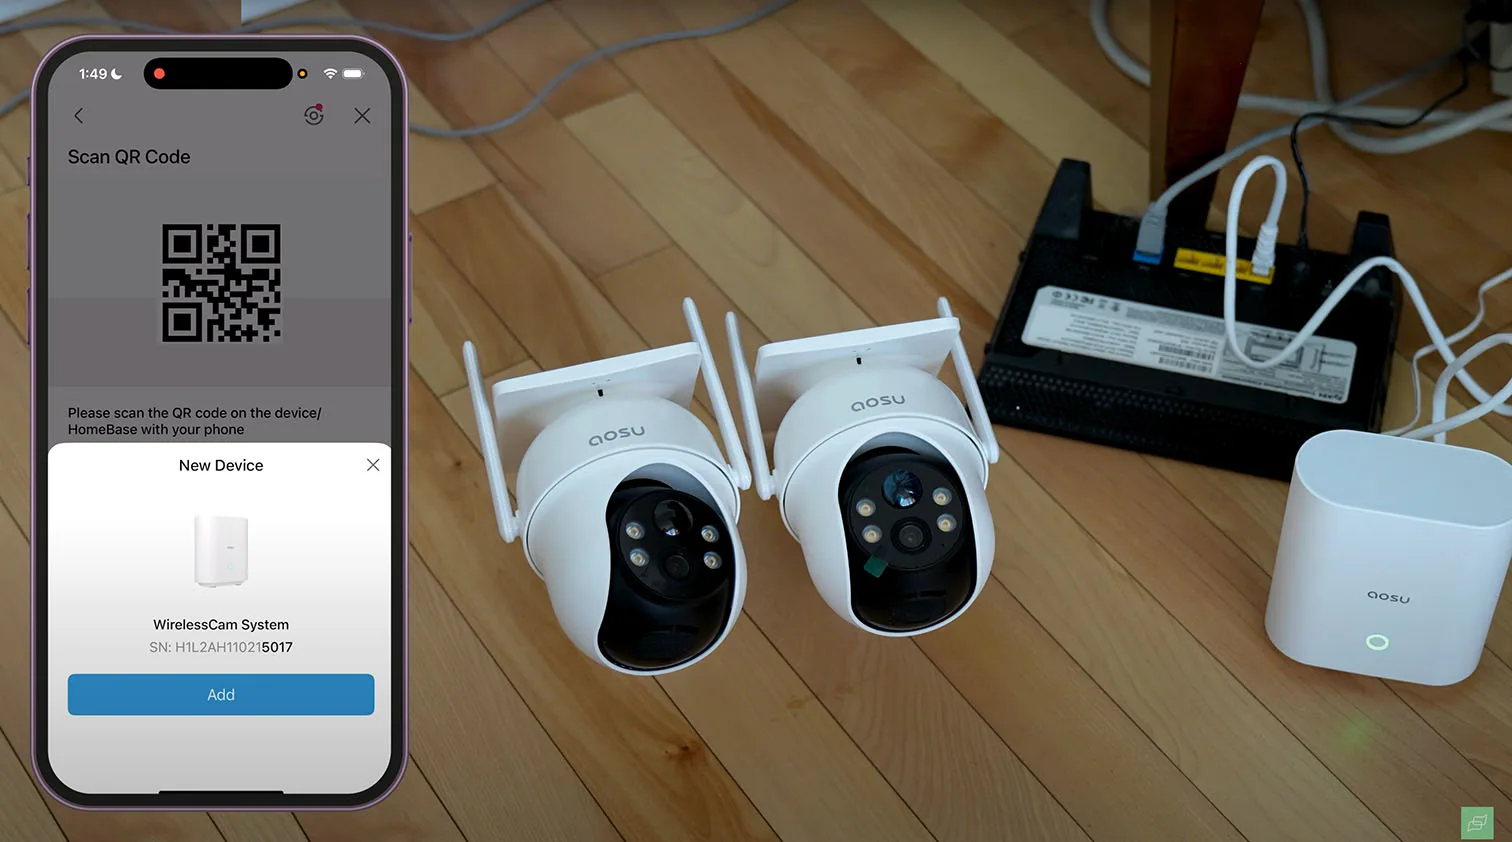
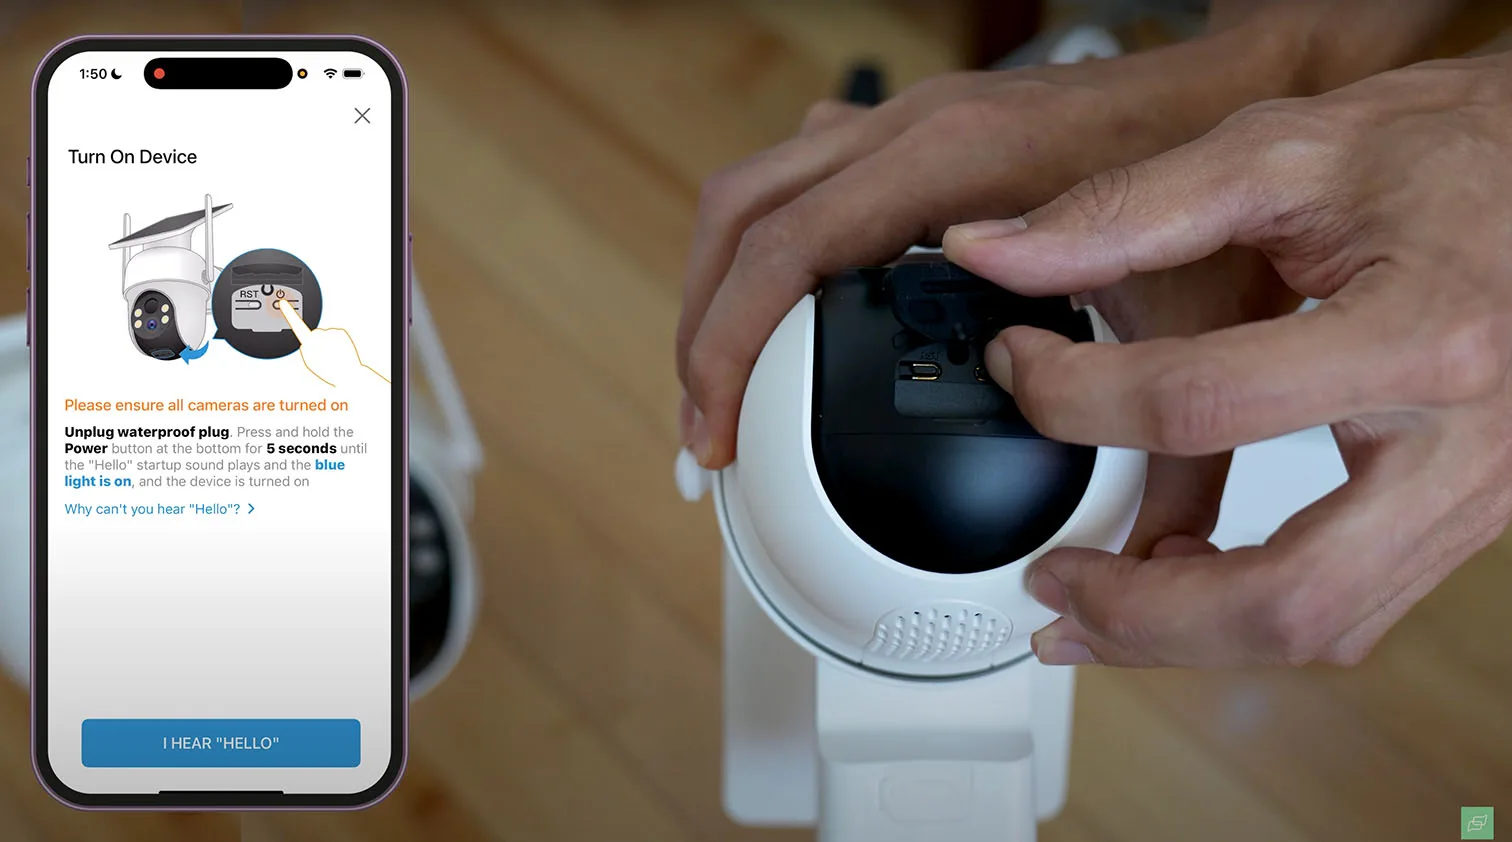
After powering on the HomeBase, we moved on to activating the aosu SolarCam D1 Classic Kit cameras. The process is quick and intuitive. Using the aosu app, we scanned the QR code located inside the camera’s mounting plate.
Within seconds, each camera confirmed pairing with a clear voice prompt - "pairing successful." This made it easy to proceed without double-checking in the app.
Even during outdoor testing, the audible “ready-to-pair” tone was loud enough to be heard over background noise - a thoughtful touch for installations in noisy environments like streets or construction zones.
Both cameras paired in under 30 seconds, with no repeated steps or failed attempts. The entire pairing flow was clean and responsive.

1 / 5
Real-Time Alerts
We were impressed by the responsiveness of the notification system. As soon as motion was detected, we received a push alert in the app within 1 to 2 seconds.
Each alert included a snapshot preview, giving instant context before even tapping into the app feed. This is particularly useful when deciding whether to take action or ignore minor movement (e.g., a passing car or pet).
During the initial setup, the camera’s built-in speaker confirmed each key event - connection to Wi-Fi, motion readiness, and more. For less tech-savvy users, this vocal guidance adds confidence and removes the guesswork from system configuration.
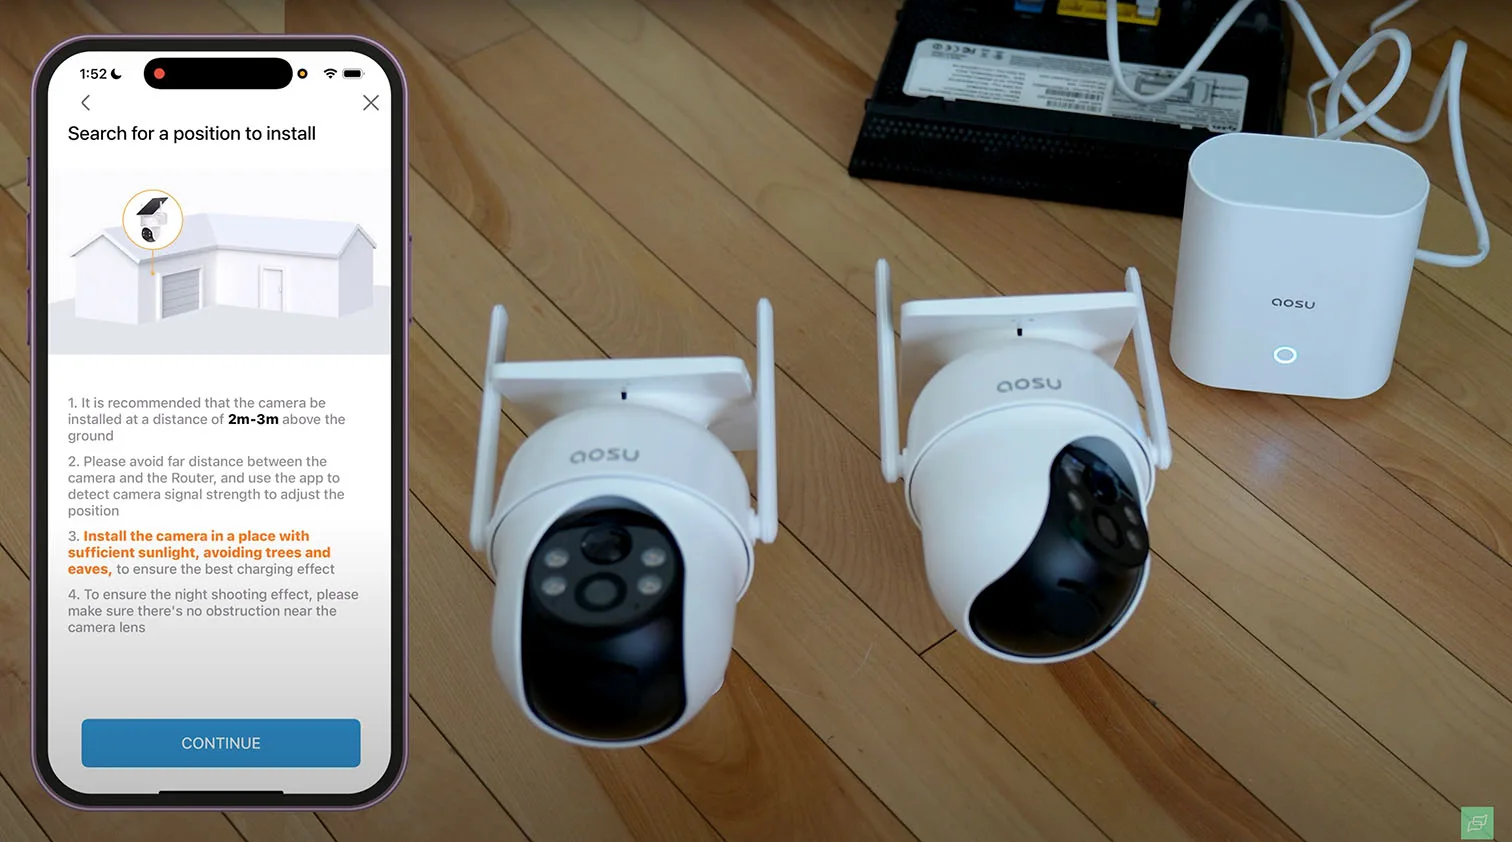
Signal Optimization & Positioning
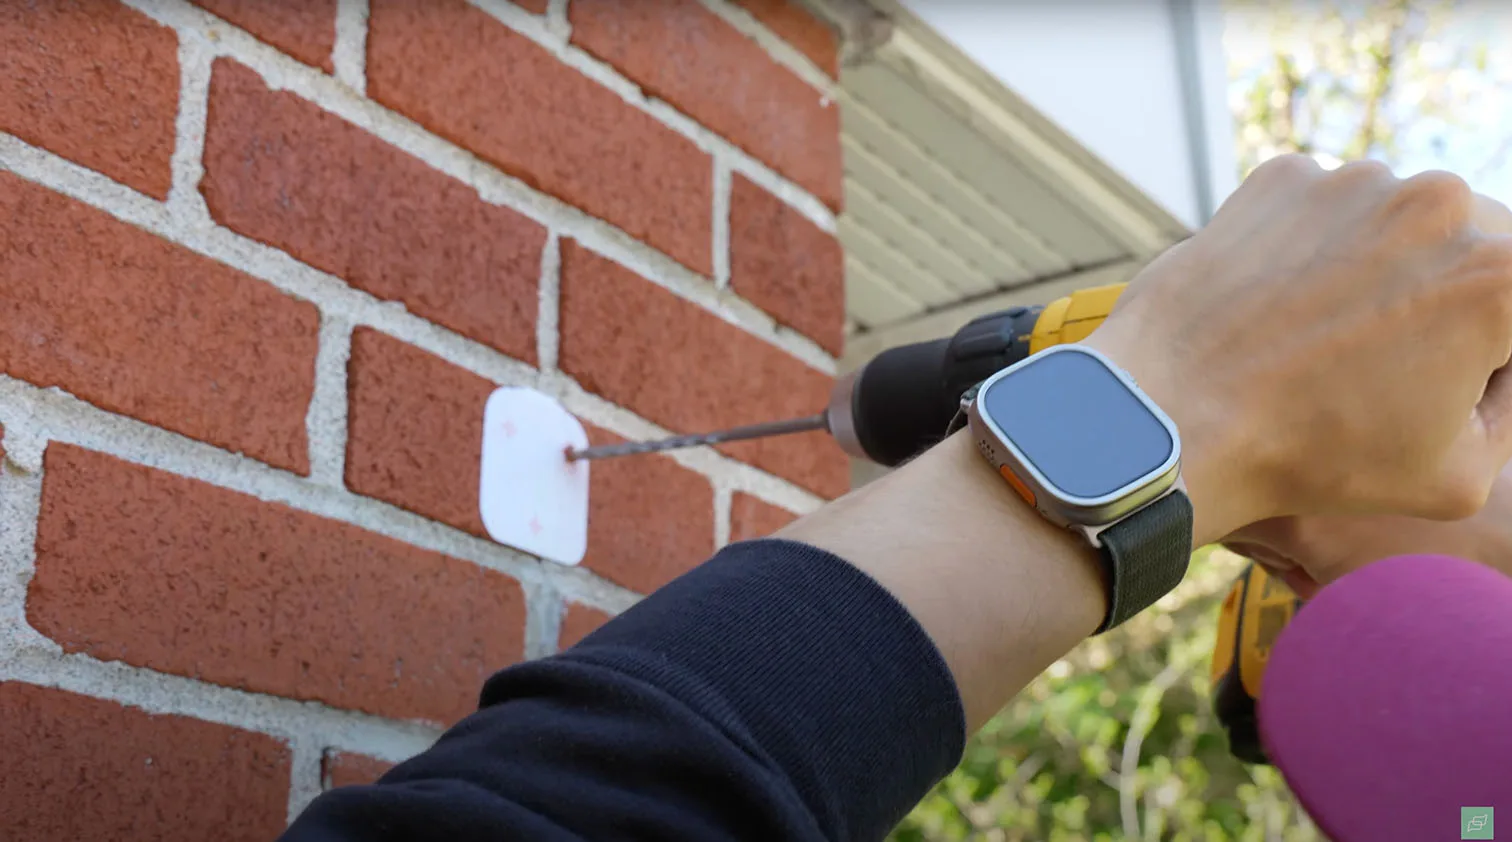
The app provided detailed, step-by-step assistance in determining optimal camera placement. We were guided to install the cameras 2–3 meters above ground level - high enough for wide coverage, but still reachable for solar maintenance.
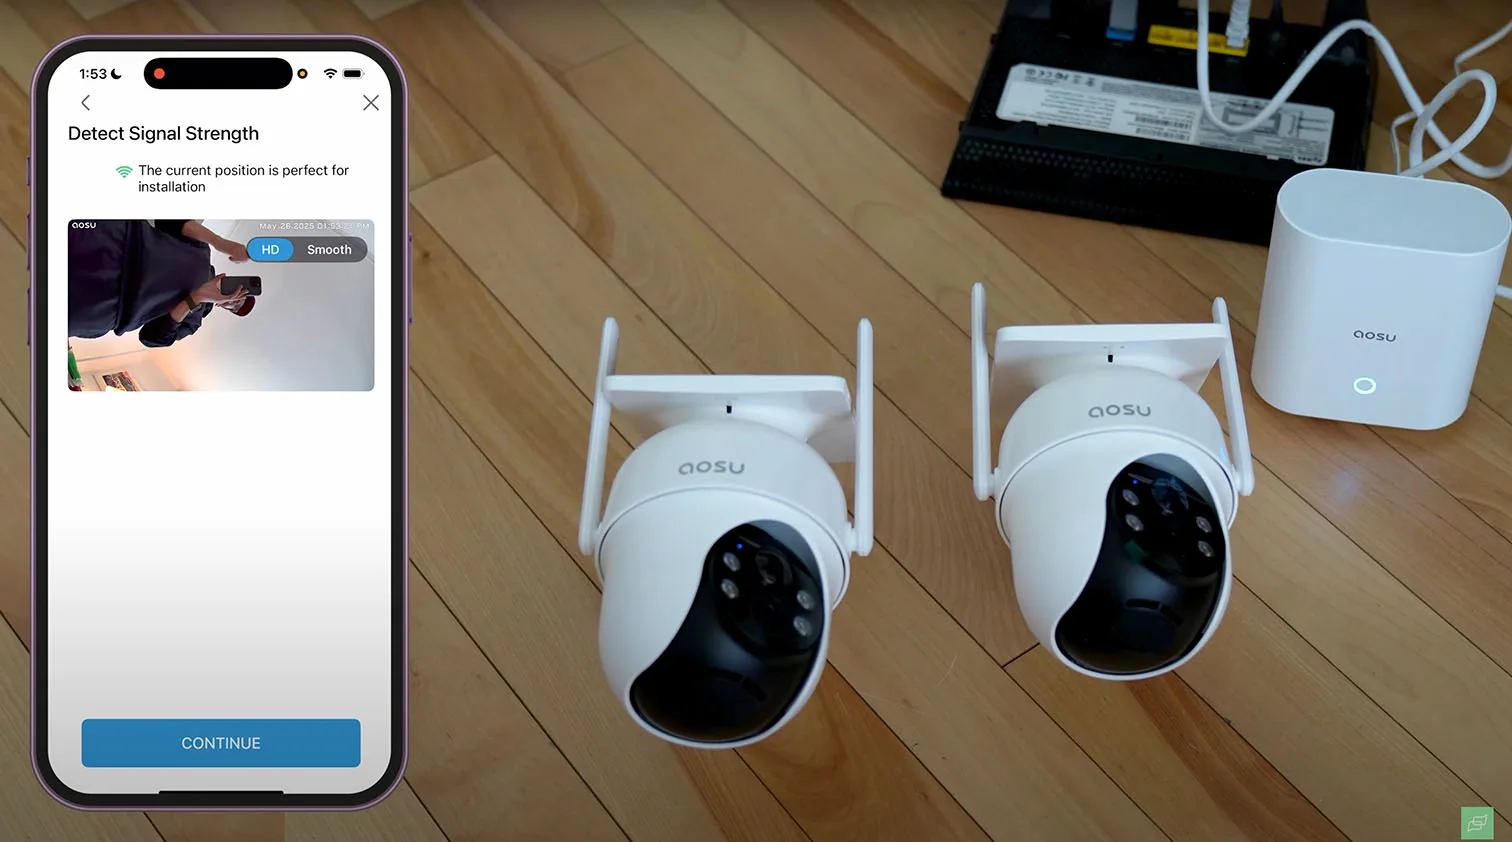
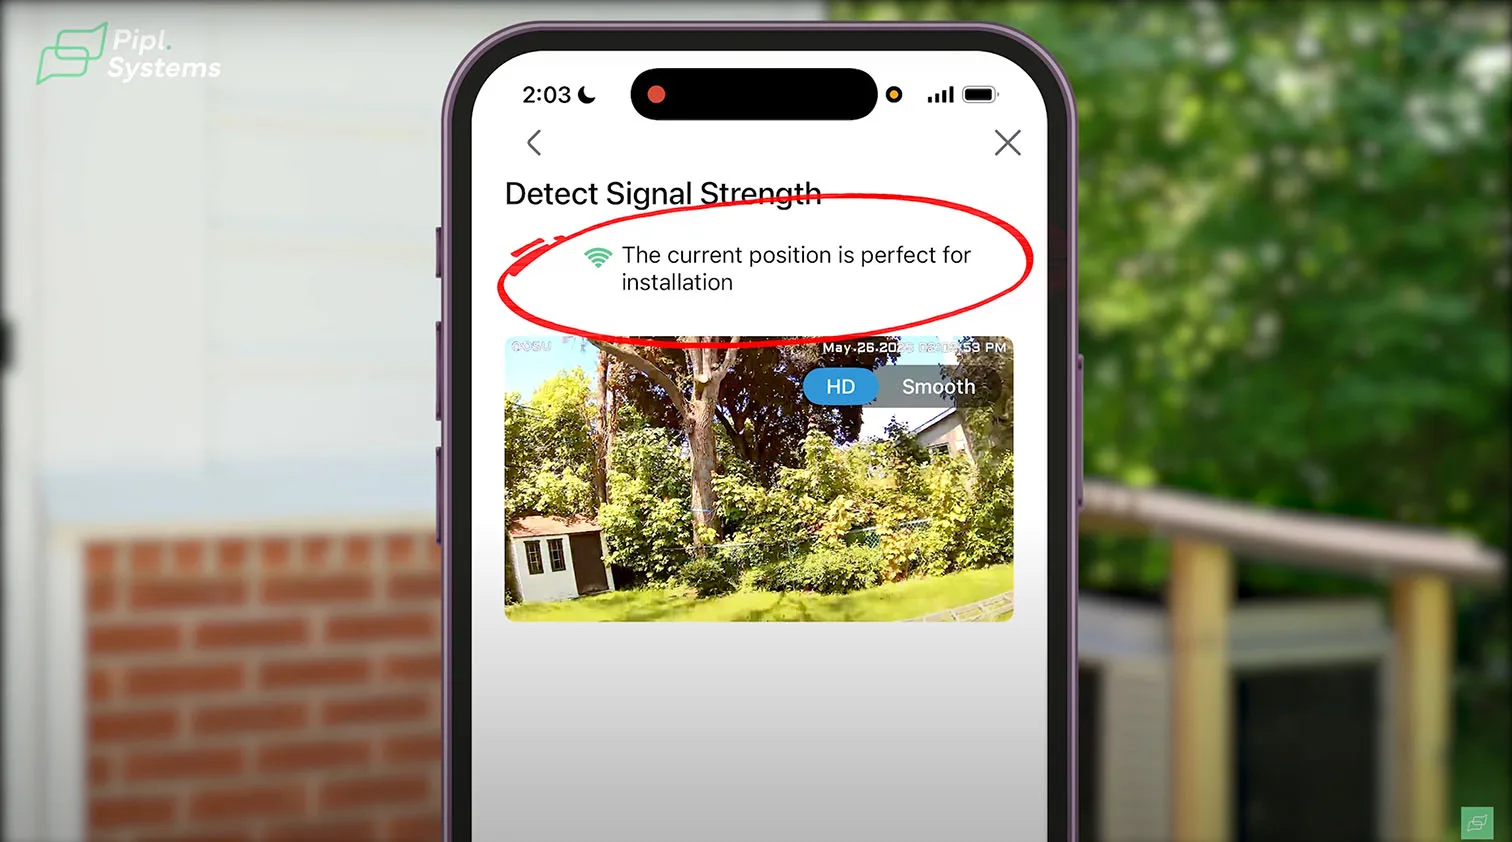
The signal strength testing feature in the aosu app proved genuinely useful. Before committing to a drill point, we ran the test, which visualized the current Wi-Fi signal strength at that exact location.
Clear labels indicated whether the connection was "strong," "fair," or "poor," helping us avoid dead zones near fences or under thick roof eaves.
This stage alone could prevent a costly misinstallation, especially in multi-camera setups.
1 / 5
Choosing a Recording Mode
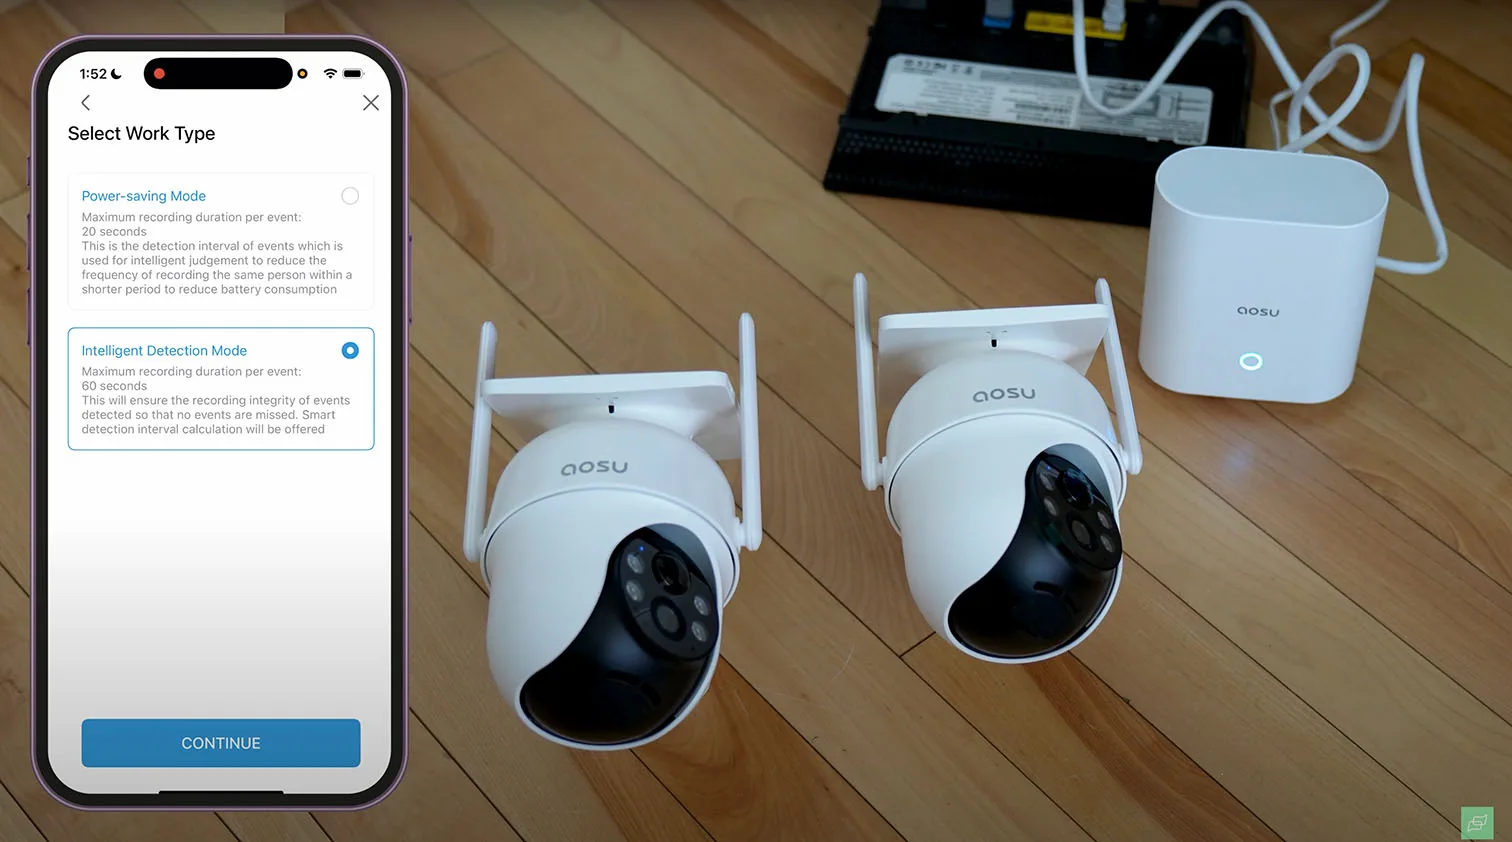
After physical placement, the system prompted us to select a recording mode. aosu offers two intelligent options:
• Power-saving Mode: This mode limits clip duration to 20 seconds and adds longer detection intervals. It’s designed to extend battery life in low-traffic areas such as garden fences or sheds.
• Intelligent Detection Mode: This allows recordings of up to 60 seconds per event and uses smart grouping to avoid missing critical moments between consecutive triggers.
We selected Intelligent Detection Mode, which proved ideal for a driveway scenario with periodic vehicle and foot traffic.
These settings directly affect solar charging efficiency and battery autonomy. For users balancing daily activity levels with off-grid power, this mode flexibility is a welcome feature.
Installation Tips and Solar Mounting
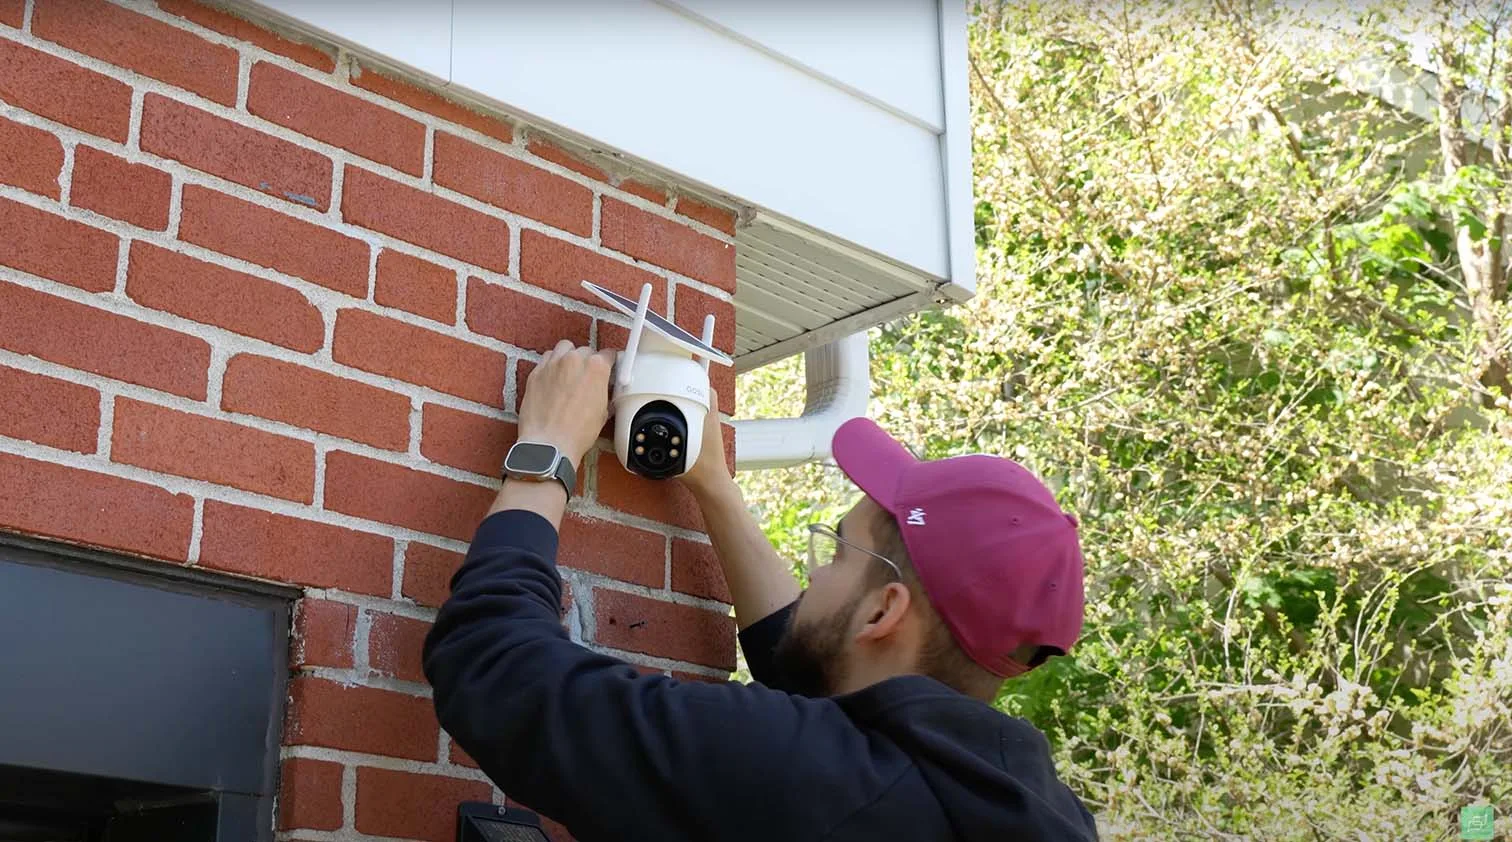
Wall and Fence Mounting Advice
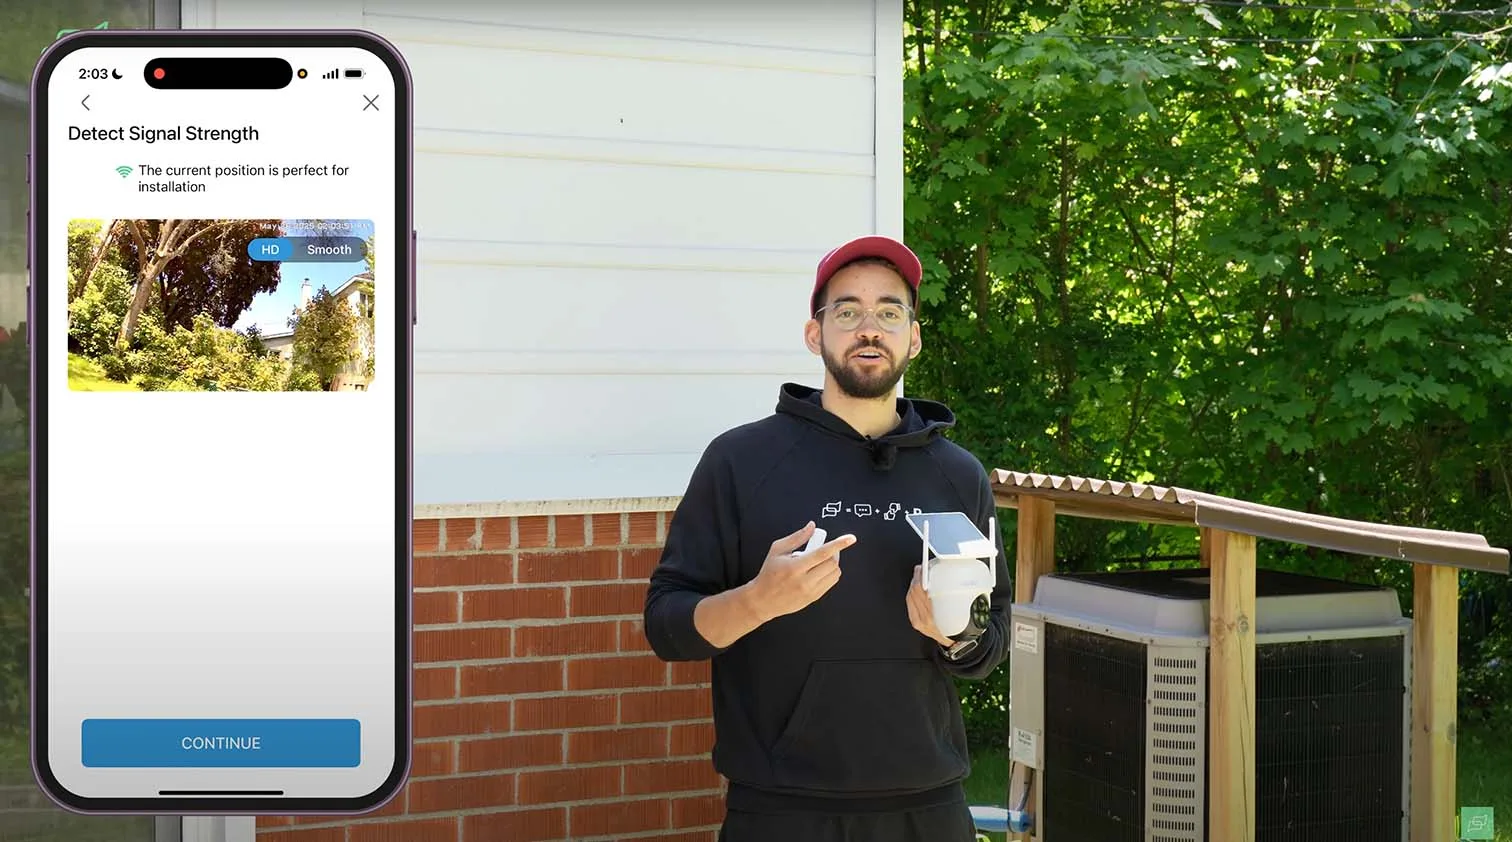
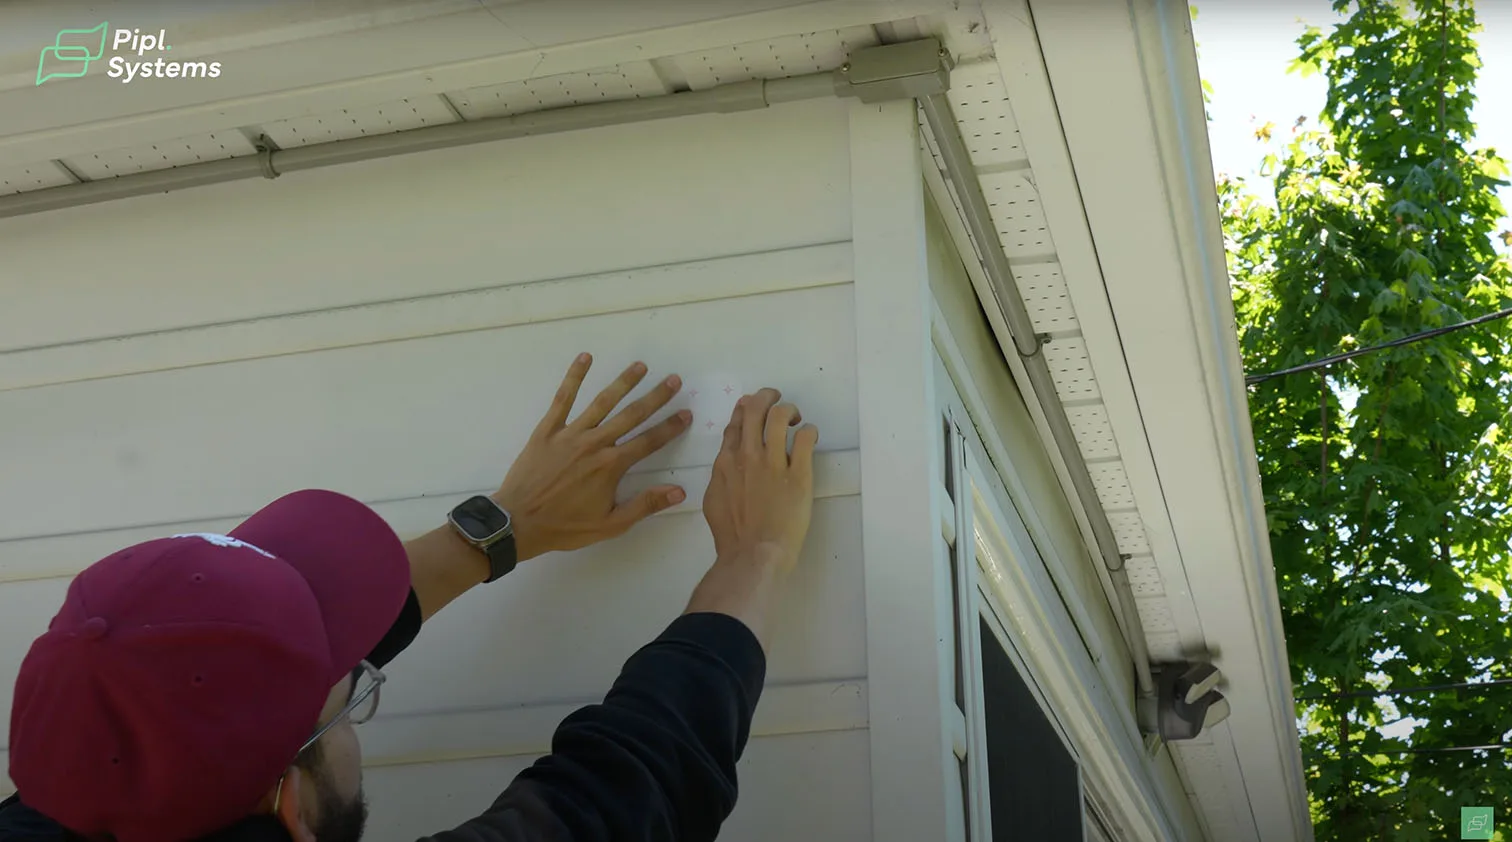
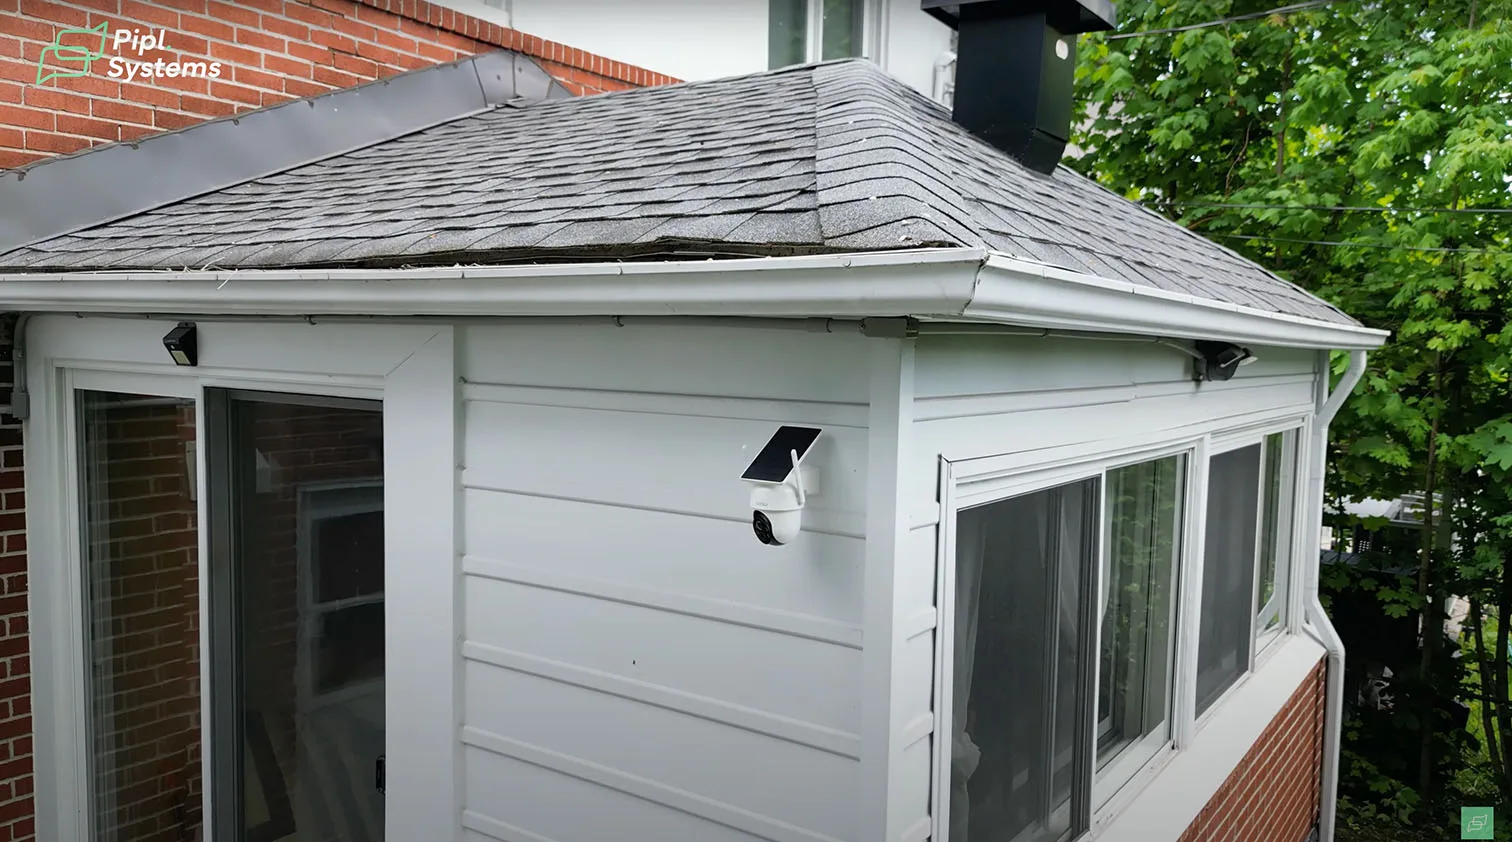
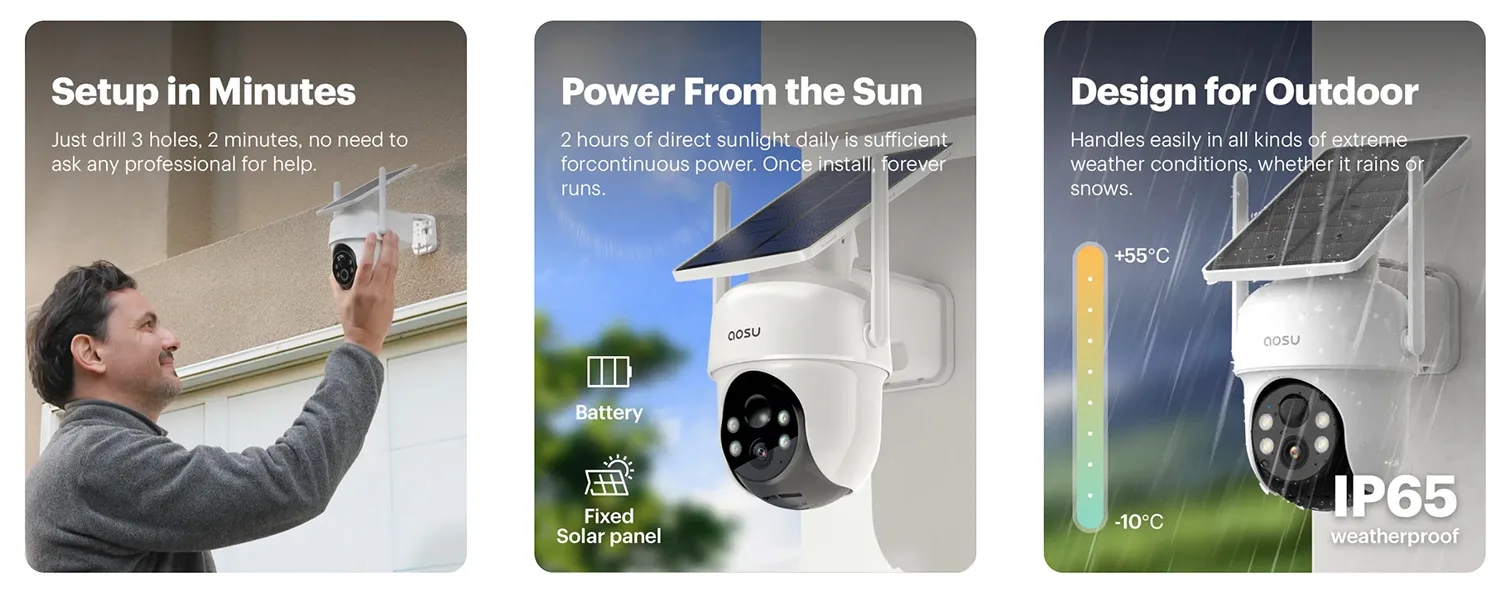
Our team tested the aosu SolarCam D1 Classic Kit on multiple surfaces - vinyl siding, treated wood, and poured concrete. Each scenario posed its own challenges, but the kit handled them all well. On vinyl, we used exterior anchors to avoid panel damage. On wood and concrete, the process was faster, and the pre-drilled templates helped align the mounts precisely.
The best placement for solar performance was south-facing. Even just two to three hours of direct sunlight per day was enough to keep the cameras topped up. This makes it practical for homes with partial shade or seasonal daylight changes across North America.

1 / 10
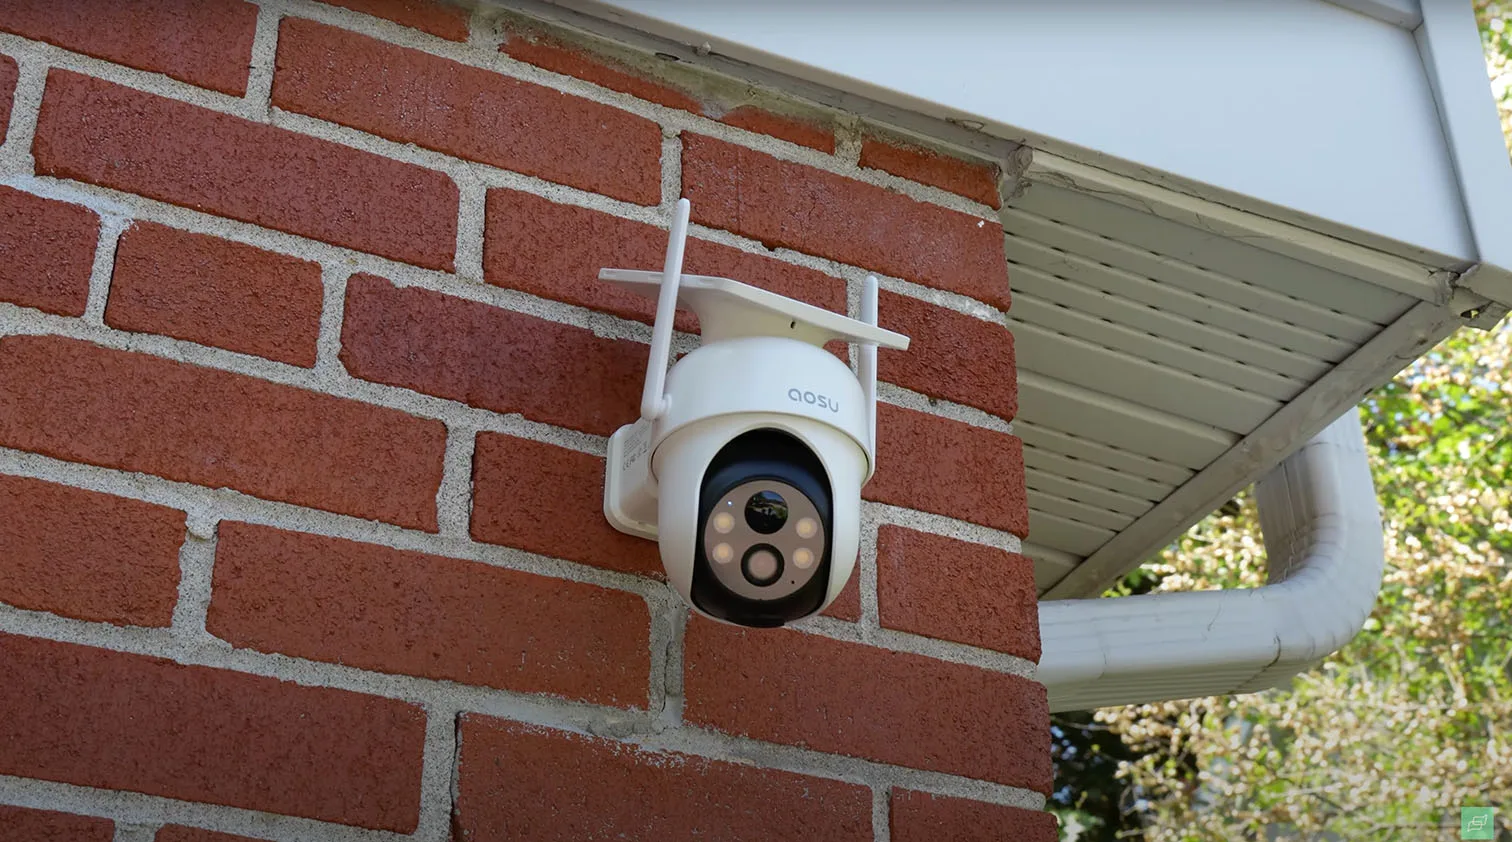
Solar Panel Placement
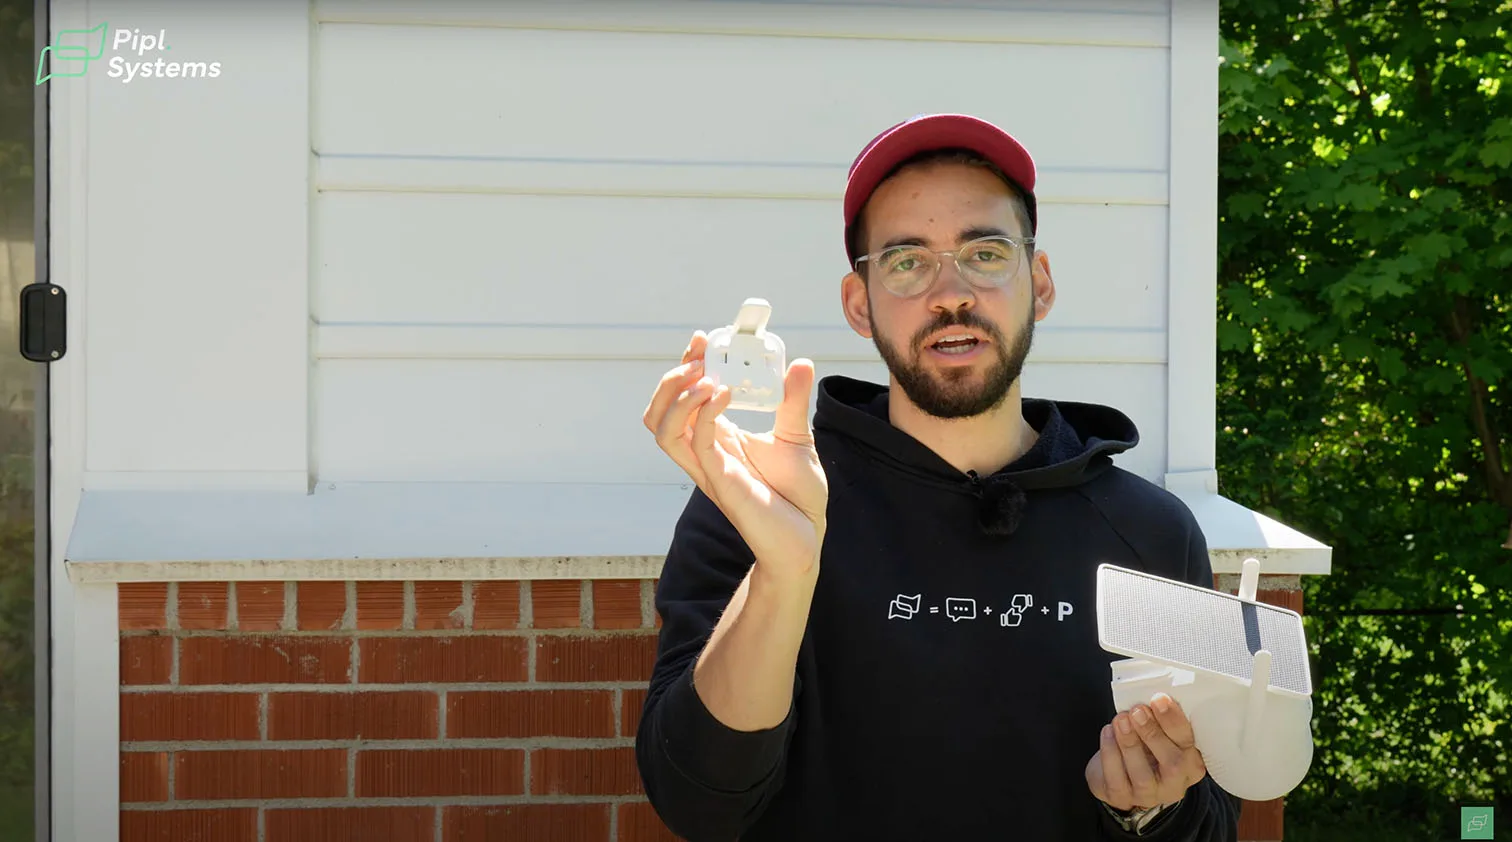
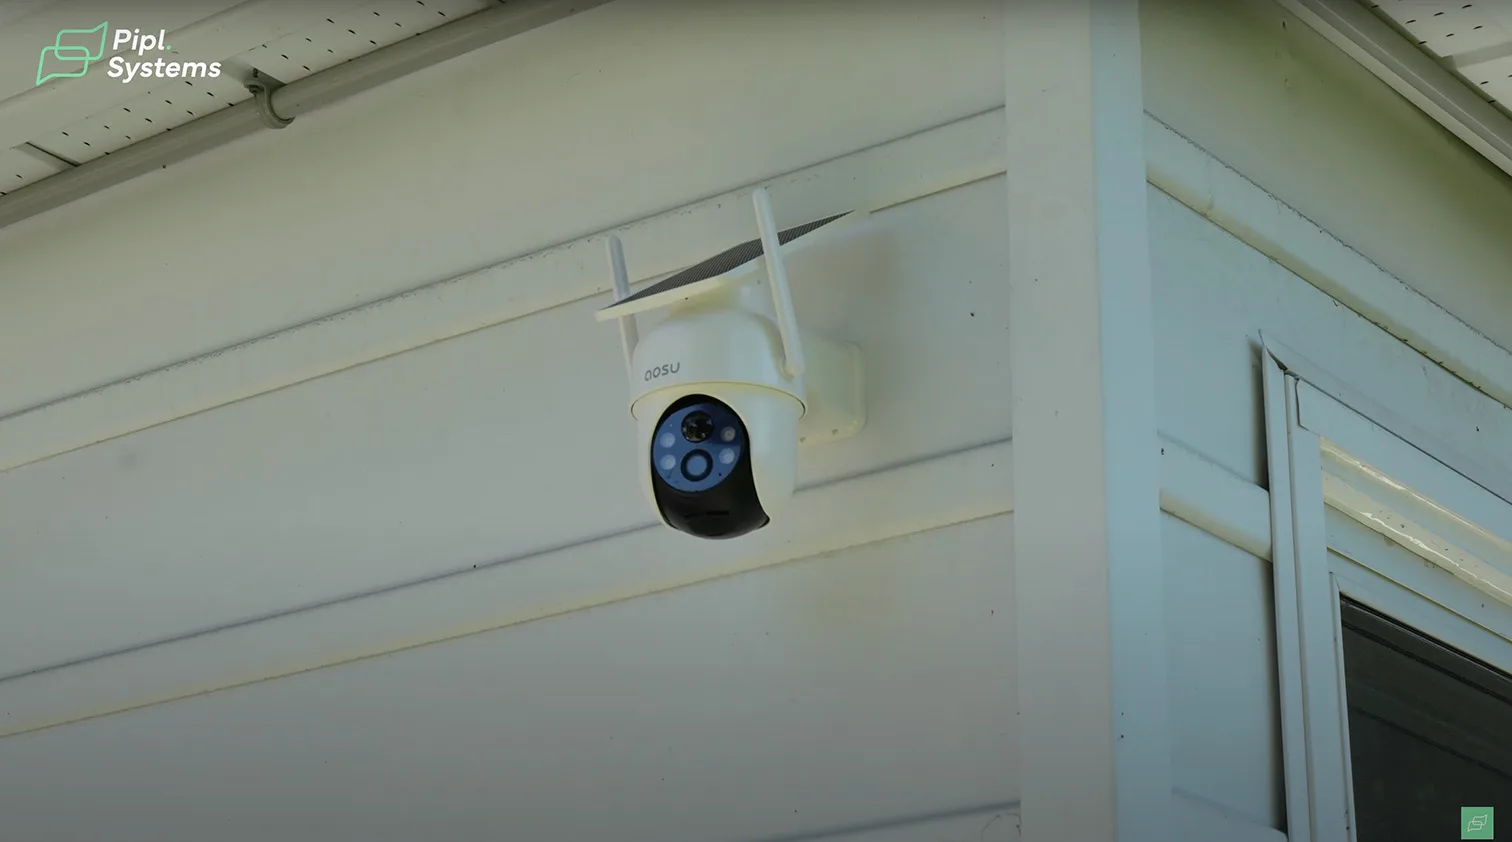
Unlike some kits with detachable solar modules, the aosu SolarCam D1 Classic features an integrated solar panel built directly into the camera housing. There are no external cables or panel extensions - the entire power system is consolidated into a single compact unit.
This design simplifies installation. The included mounting bracket allows you to tilt and angle both the camera and its panel simultaneously. During our tests, we adjusted the viewing and charging angle in one motion, locking it in place with three included screws. Despite multiple repositioning attempts, the bracket remained tight and stable.
To maximize solar efficiency, we recommend mounting the unit at a 25–30° fixed tilt, facing true south in the Northern Hemisphere. That orientation gave us the best results, especially during early morning and late afternoon tests.
What impressed us was the consistency of charging, even in partial shade or under light overcast. In multiple mounting scenarios - vinyl siding, stucco, and treated wood - the panel delivered steady energy intake without needing direct sun all day.
Viewing, AI Tracking & App Controls
Default Camera View & Control
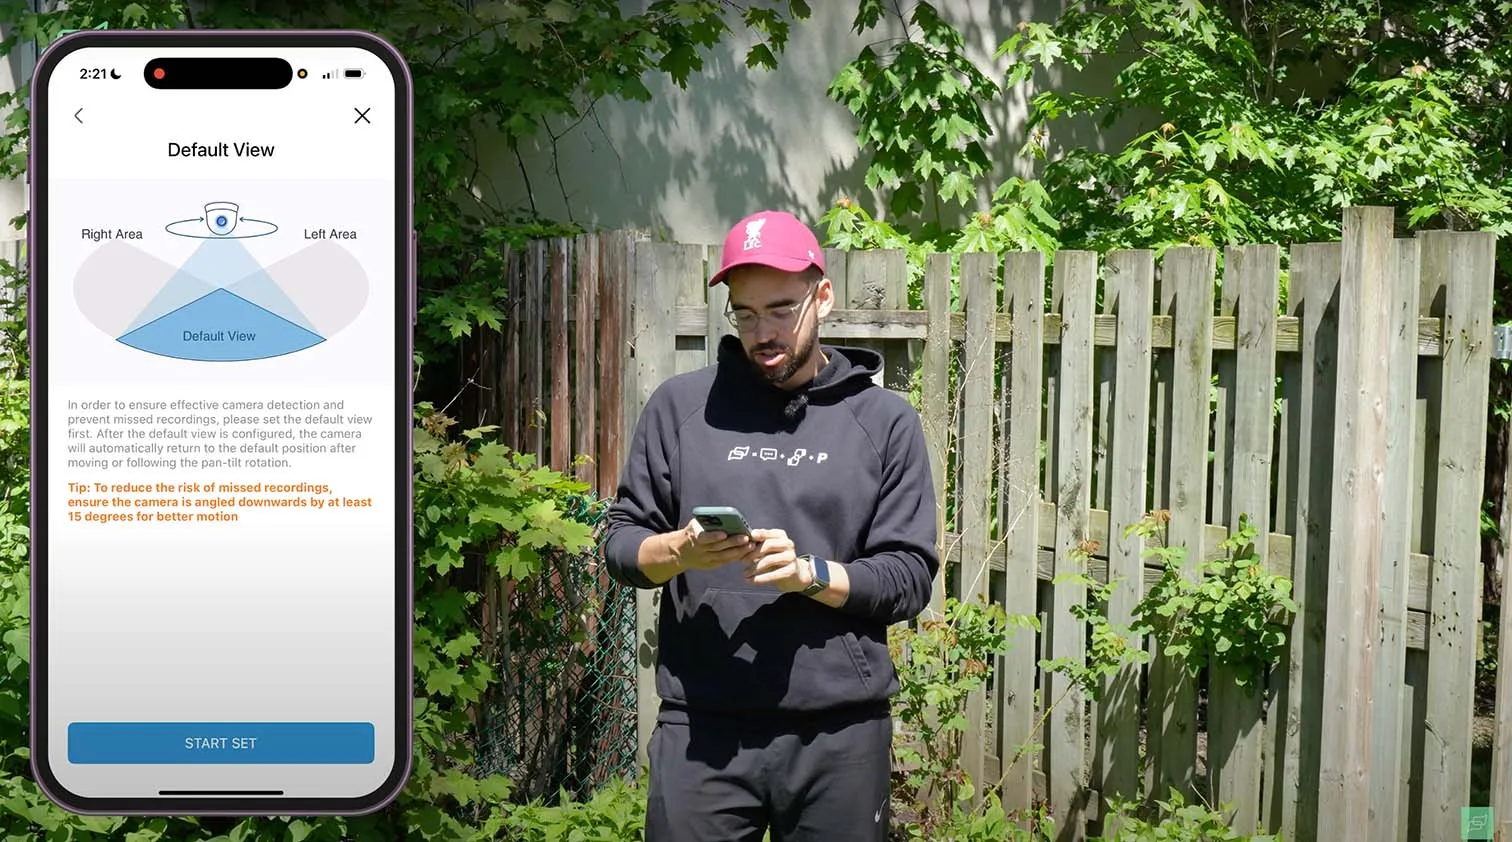
Once the camera was mounted, the app prompted us to define a default viewing angle. This is essential for PTZ models, as the lens will rotate to follow human motion but must return to a reliable starting point afterward. We chose a zone covering both entry doors into the backyard - the area most relevant for security.
Using the joystick-style controls in the aosu app, we fine-tuned the PTZ's positioning. The live preview responded instantly, with minimal latency, and image clarity remained sharp even during real-time motion.
1 / 2
Setting the default view ensures the camera always comes back to monitor your priority zone after tracking someone.
Light, Audio & Alarm Features
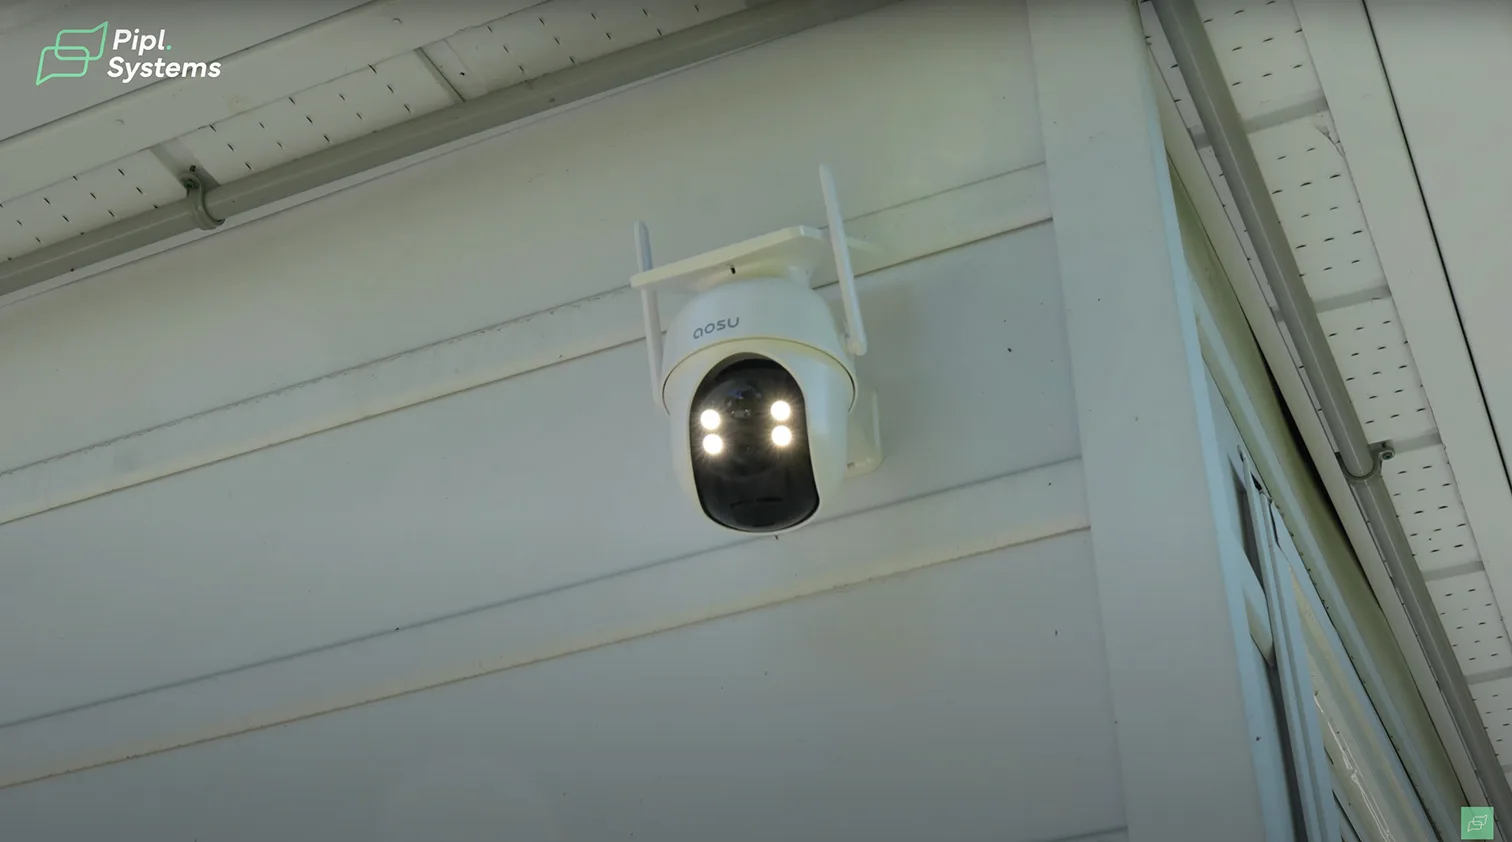
LED Spotlight in Action
The first control visible in the aosu app's live feed interface is the illumination toggle. Tapping this activates the built-in LED lights on the PTZ camera, either manually or automatically when motion is detected.
We tested the spotlight in a shaded patio area. It delivered a wide, bright spread - enough to maintain full-color video at night without needing infrared. This lighting feature is particularly useful for short driveways, backyards, or porch zones where visibility matters after sunset.
During live view, the spotlight can be turned on with a single tap. In our test, the beam extended several feet, making human subjects clearly visible even in low-light conditions.
Two-Way Audio
Next in the control row is the two-way talk function. This enabled real-time audio communication between our phone and the PTZ SolarCam. We stood approximately 15 feet from the camera and verified:
- The microphone picked up conversations with clarity, including background voice tones and footsteps.
- The speaker output on the camera side was powerful enough to be understood outdoors, even in breezy conditions.
We also tested the app’s voice filter option, which slightly modified the tone, useful as a deterrent or privacy layer.
Alarm & Deterrence
Finally, we explored the alarm button, the fourth control available in the aosu app during live view. Activating it triggered a built-in siren that was sharp and attention-grabbing, loud enough to be heard from inside the home through a closed window.
This siren can be set to activate automatically alongside motion detection or used manually as a real-time deterrence tool. During our test, the moment motion was detected, we triggered the alarm and received an instant push notification from the app.
For users seeking an active defense layer, this setup offers a reliable way to scare off intruders or alert nearby occupants without delay.
If you’re considering this type of functionality for a broader outdoor setup, especially in off-grid or driveway areas, solar-powered cameras with built-in deterrence and spotlight tools are becoming increasingly popular. We’ve compiled a full ranking of the 18 Best Wireless Solar Security Camera Systems for 2025 based on real testing, use cases, and performance in various environments - check out the full guide here for more options that match these smart features.
App-Based PTZ Controls & Smart Tracking
Manual Camera Navigation
In the live view interface of the aosu SolarCam D1 Classic, users are presented with an intuitive control panel featuring a 360° joystick. This allows full manual control over the camera’s movement – left, right, up, and down, offering a direct way to adjust the view when monitoring the property remotely. Even with smart tracking enabled, the system allows for temporary manual input, after which the camera re-centers to resume its auto-tracking function. This makes it easy to check different parts of the yard or driveway without interrupting automated behavior.
Smart Auto-Tracking Performance
Smart tracking was enabled by default and performed reliably during testing. As the person moved through the frame, the camera smoothly followed the motion without delay. This hands-off behavior is a core strength of the D1 Classic kit. When more than one aosu camera is deployed, the system’s cross-camera tracking ensures continuous coverage. If one camera loses line of sight, another picks up the subject automatically, reducing the risk of blind spots across larger properties.
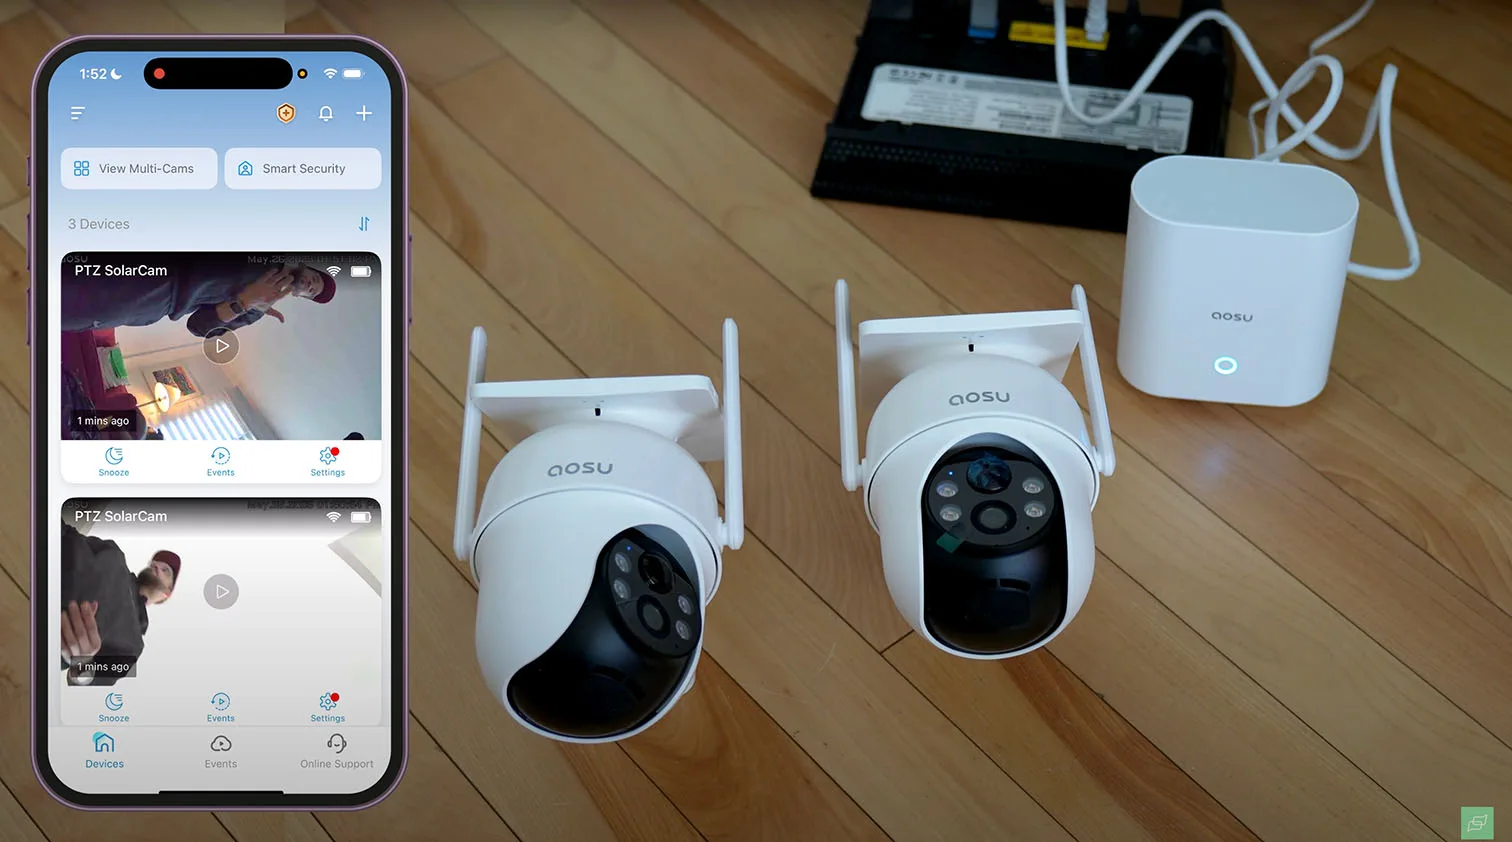
Event Playback and Storage Access
The app’s events section provides categorized footage sorted by event type, whether it was an alarm trigger, a subject staying within the frame, or simply passing by. Users can switch between local and cloud storage with a tap, enabling quick access to all recorded events from the day. With the smart recording mode selected, each event is stored as a full 60-second clip, offering extended context compared to the industry average. For improved clarity and organization, cameras can be renamed within the app to reflect their mounting locations, such as “Backyard” or “Driveway,” which helps streamline monitoring when multiple units are installed.
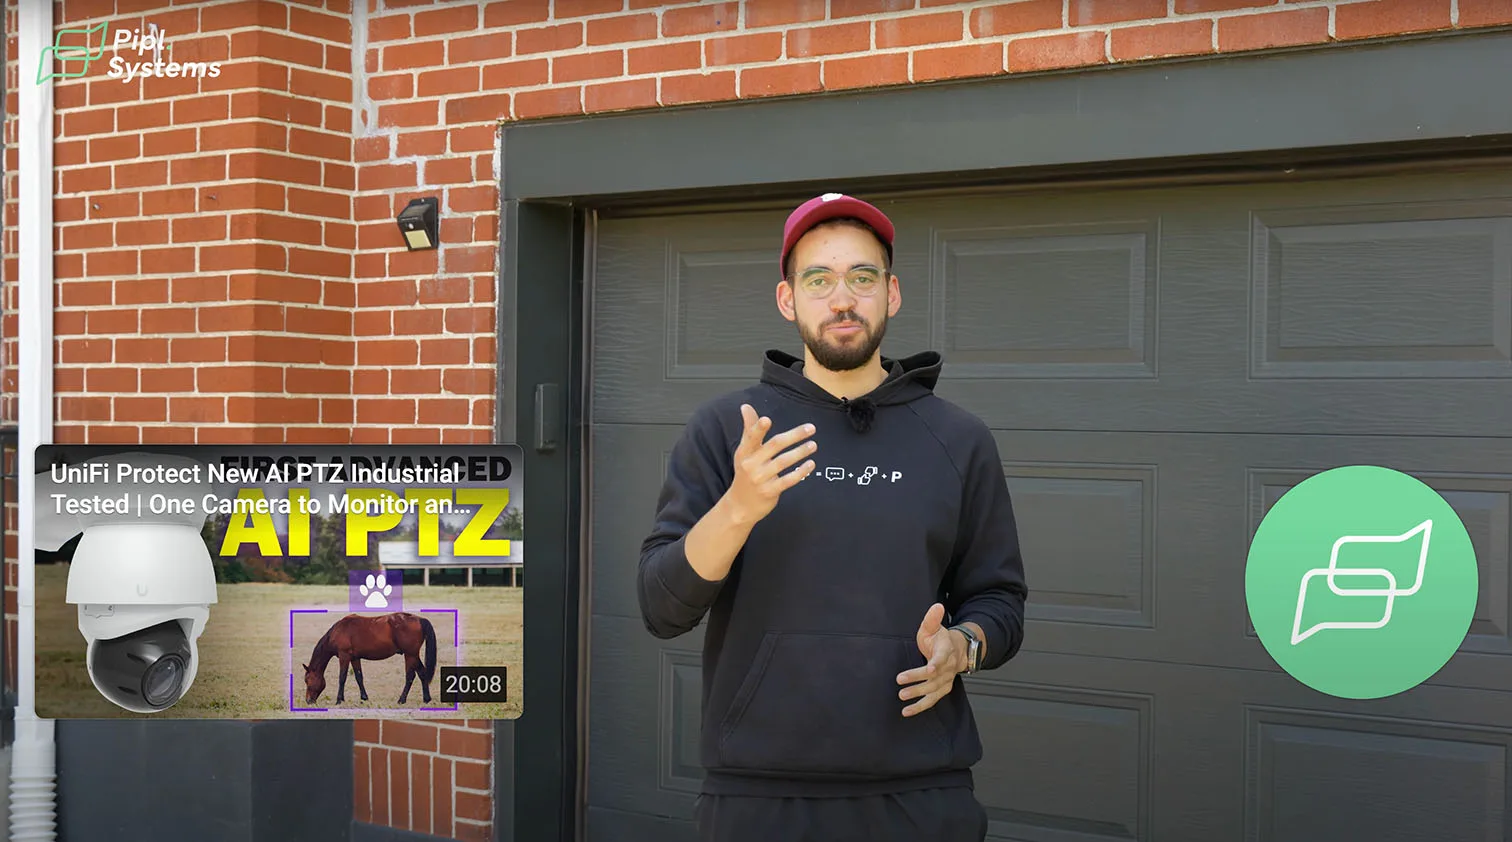
If you're looking to scale up this kind of smart tracking and remote navigation across an entire home or multi-entry property, aosu’s HomeCortex platform offers a powerful, AI-enabled solution. With no monthly fees and seamless app-based control, it’s designed to unify doorbells, PTZ cameras, and smart alerts under one interface. You can explore the full lineup and key capabilities in our aosu Home Security Cameras & Doorbells with AI guide. Watch our full ISC West 2025 walkthrough on YouTube:
Second Camera Setup and View Optimization
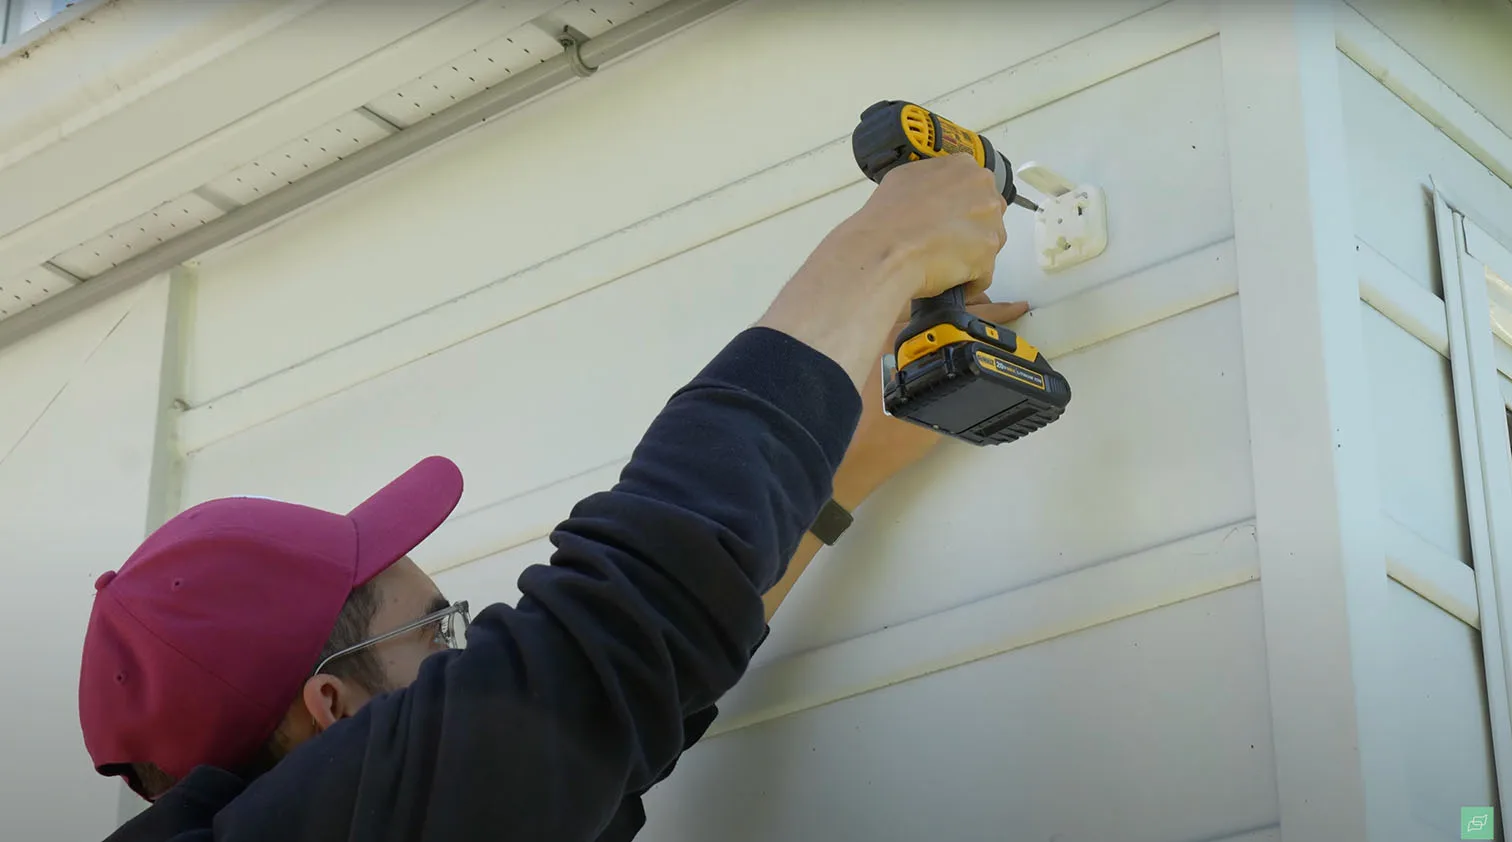
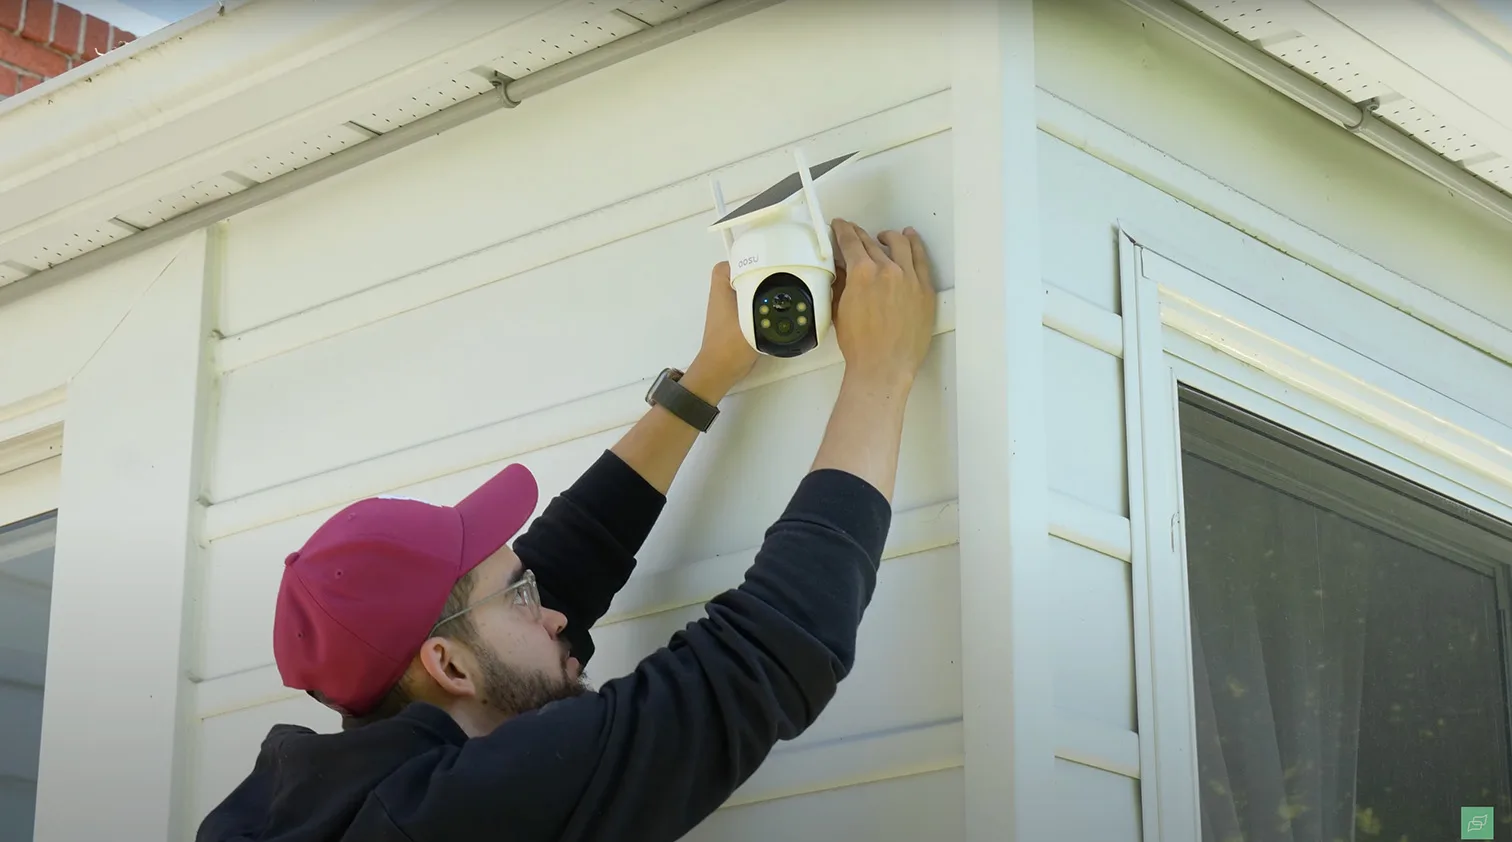
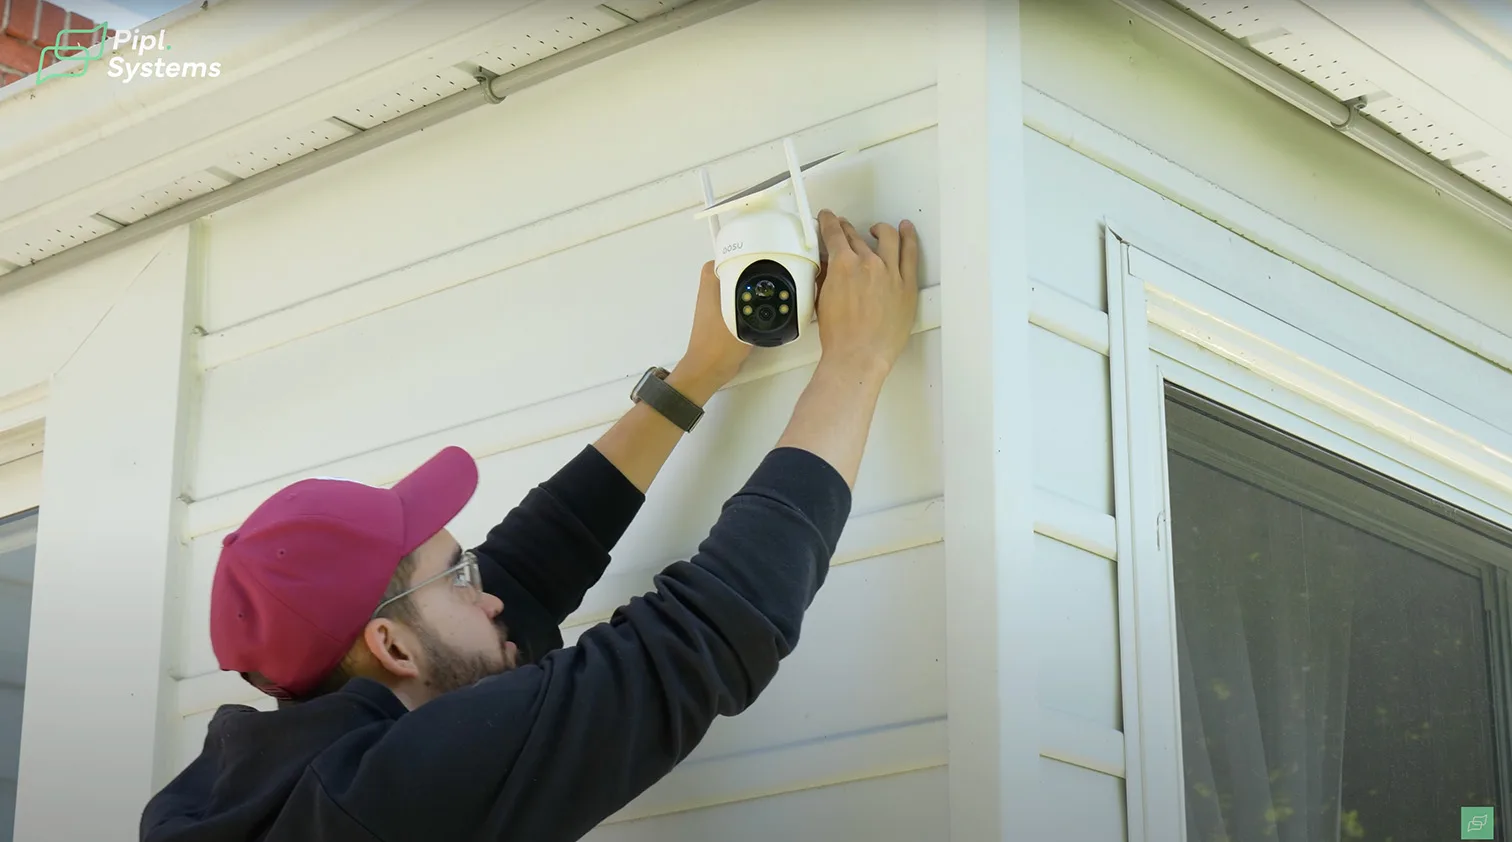
Mounting the Driveway Camera
The home security camera installation process for the second PTZ SolarCam unit on the driveway follows the same cable-free approach. With only the mounting bracket to attach, the camera simply clips into place, making the setup quick and straightforward. The key requirement during this stage is verifying that the wireless signal strength from the home base is sufficient. Before finalizing installation, it’s recommended to test connectivity at the mounting location to ensure stable live streaming and event recording.
Adjusting the Default View
Once the camera is powered and visible in the app, the default viewing angle can be configured. This is done from the camera settings menu by accessing the “Default View” option. Using the joystick interface, the lens is adjusted to the desired position, typically covering the entire driveway or a specific entry point. After the angle is set, saving the view ensures the camera will return to this position after tracking events.
Live View Controls and Image Settings
With the camera online, the user has access to several features from the main interface. The image quality can be switched to Ultra HD for enhanced detail. Manual recordings can be triggered directly from the interface, allowing users to capture footage even if no motion event is detected. The live feed can also be viewed in full-screen mode, enabling more precise manual PTZ control using swipe gestures across the mobile screen.
Panorama View and Preset Navigation
A notable feature at this stage is the panorama generation function. When activated, the camera performs a horizontal sweep to capture a wide-angle composite of its field of view. This panorama becomes an interactive map that allows the user to tap on a specific section. The camera will automatically reposition itself to center that area, offering a more efficient alternative to manual joystick navigation. These panorama-based presets simplify directional control and improve usability, especially for frequently monitored zones.
For users expanding coverage to driveways, garages, or side yards, the aosu 4K SolarCam P1 Max with HomeCortex offers a high-resolution, wireless setup that’s easy to scale. Its built-in AI, combined with the HomeCortex hub, supports smooth PTZ control, default view locking, and full-scene panoramas. You can explore how it stacks up against other leading systems in our Top 5 Best NVR Security Systems for Home in 2025 guide.
Advanced Configuration of the Driveway Camera
Accessing the Camera Settings
After positioning and saving the default view for the driveway camera, the configuration continued through the in-app settings menu. The top-right corner of the camera interface offered access to a wide array of advanced options that refined how the device behaves day-to-day.
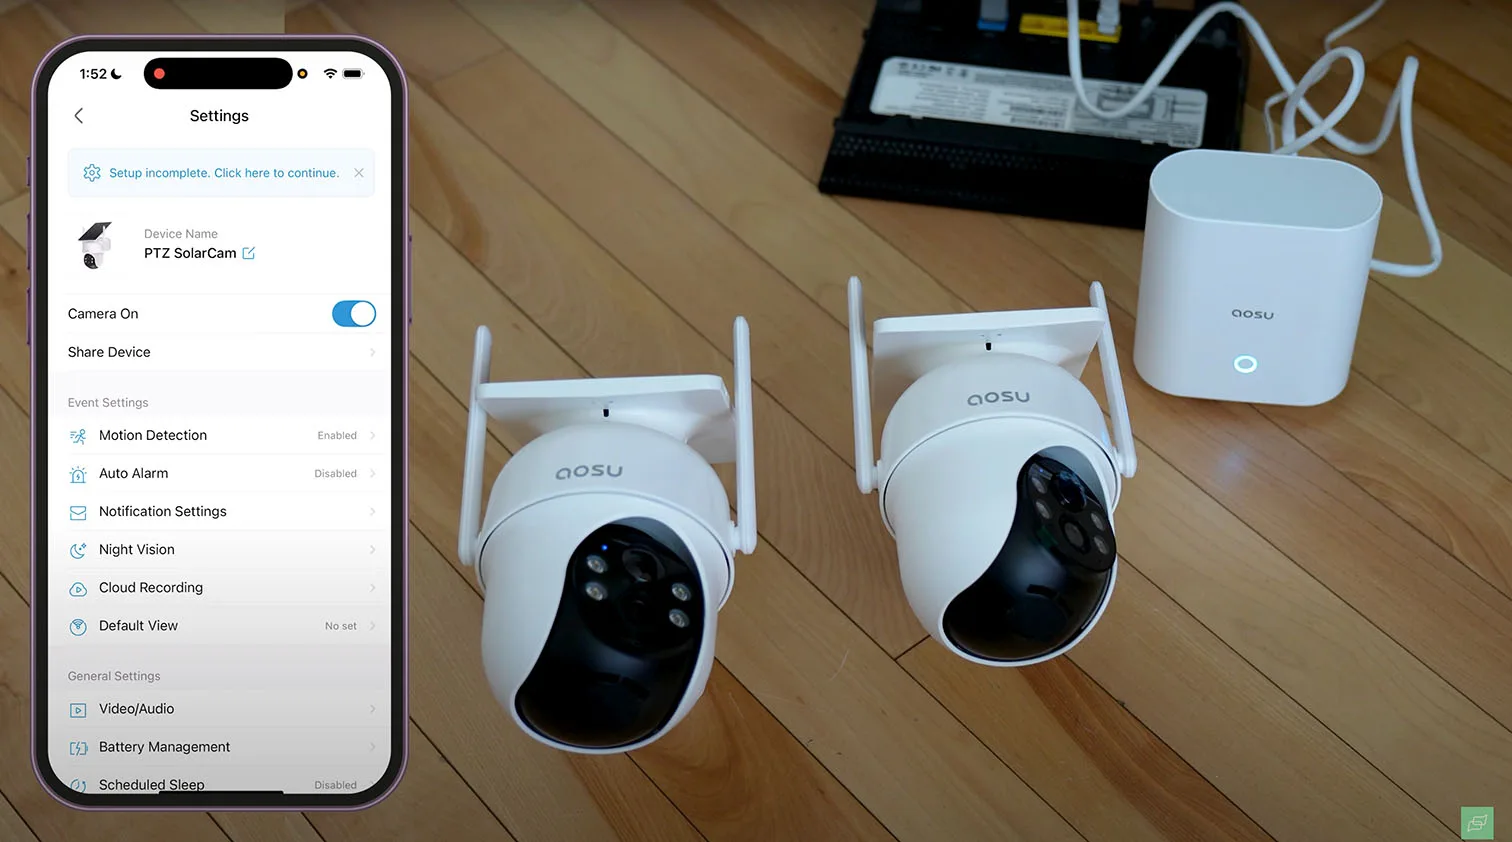
Fine-Tuning Motion and Alarm Settings
The motion detection feature could be toggled on or off manually, allowing the user to fine-tune when and how events should be triggered. The auto alarm function, disabled by default to avoid unnecessary disturbance, could also be activated depending on the security needs of the location. Notification preferences were clearly laid out, showing real-time event logs that had already accumulated during setup.
Adjusting Vision, Recording, and Battery Behavior
Night vision settings, cloud recording access (if subscribed), and general preferences were all managed in this same menu. Under the video settings tab, image quality could be customized further, and audio functionality was configurable depending on whether two-way communication or live listening was needed. Battery management data was also available, showing real-time solar charging status and overall battery level. In this case, the camera had already begun charging under sunlight shortly after installation.
Two distinct recording profiles could be selected from the same screen - Power Saving and Intelligent Detection - depending on whether the user prioritized extended battery life or higher accuracy for motion events. Additional tools like Scheduled Sleep provided further control over energy use, allowing the camera to automatically stop recording during specified time periods to conserve battery and storage resources.
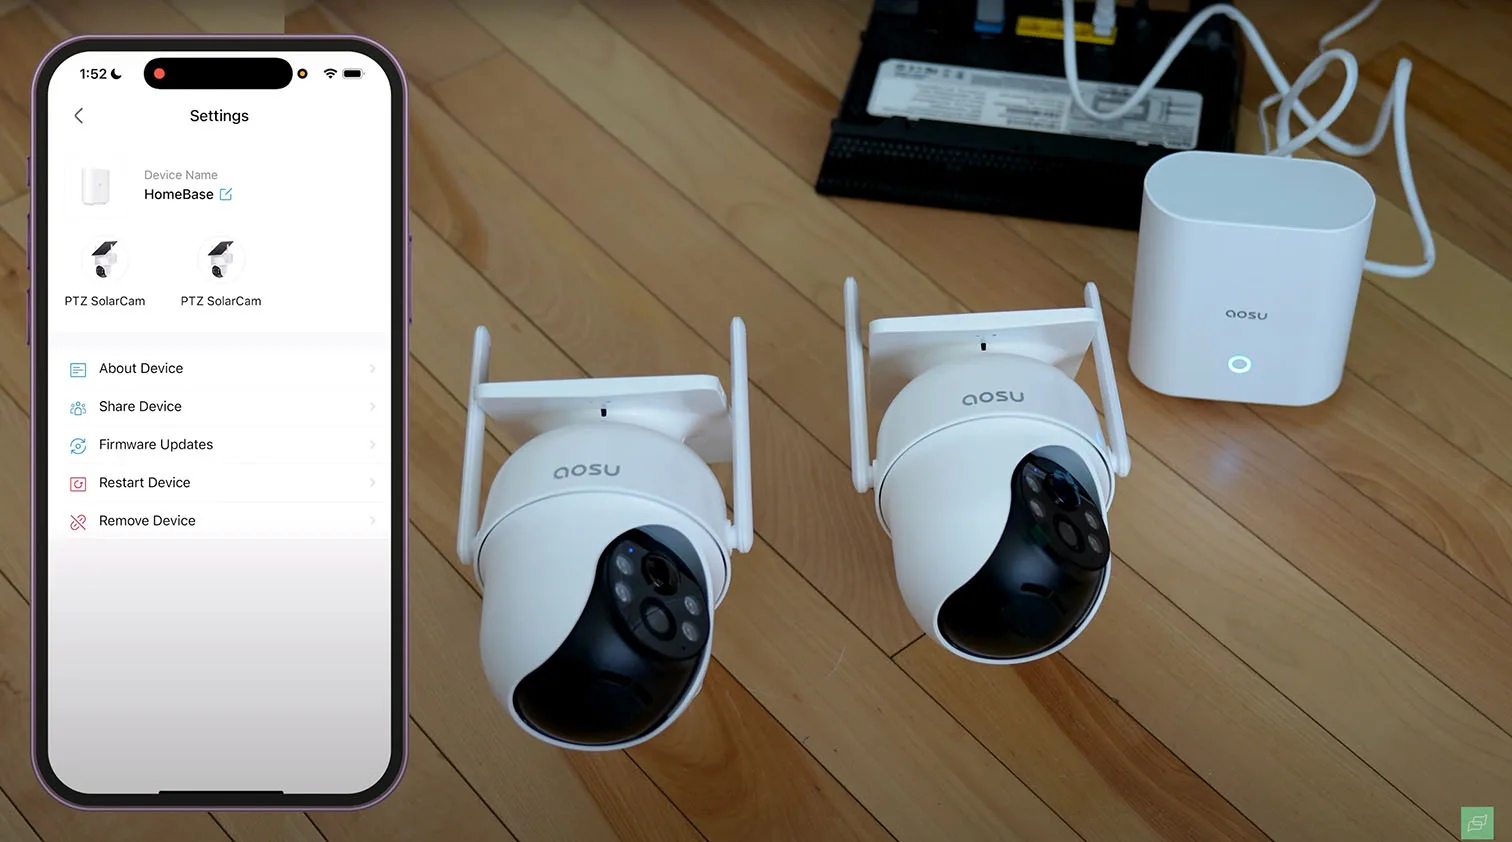
Smart Integration and Device Identification
More customization options included toggling the LED status light, integrating with Amazon Alexa or Google Home for smart display access, and managing firmware updates. Users could also find technical documentation such as manuals and model information directly in the device's settings.
Renaming and Organizing the Camera
To finish the configuration, the default camera name was updated from the generic model identifier to something more intuitive. Once renamed, the camera appeared under its new label within the system, helping ensure easy monitoring and management going forward.
For users seeking deeper customization of their camera’s behavior, these advanced configuration tools unlock the full potential of modern AI-enabled security systems. From intelligent motion alerts to smart energy management, each setting refines daily performance. If you’re comparing options or curious how this setup ranks among today’s most advanced models, check out our full guide and video review of the Best AI Security Cameras for 2025, including the aosu 4K SolarCam P1 Max and other AI-driven picks.
Real-World Testing Outcomes
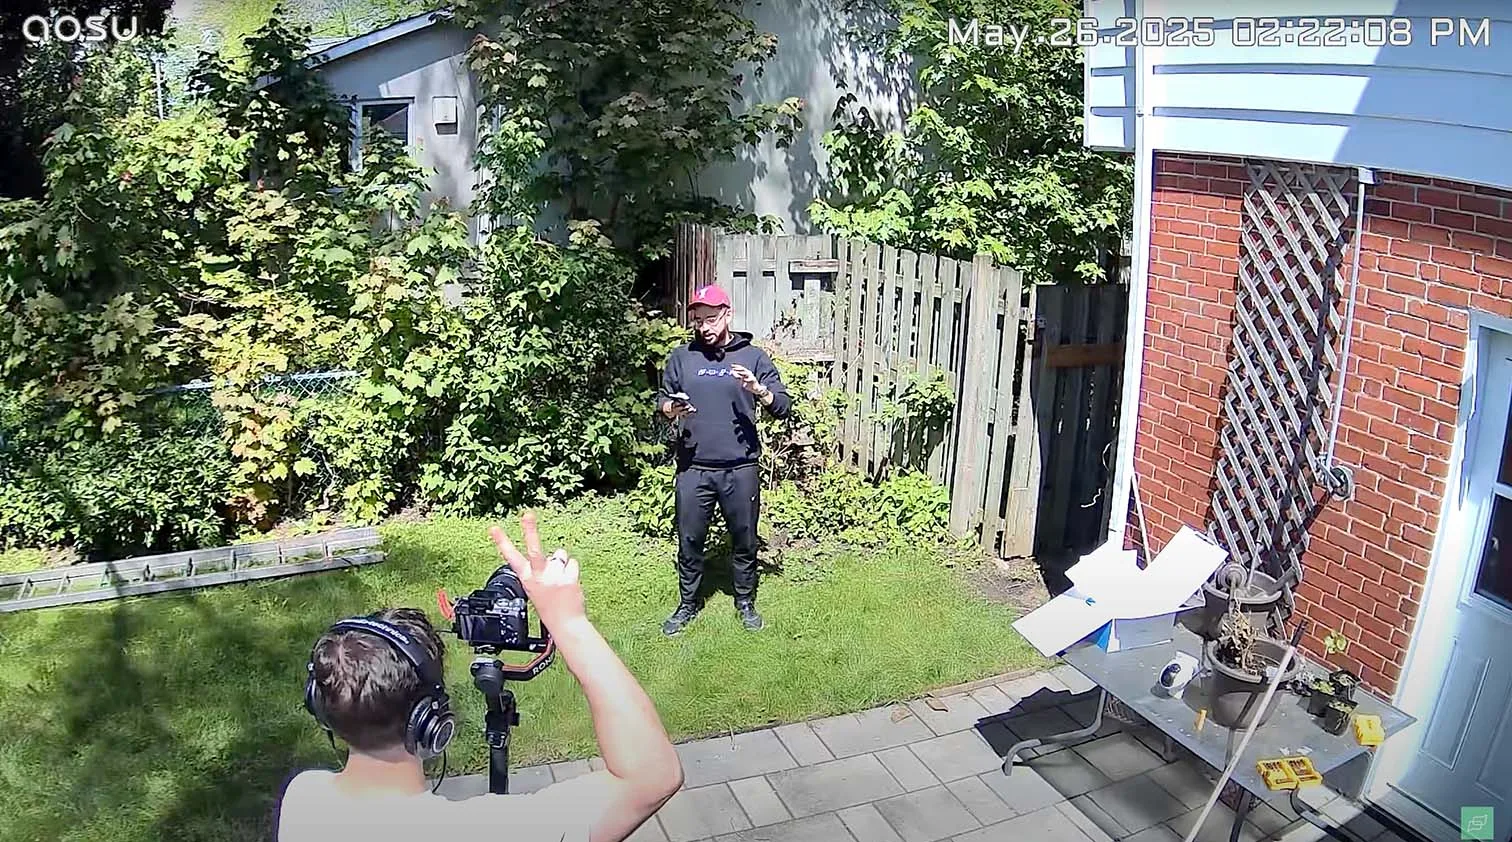
Battery and Solar Performance
During testing, the aosu SolarCam D1 Classic Kit demonstrated consistent battery levels even under varying light conditions. When positioned in partially shaded areas with moderate daily motion events, the system maintained a battery charge well above 70%, showing that its internal power management and solar input were effectively optimized. In direct sunlight, both cameras reached full 100% charge levels by early afternoon, typically around 2PM, indicating that the integrated solar panel and 5-watt-hour charging capacity were more than sufficient for sustained use without the need for manual recharging.
Cold Weather Readiness
We exposed the system to winter conditions at -5°C with relative humidity at 30%. The enclosure, constructed from weather-resistant plastic and rated at IP65, showed no condensation or moisture issues. Operation remained stable, and the video feed over Wi-Fi was unaffected by the lower temperatures. Despite the colder environment, there were no slowdowns or disconnects in video transmission, and PTZ movement continued without lag. This confirms that the unit’s electronics and battery are well-insulated and capable of reliable winter operation.
App Stability
Across both iOS and Android platforms, the aosu app provided a consistently stable experience. During multiple sessions over several days, we encountered no crashes, connectivity drops, or erratic behavior. The layout was intuitive for first-time users, with streamlined access to motion alerts, live view, and camera settings. Cloud service offers remained unobtrusive, allowing full use of the 32GB included HomeBase storage without aggressive upselling. Integration with Alexa and Google Assistant also functioned correctly, further enhancing the user experience across platforms.
Who Should Use This Kit?
Best For
The aosu SolarCam D1 Classic Kit is a practical choice for detached homes, garages, and guesthouses where extended coverage is needed without complex installation. It's especially suitable for renters who want to avoid drilling or running extensive wiring. With no monthly fees and onboard 32GB storage, it caters well to users seeking a cost-effective, self-managed surveillance solution. The cameras offer enough coverage and flexibility for secondary buildings or temporary setups where wired power or Ethernet is not feasible.

DIY Home Security System, Simplified
Pros and Cons Recap
What We Liked
In testing, the kit delivered strong long-range detection and accurate subject tracking thanks to its pan-and-tilt mechanism. The integrated solar panels performed well, even under partially shaded conditions, maintaining charge levels with minimal sunlight. App-based control stood out for its user-friendly layout, preset camera positions, and consistent event logging. The system felt cohesive and responsive, particularly for users juggling multiple cameras from a single interface.
Where It Falls Short
This kit focuses on event-triggered recording only, which may be limiting for users looking for continuous 24-hour footage. While the 32GB of onboard storage covers most use cases, it does not natively support full-time recording or looped footage without additional solutions. Additionally, users in the Apple ecosystem may find the lack of HomeKit integration a drawback, especially if they want to unify the system with existing smart home infrastructure.
Final Verdict: aosu Camera Kit Review
Smart Design and Performance in a Solar Package
The aosu SolarCam D1 Classic Kit demonstrates how a solar-powered surveillance system can be both intelligent and genuinely practical. With features like AI motion tracking, 360-degree pan and tilt, color night vision, and smart presets in the app, this system addresses the needs of modern homeowners without adding unnecessary complexity. The integration of the solar panel into the dome design simplifies installation and eliminates the need for external power sources. In daily operation, it proved stable across iOS and Android, responsive even in colder weather, and reliable when it came to motion-triggered alerts and zone control.
Value Without Compromise
For under 300 dollars, this kit delivers what many higher-priced systems fail to achieve - real independence. No monthly fees, no forced subscriptions, and no dependency on cloud infrastructure. The included 32GB HomeBase allows for secure local storage, and the mobile app provides a consistent user experience. Whether monitoring a driveway, a backyard, or a detached structure, the aosu system provides flexibility with smart automation and customization options. The absence of continuous recording may be a limitation for some, but for most residential users, the event-based system is more than sufficient.
Ideal for the DIY Homeowner
The aosu SolarCam D1 Classic Kit is best suited for homeowners who want to set up and forget. Once installed and configured, it runs autonomously, recharging through solar input and recording based on intelligent triggers. Its compatibility with Google and Alexa ecosystems adds convenience, while the clean interface and strong preset options make it manageable even for those without prior experience in surveillance systems. It's a scalable foundation for a home security solution that doesn’t rely on professional monitoring or recurring costs.
FAQ – aosu SolarCam D1 Classic Kit
What is aosu, and how does this kit work
aosu is a smart home security brand offering wire-free surveillance solutions. The SolarCam D1 Classic Kit includes two 360° pan and tilt cameras with built-in solar panels and a local-storage HomeBase. Once mounted and connected to Wi-Fi, the system uses motion-based detection to capture and store video clips without monthly fees.
Do I need a subscription to view videos?
No subscription is required. All footage is stored locally on the included 32GB HomeBase. You can access motion-triggered recordings through the mobile app at any time.
Can I use the aosu camera with Alexa or Google Home
Yes, the system supports voice integration with Amazon Alexa and Google Assistant. You can use voice commands to view live feeds on compatible smart displays.
How do I mount the solar panel securely?
Each camera includes an integrated solar panel built into the housing, so there’s no need for separate panel mounting. You simply wall-mount the camera bracket in a position that receives at least partial sunlight throughout the day.
How many aosu cameras can one HomeBase support
The HomeBase can support up to four aosu cameras, allowing you to scale your coverage across multiple areas of your property.
Does it support continuous recording or only motion events
The aosu system is designed for motion-triggered recording only. Continuous 24/7 recording is not supported out of the box, and there are no official add-ons for that functionality at the time of testing.