
Hey guys, Alex here. I live in the Canadian town of Barrie, Ontario, and I recently replaced the outdoor light above my garage with the Reolink TrackFlex Floodlight WiFi. After spending a few days researching security cameras, I decided this dual-lens 4K PTZ floodlight camera was the right choice for monitoring my driveway and front garage area. The Pipl Systems team came by to document my experience with the installation, setup, and real-world testing. This is not a professional integrator review. This is honest feedback from a homeowner who wanted better security without monthly fees or complicated setups.
If you are interested in this specific model, you can find the Reolink TrackFlex Floodlight WiFi here or check it out on Amazon.

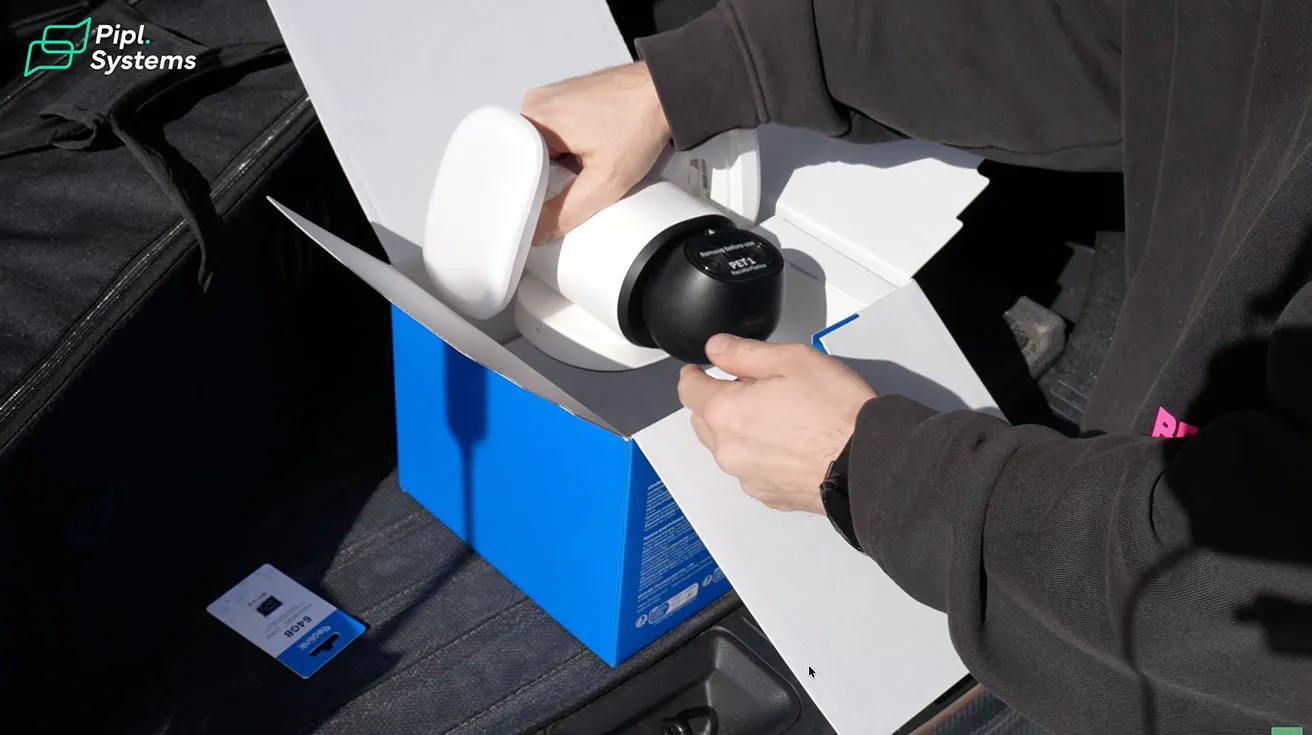
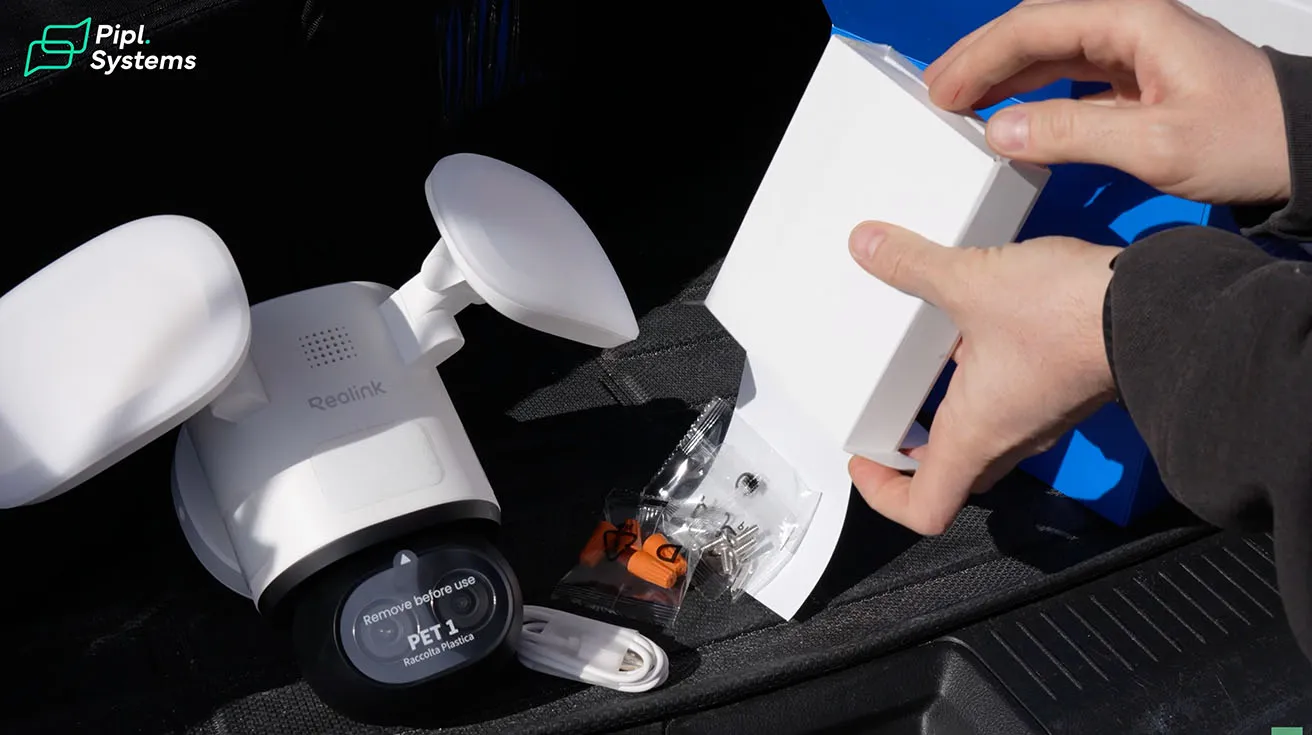
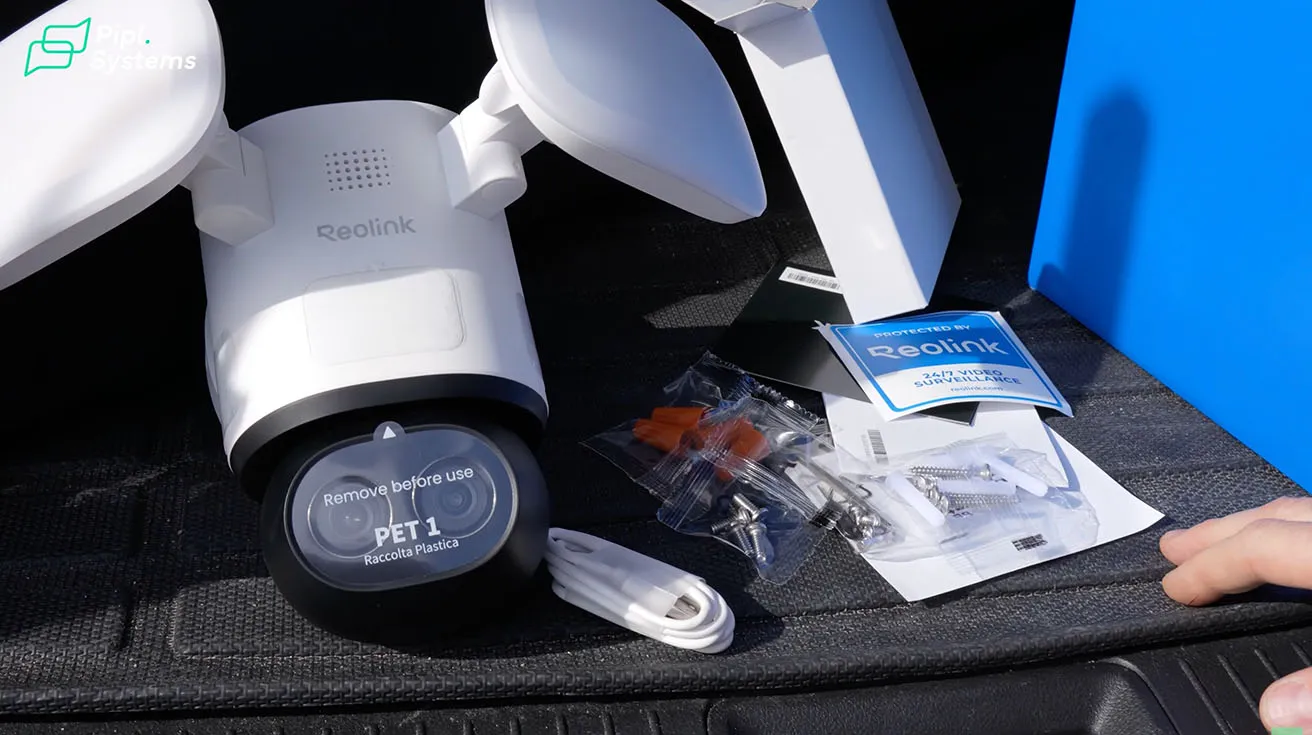
What's in the Box: Unboxing the TrackFlex Floodlight WiFi
Inside the box, I found the TrackFlex Floodlight camera itself, a mounting bracket, screws, wiring connectors, and a basic installation guide. Everything was packaged well and clearly organized. I appreciated that Reolink included all the hardware needed for a standard junction box installation. The camera itself is interesting because it combines two lenses, motorized tracking, and a built-in floodlight all in one unit. It features 4K resolution, 6x hybrid zoom, adjustable warm-to-cool color temperature, and local AI video search with no monthly fees.
If you are comparing different Reolink models before making a decision, the guide on Reolink WiFi Cameras 2026: Which Model Fits Your Security Needs is a helpful starting point.
1 / 3
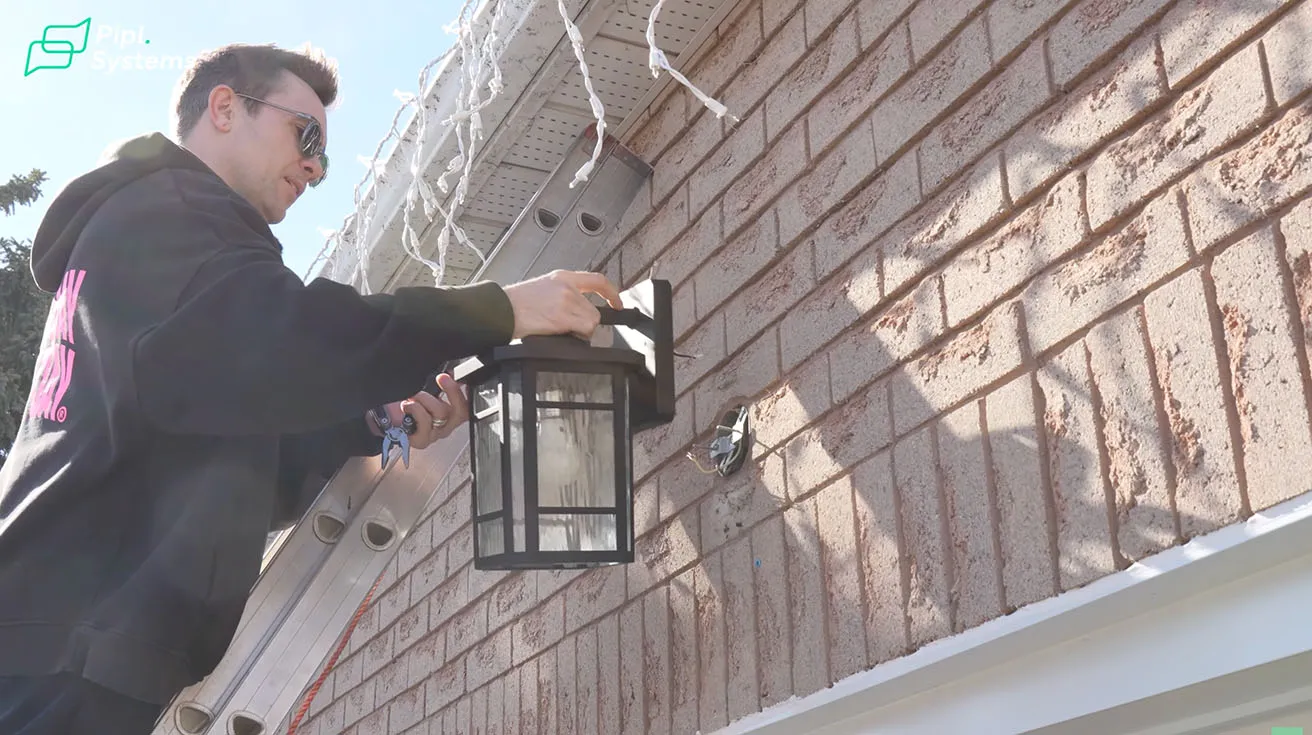
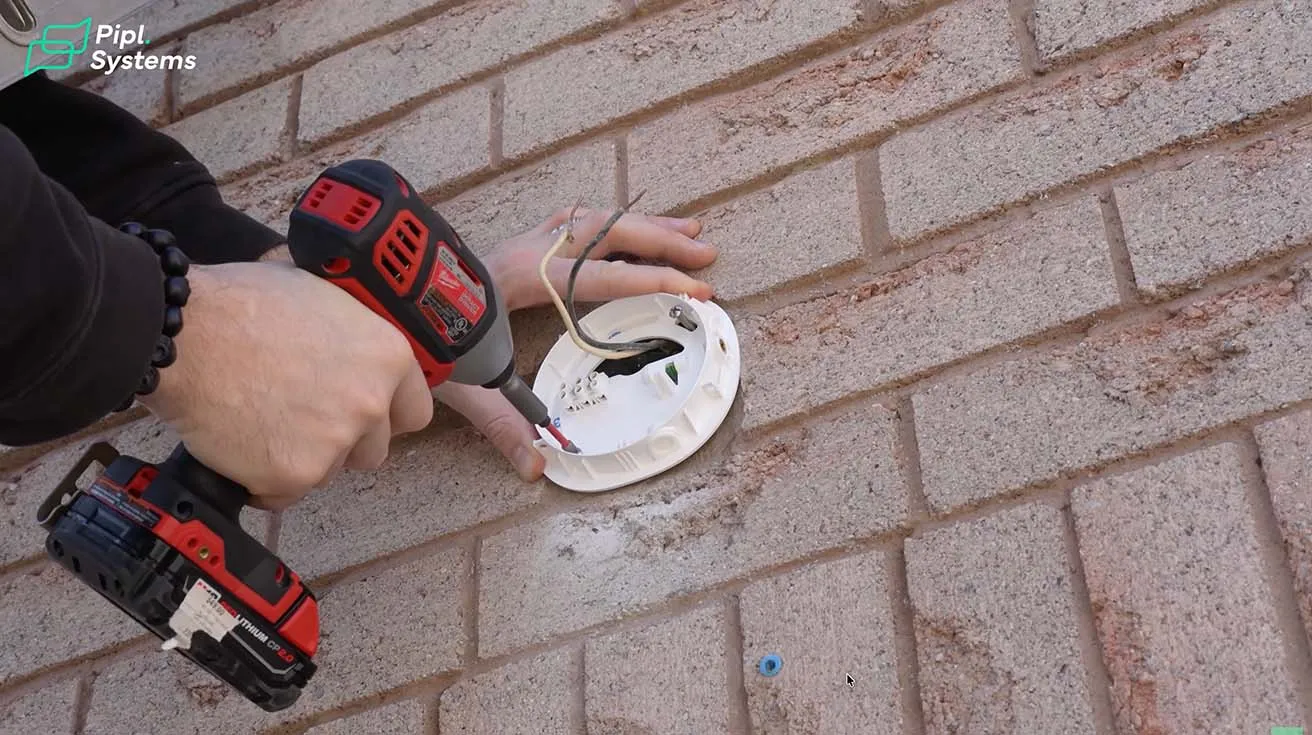
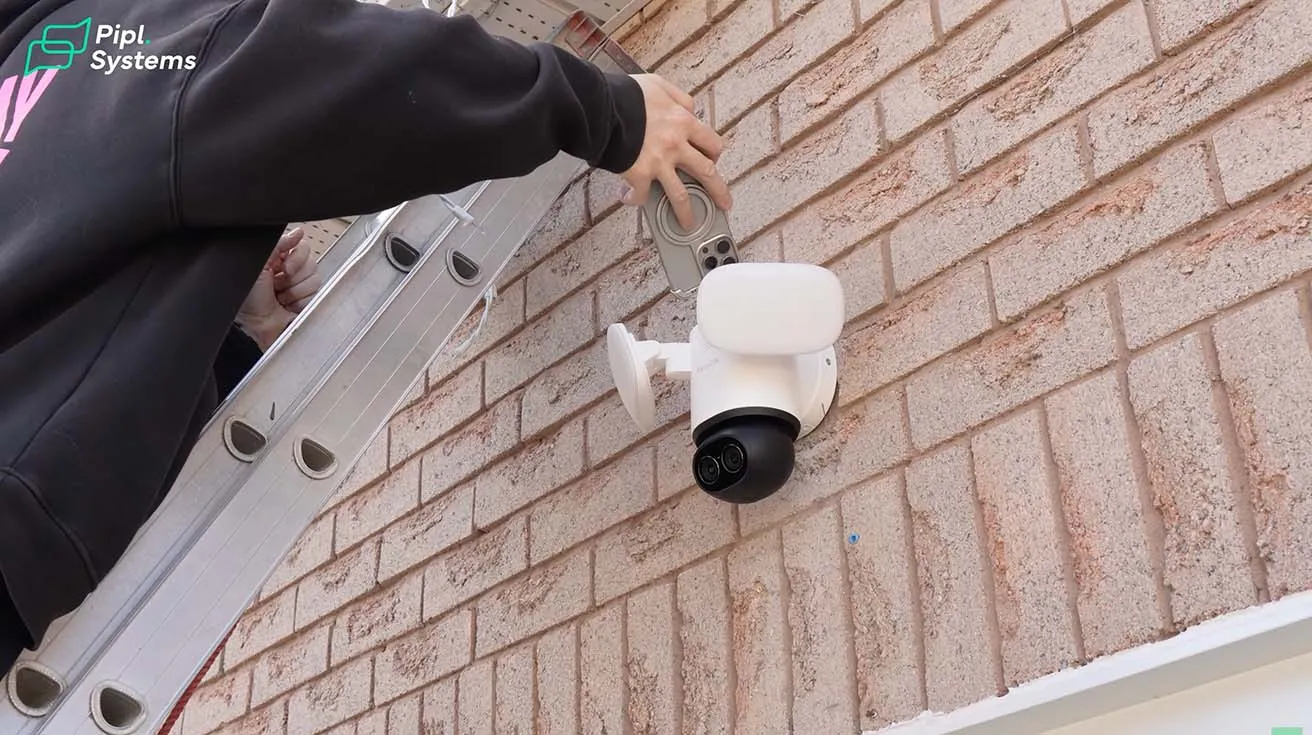
Hardwired Installation: Replacing My Garage Light Fixture
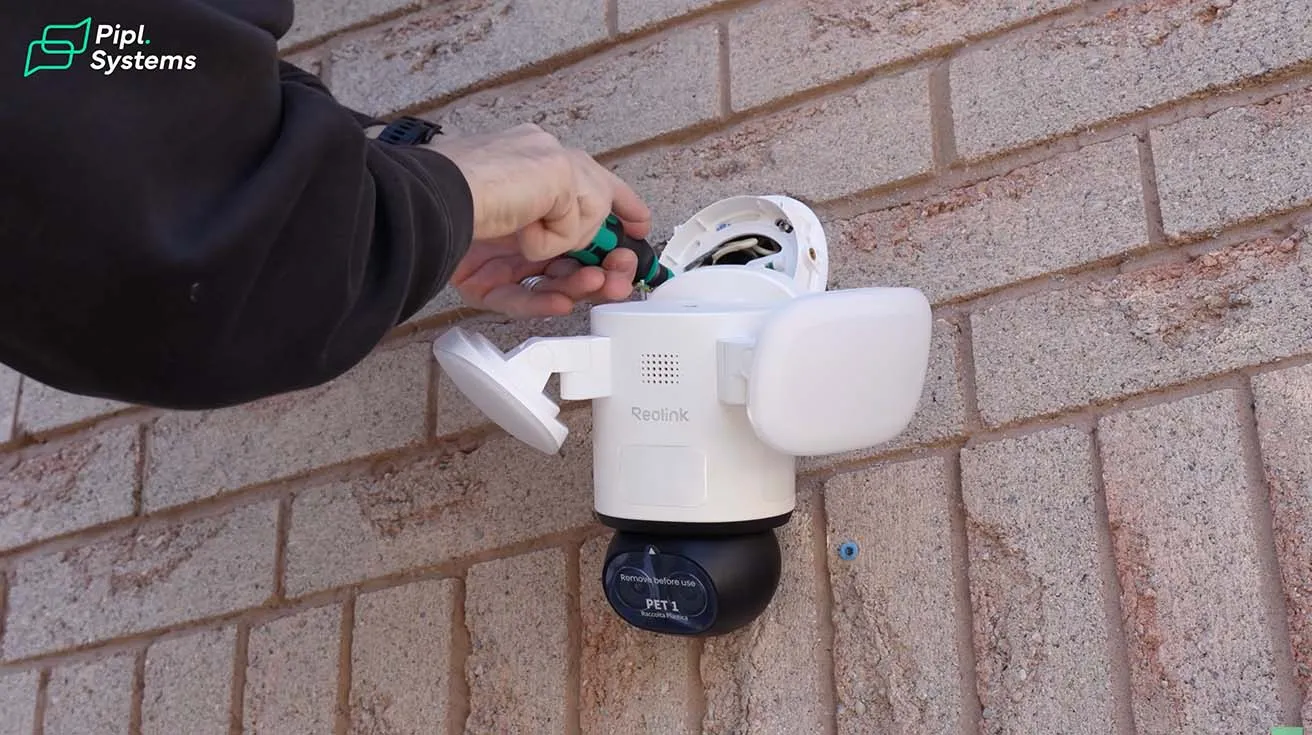
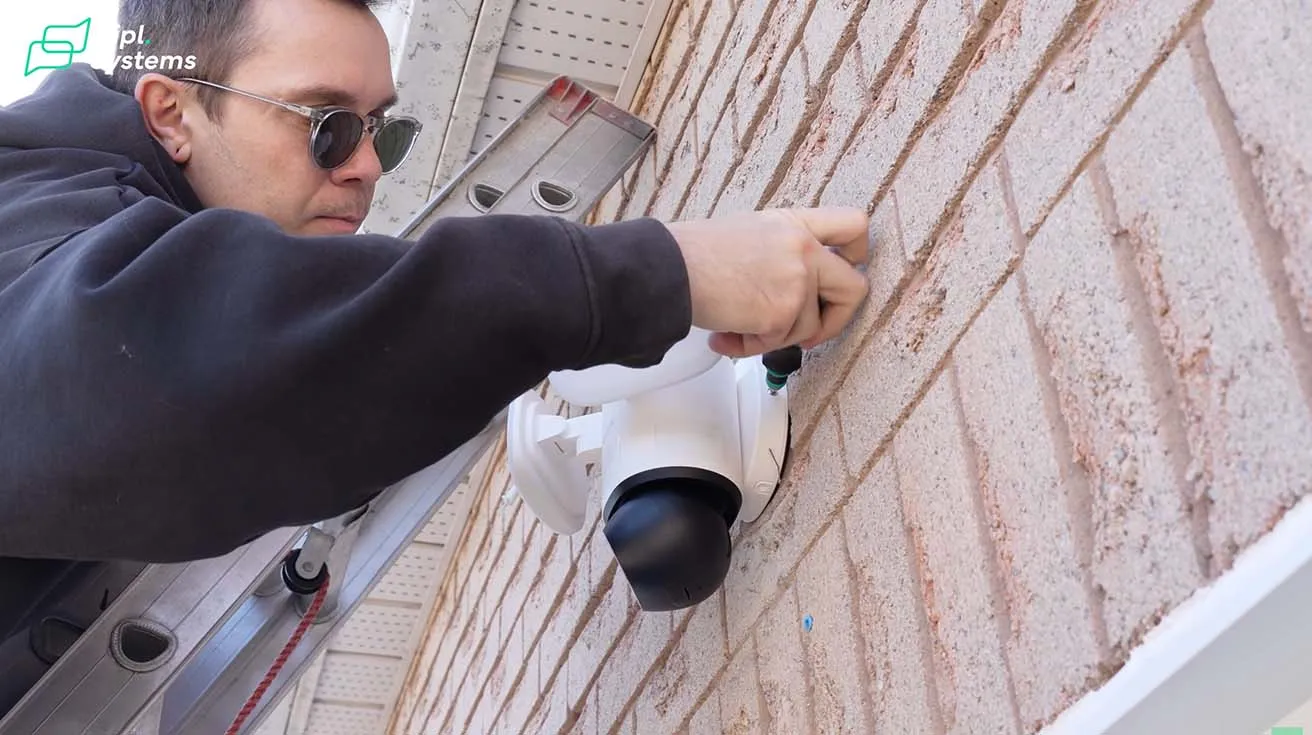
For this installation, I replaced the existing outdoor light fixture above my garage. The first thing I did was turn off the power at the breaker and remove the old light to expose the wiring. Once the old fixture was out, I installed the mounting base for the TrackFlex in the same location. Next, I connected the house wiring to the mounting base. After that, I connected the wiring from the camera itself and secured everything in place. The camera fits most junction boxes and supports 100 to 240V input voltage, which made the process straightforward. Once the connections were done, I mounted the camera onto the base and tightened everything so it sits firmly on the wall.

1 / 5
Overall, the process is pretty similar to installing or replacing a regular outdoor wall light. If you have done any basic electrical work before, you should be fine. Just remember to turn off the breaker first.
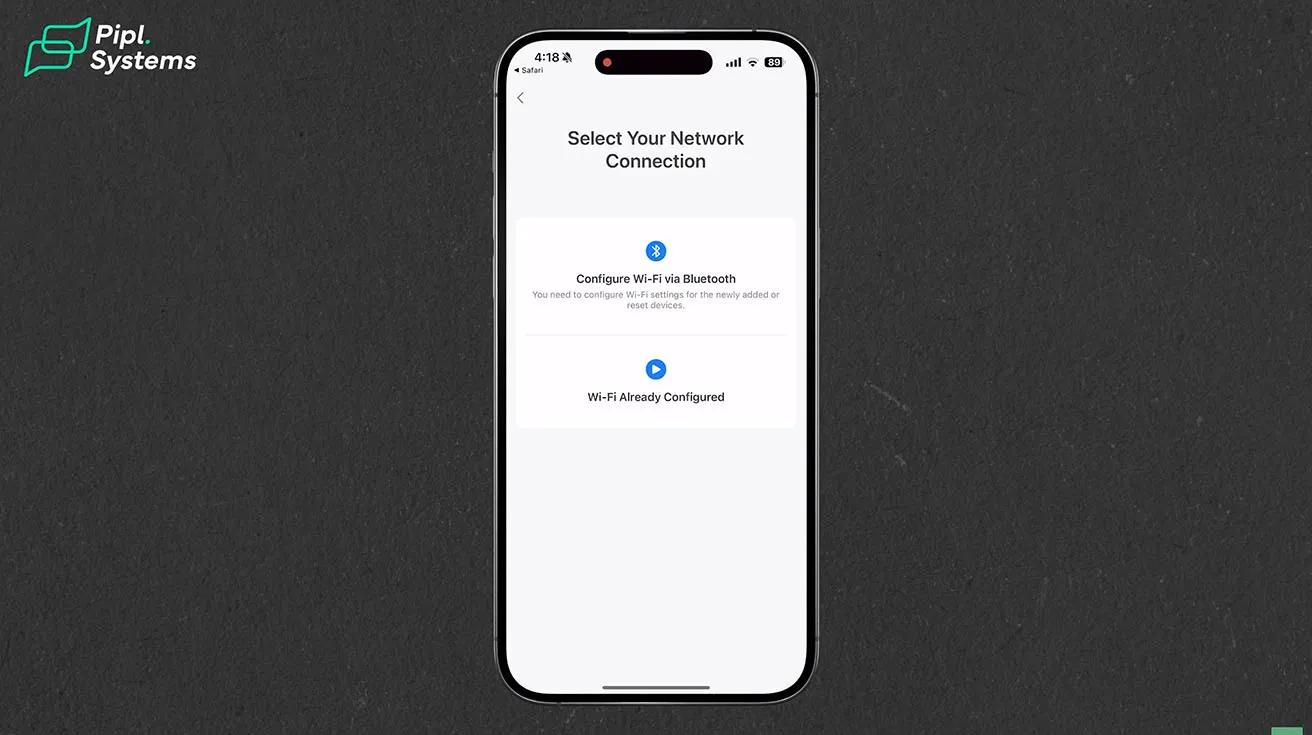
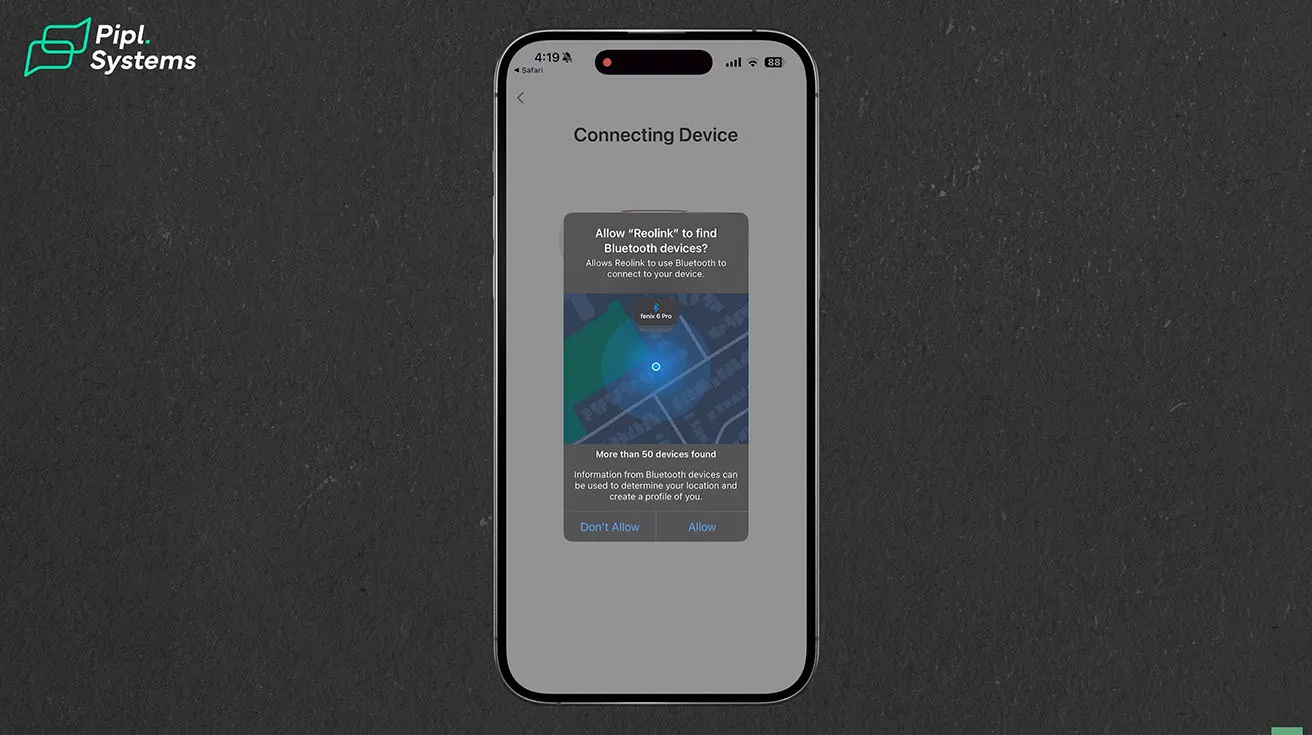
App Setup and Wi-Fi Connection via Bluetooth
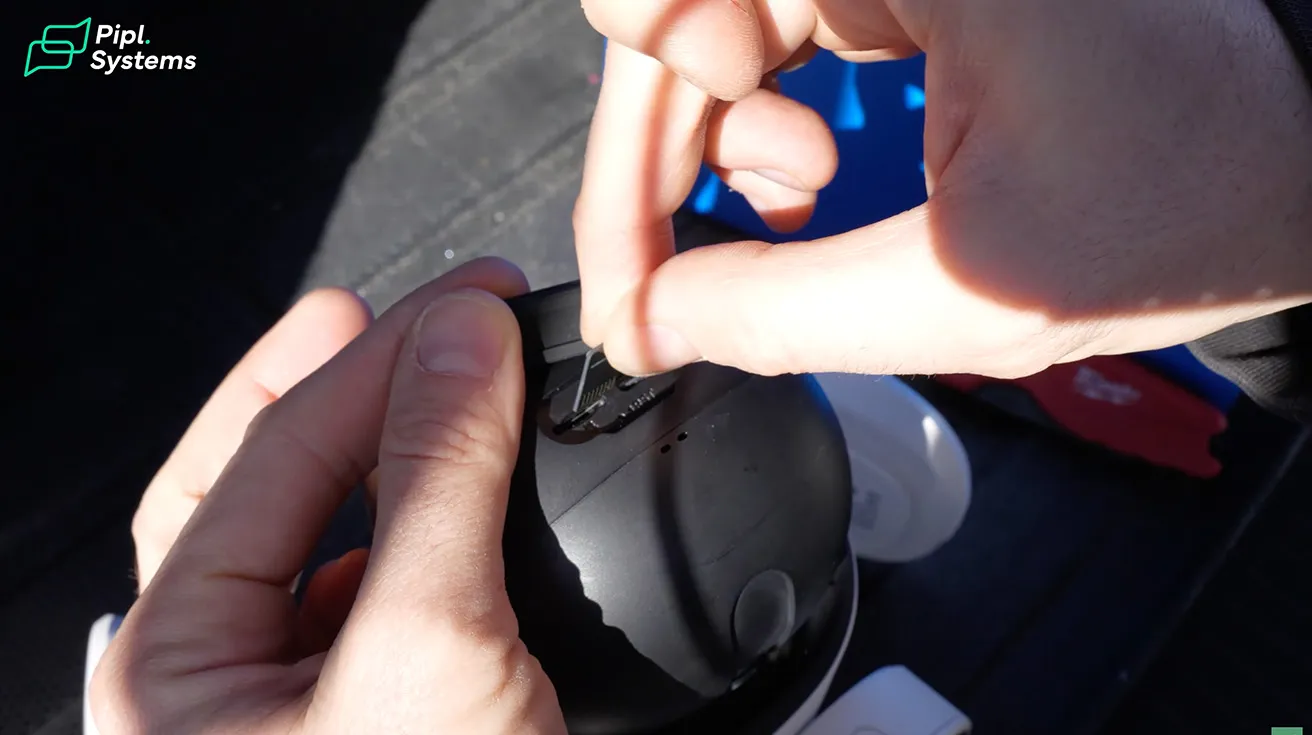
This was actually my favorite part of the whole process. One thing I realized during the installation is that if you read the instructions first, there is a more convenient way to do the setup. You can connect the camera to Wi-Fi in seconds using Bluetooth. No cables, no hassle - just a fast, stable pairing for instant, secure monitoring. I powered the camera using a USB-C cable, connected it to the Reolink app, and finished the setup before mounting it on the wall. That way, I did not have to configure everything while standing on a ladder.
1 / 5
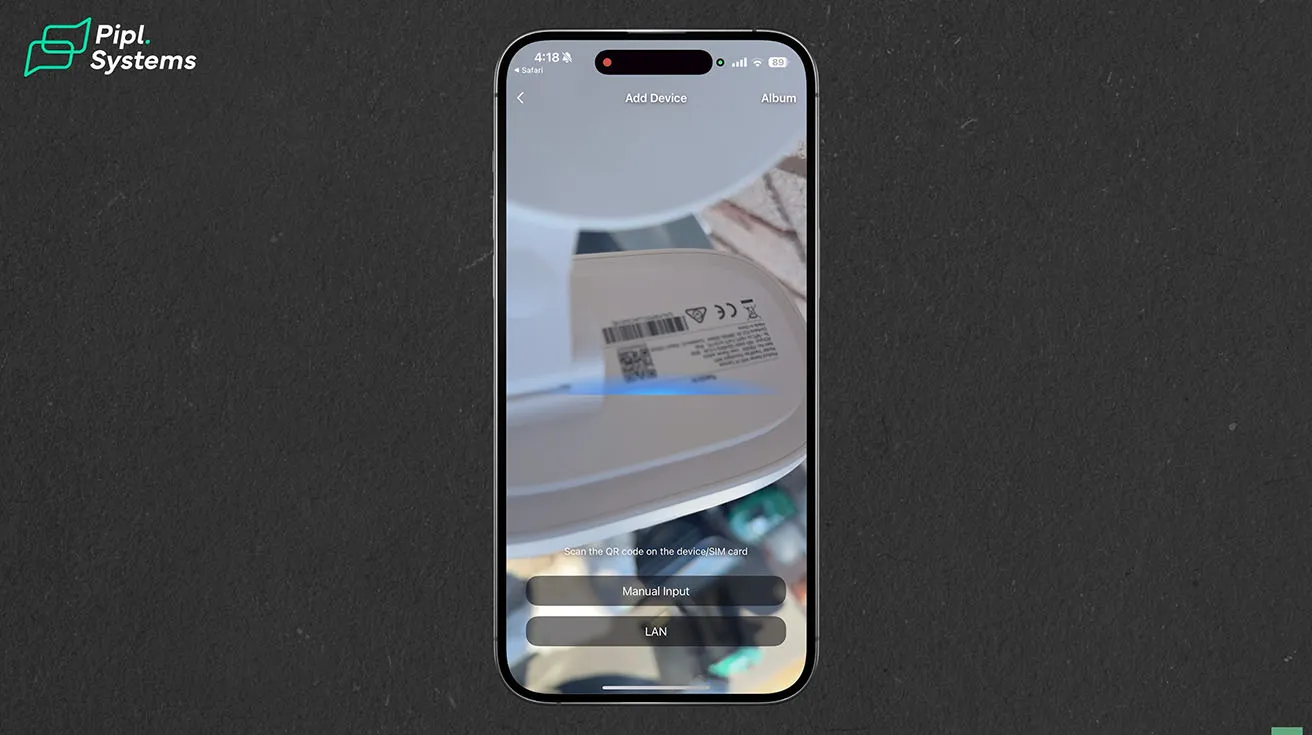
Also, the QR code you need for setup is located on the back of the floodlights. Good to know where to find it before you mount everything.
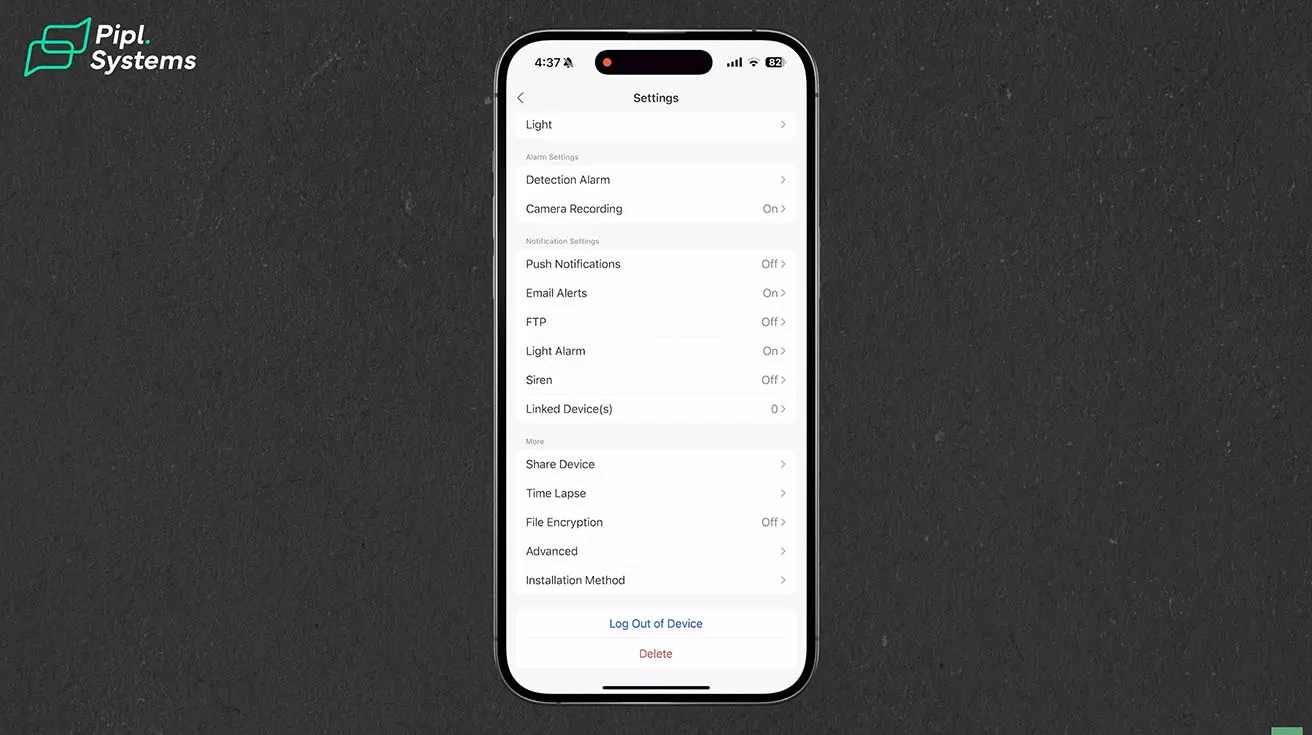
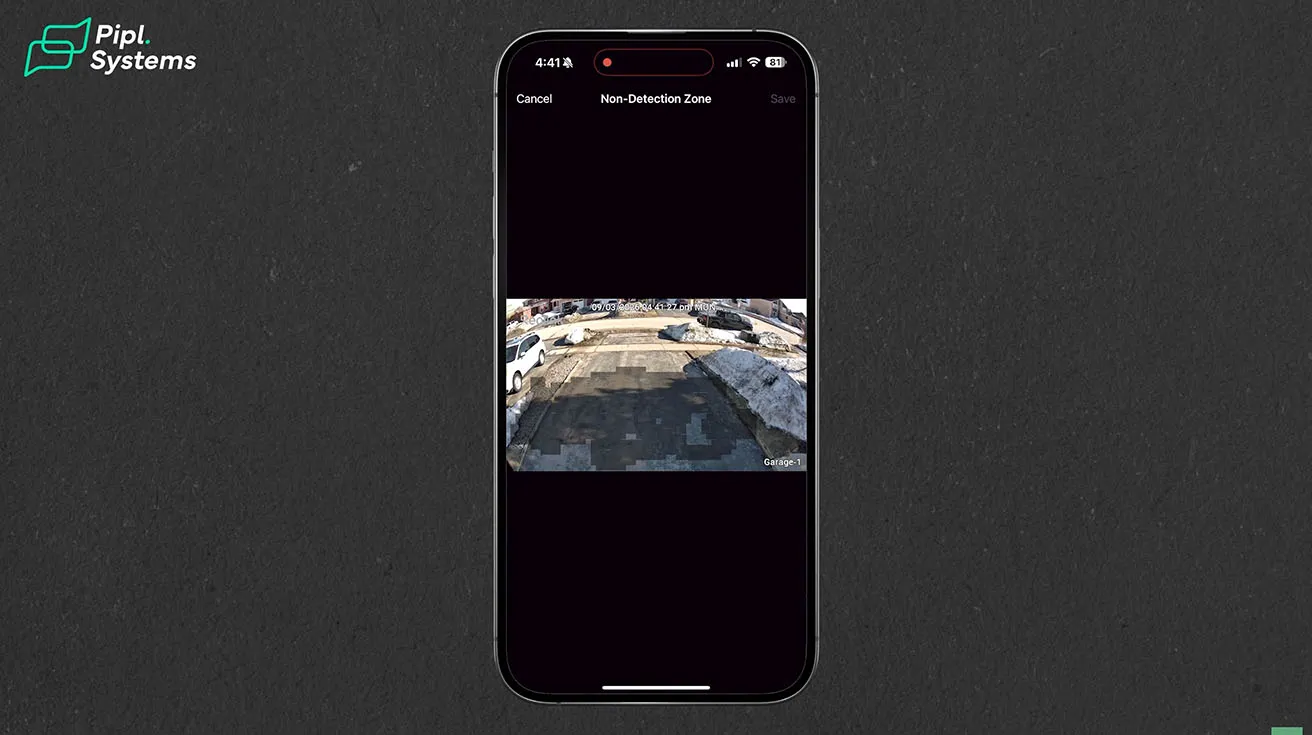
Adjusting Motion Detection Settings and Notifications
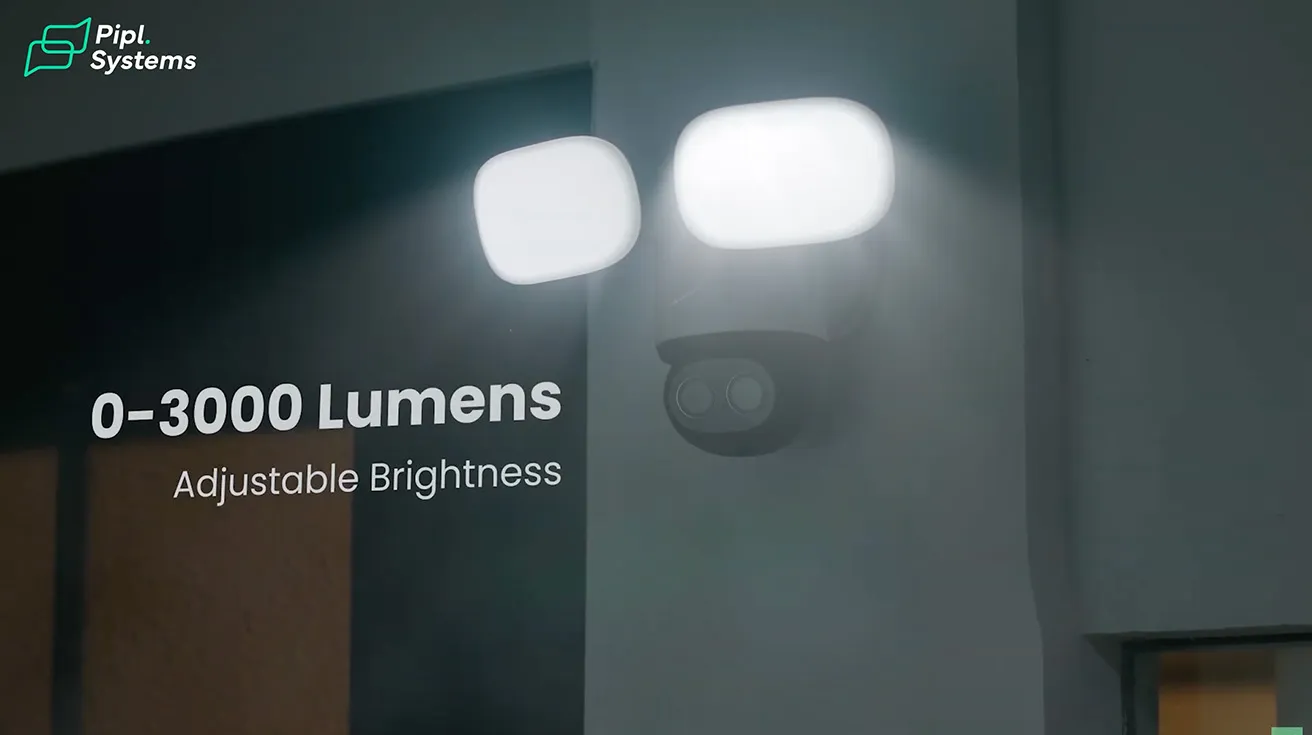
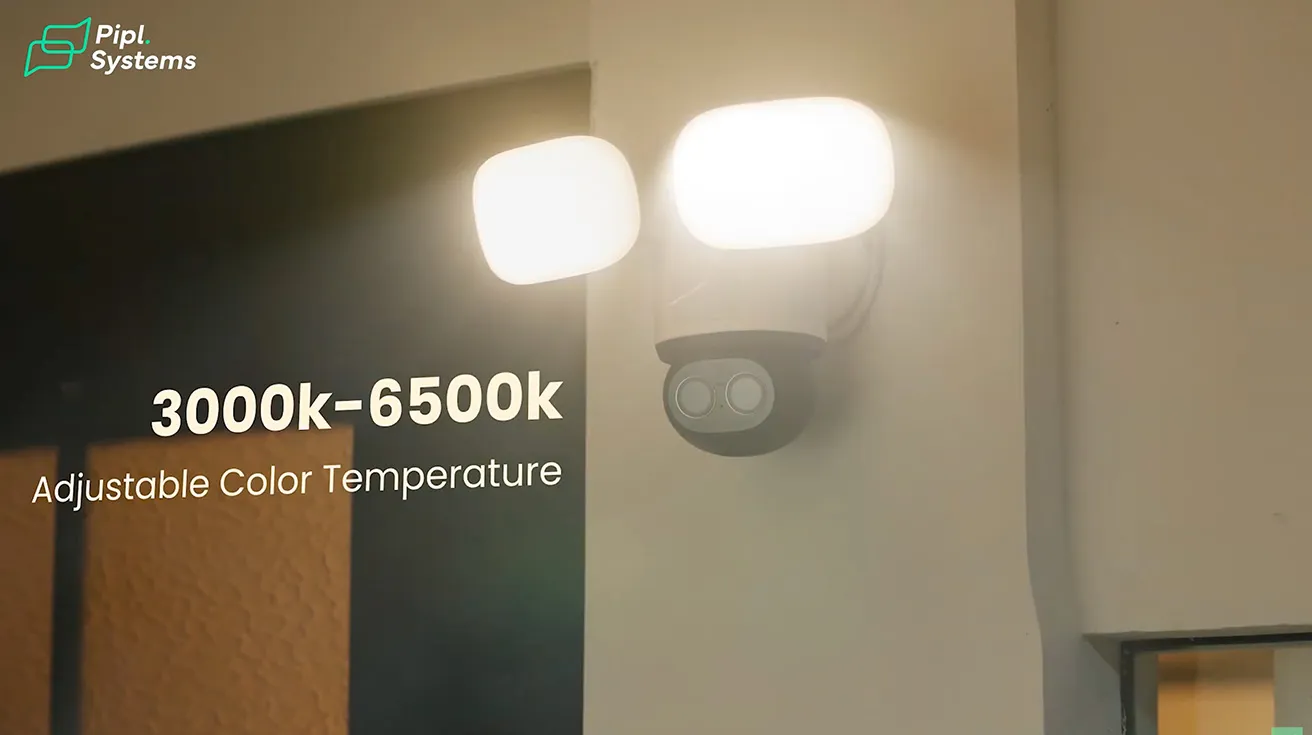
Once the camera was powered on, the setup process was simple. I opened the Reolink app, scanned the QR code, and followed the on-screen instructions. Within a few minutes, the camera connected to my home Wi-Fi and showed up in the app. From there, I could adjust motion detection settings, notifications, and other preferences. You can adjust the motion detection sensitivity for individual entities, such as people, vehicles, and animals. You can also change how bright and what color temperature the floodlights are. The app lets you configure when and how to receive alerts, which is useful for avoiding false notifications from passing cars or animals.

1 / 2
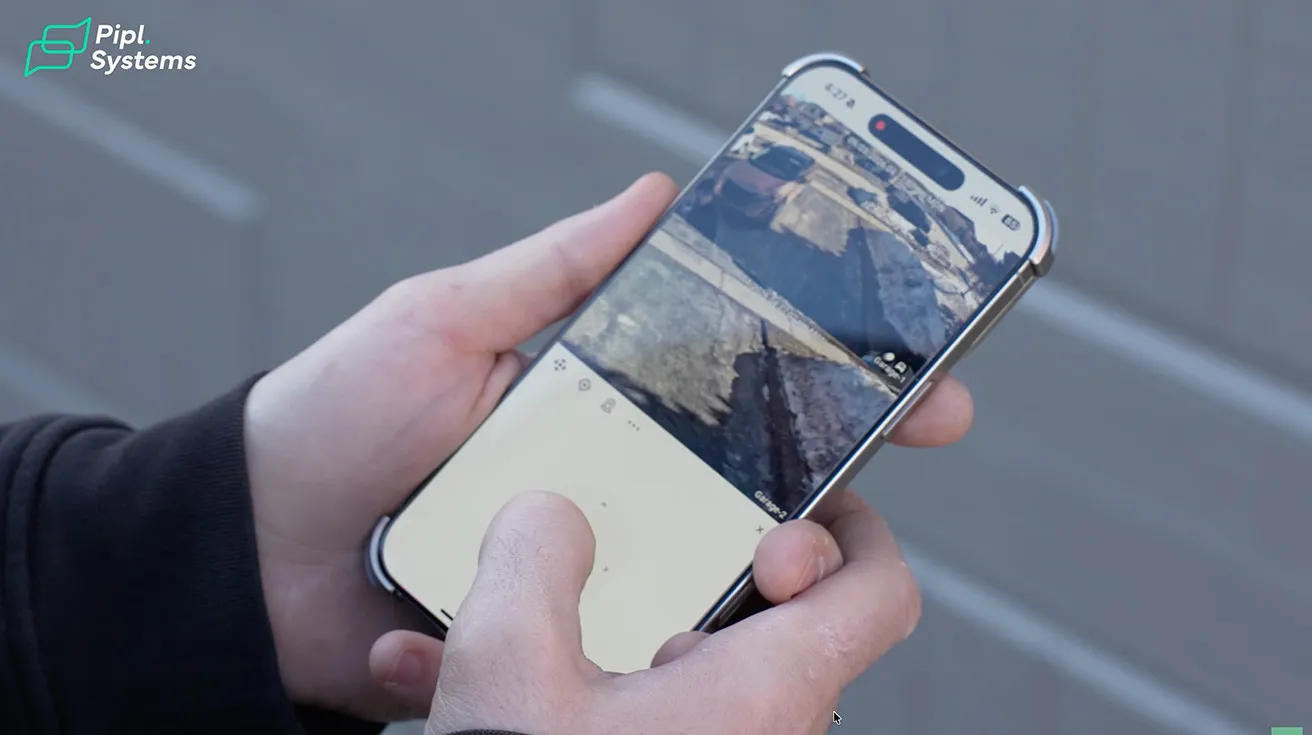
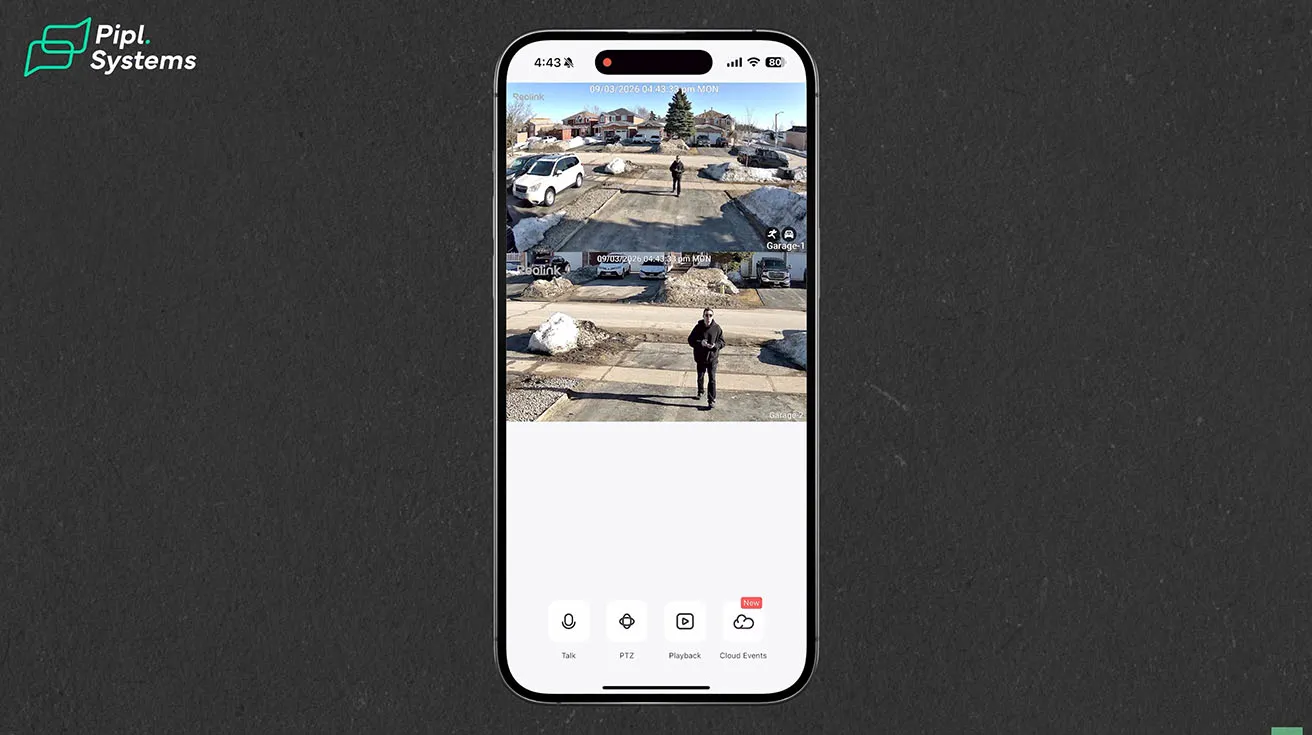
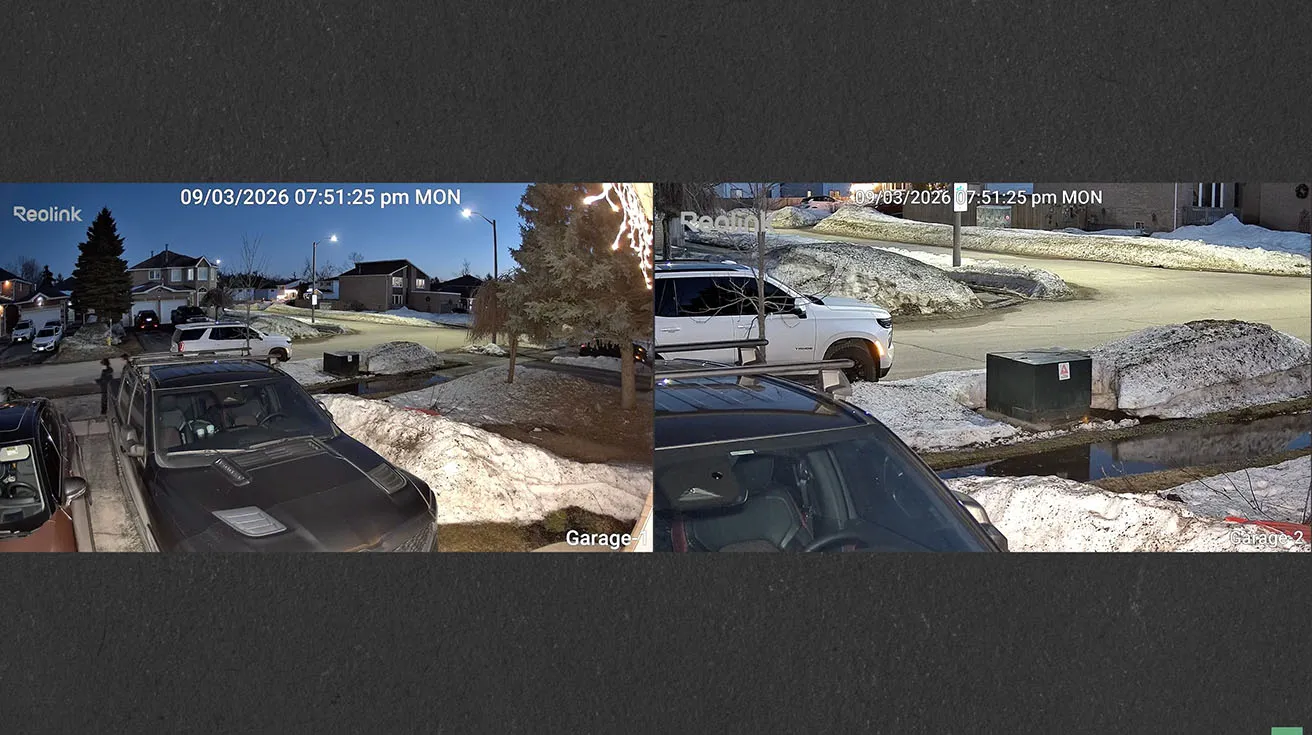
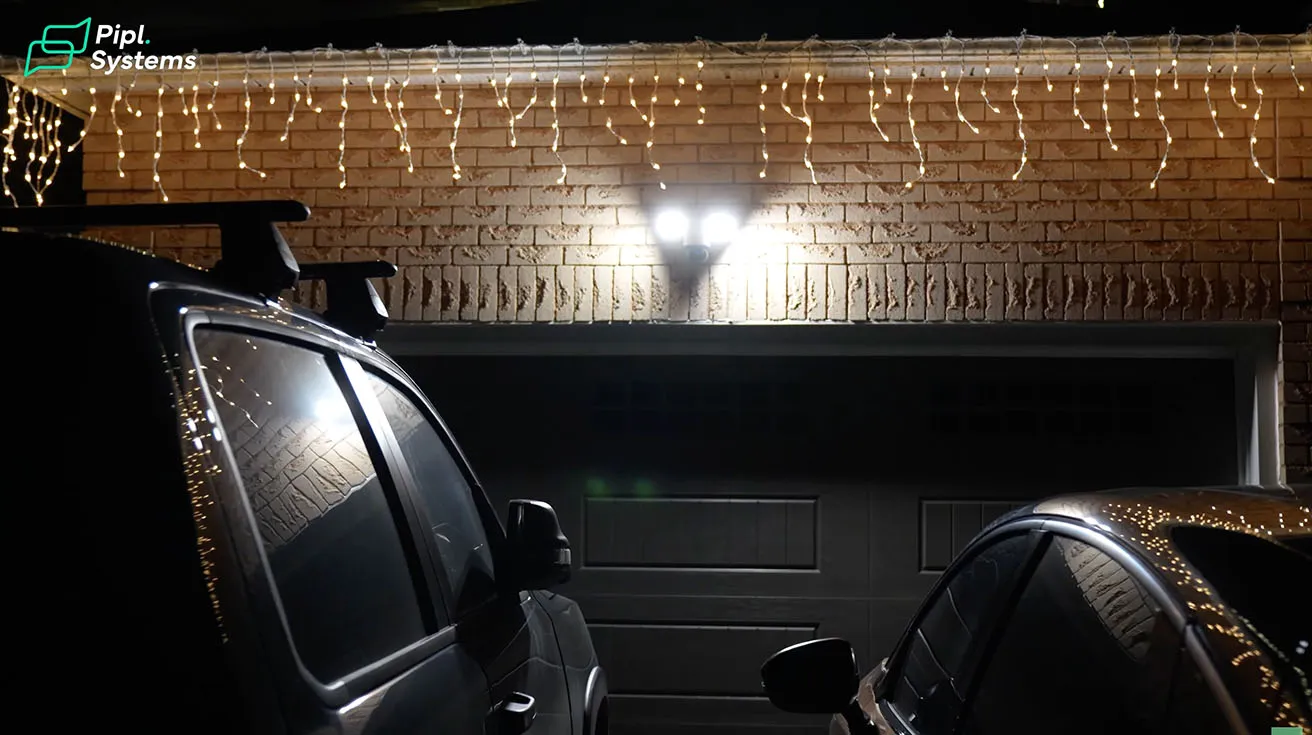
Real-World Testing on My Driveway
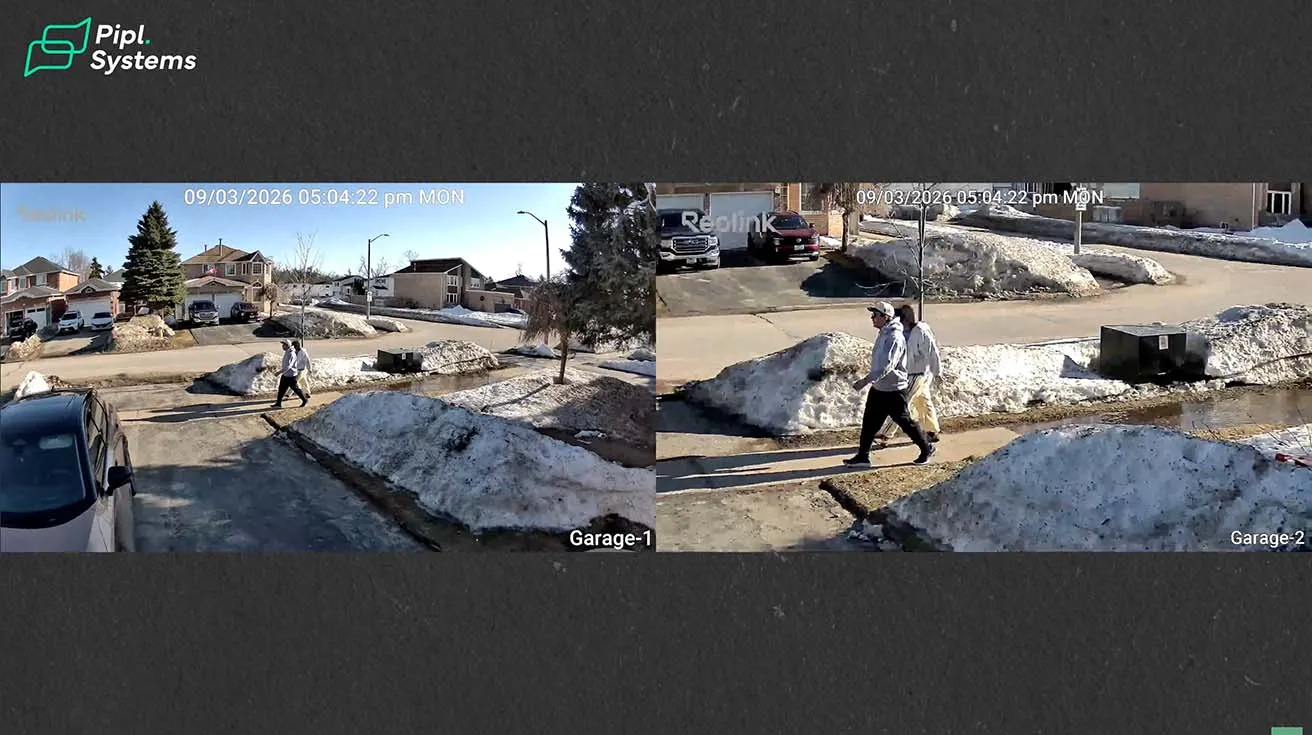
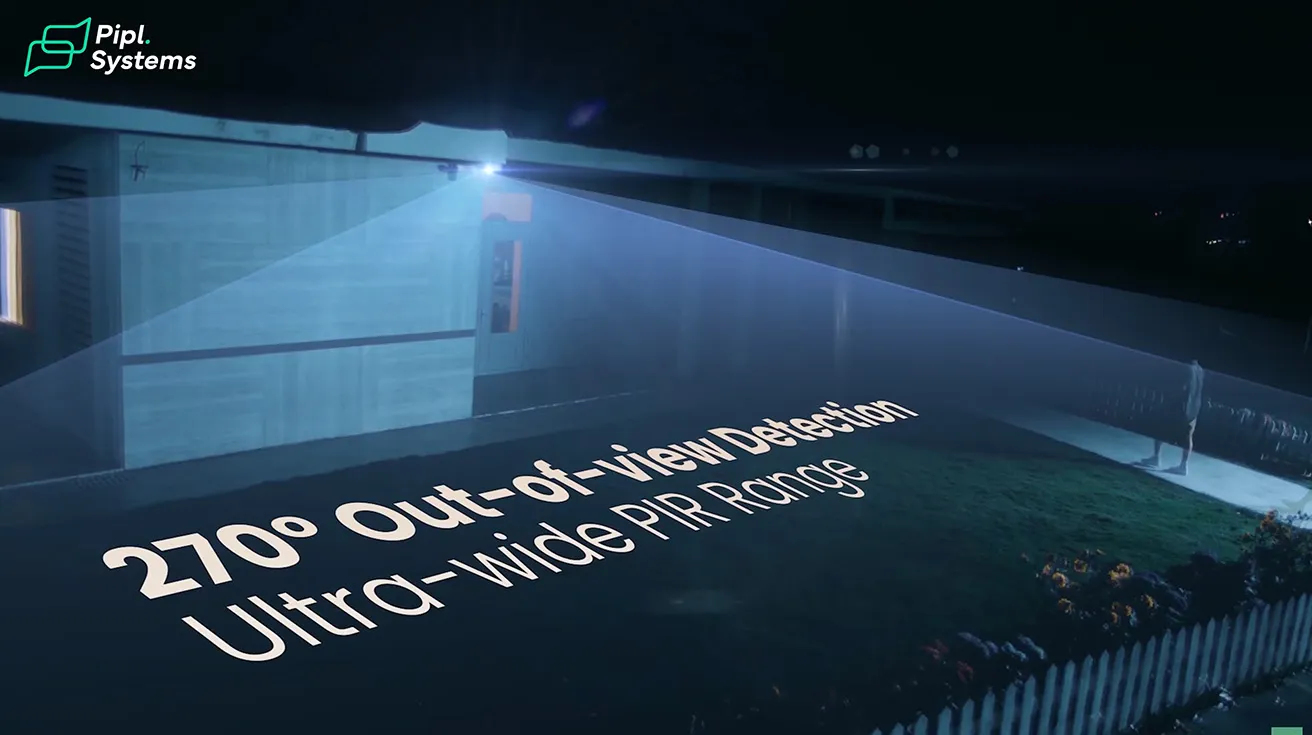
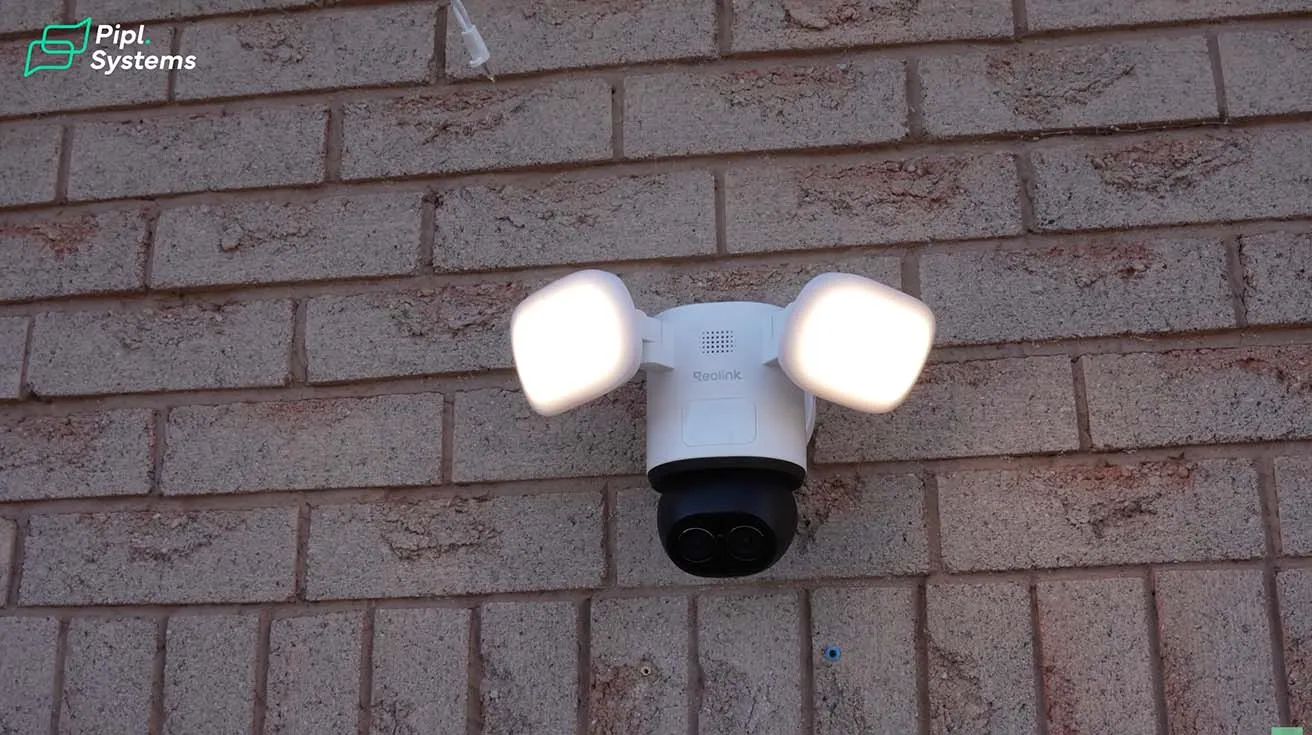
After the installation, I spent some time testing the camera outside. I positioned it to monitor the driveway and the front area of my garage. The main goal here is to keep an eye on vehicles and activity near the house. The camera records in 4K resolution, and the image looks very clear during the day. At night, the 3000-lumen floodlights kick in when motion is detected, lighting up the entire driveway. Full-color night monitoring is a real upgrade compared to the grainy black-and-white footage I got from my old cameras. Three passive infrared sensors provide 270-degree out-of-view detection at distances up to 10 meters, catching motion even when it starts outside the visible frame. This means the camera can detect someone approaching from the side and automatically pan to track them.
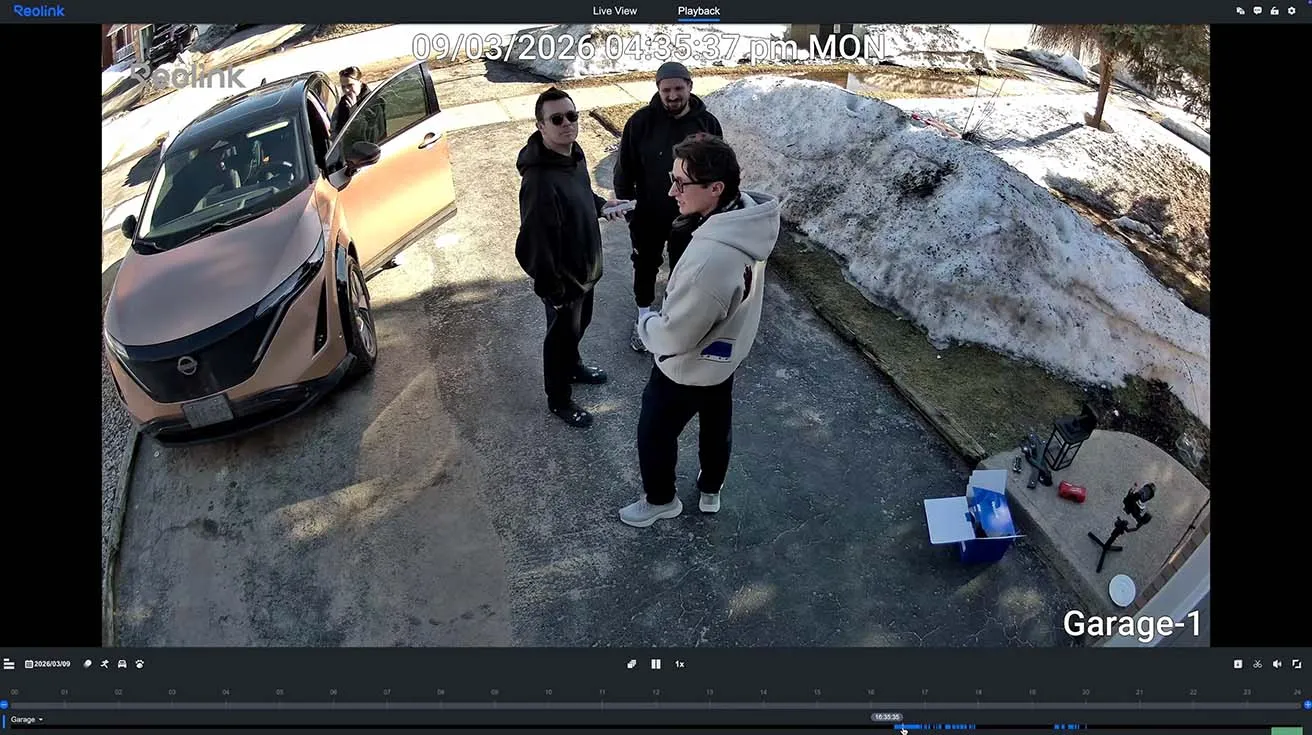
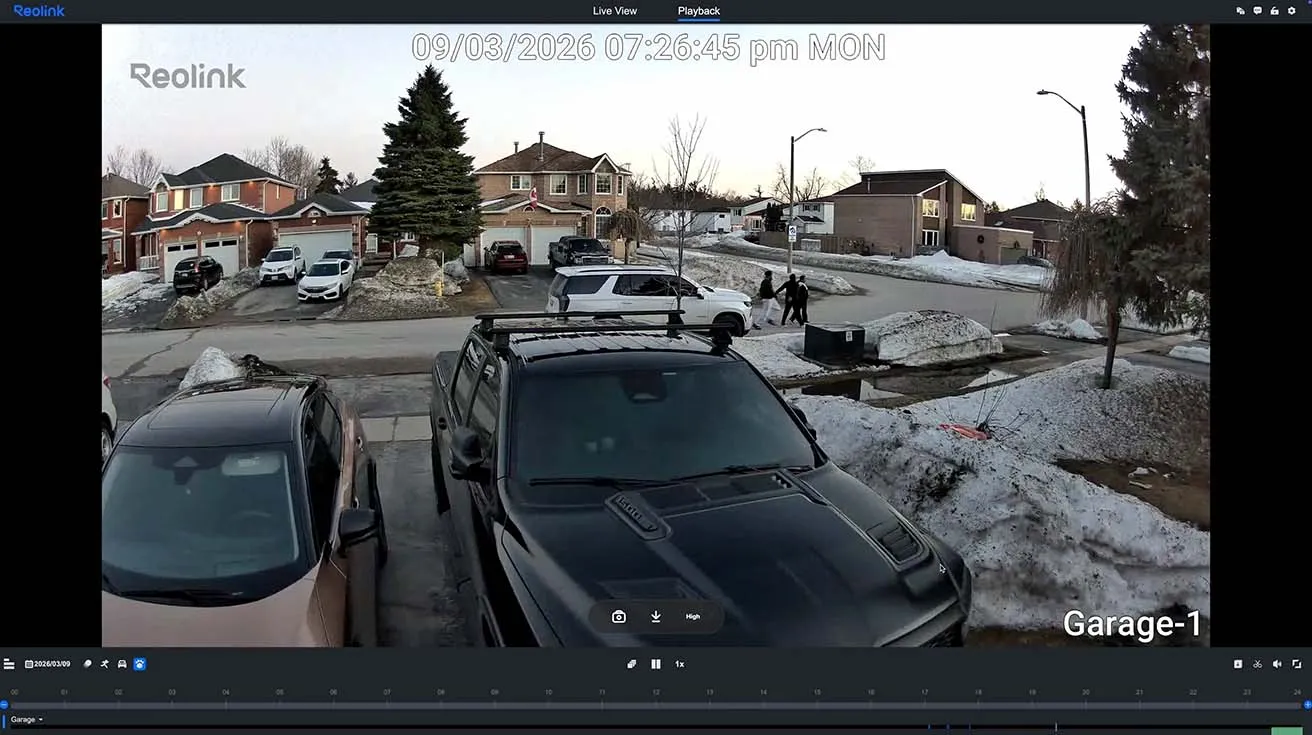
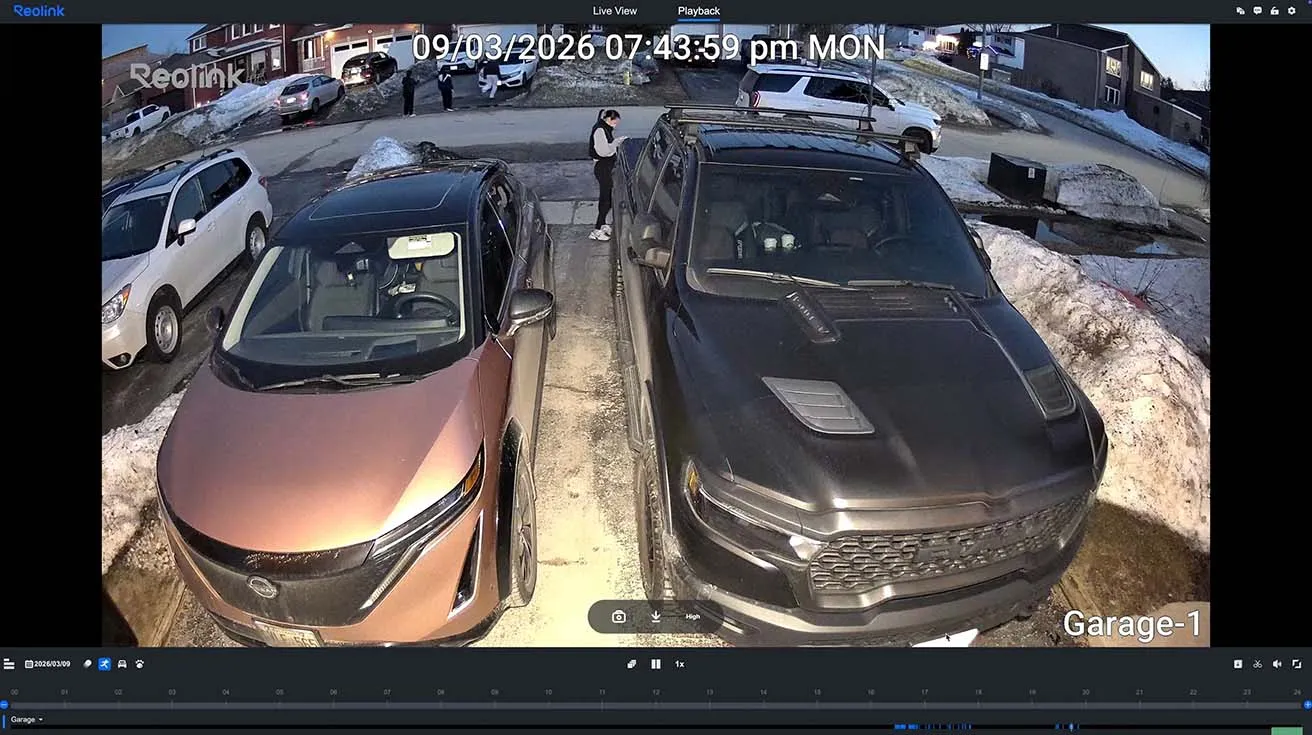
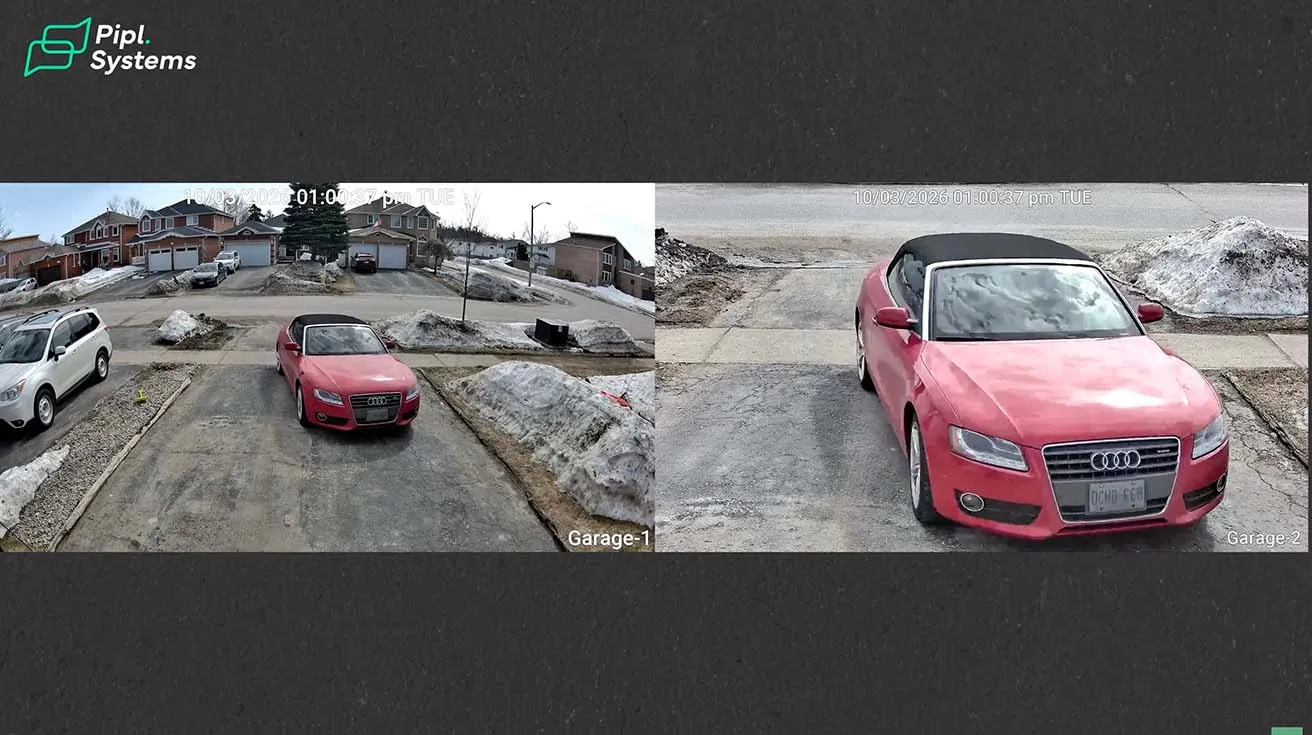
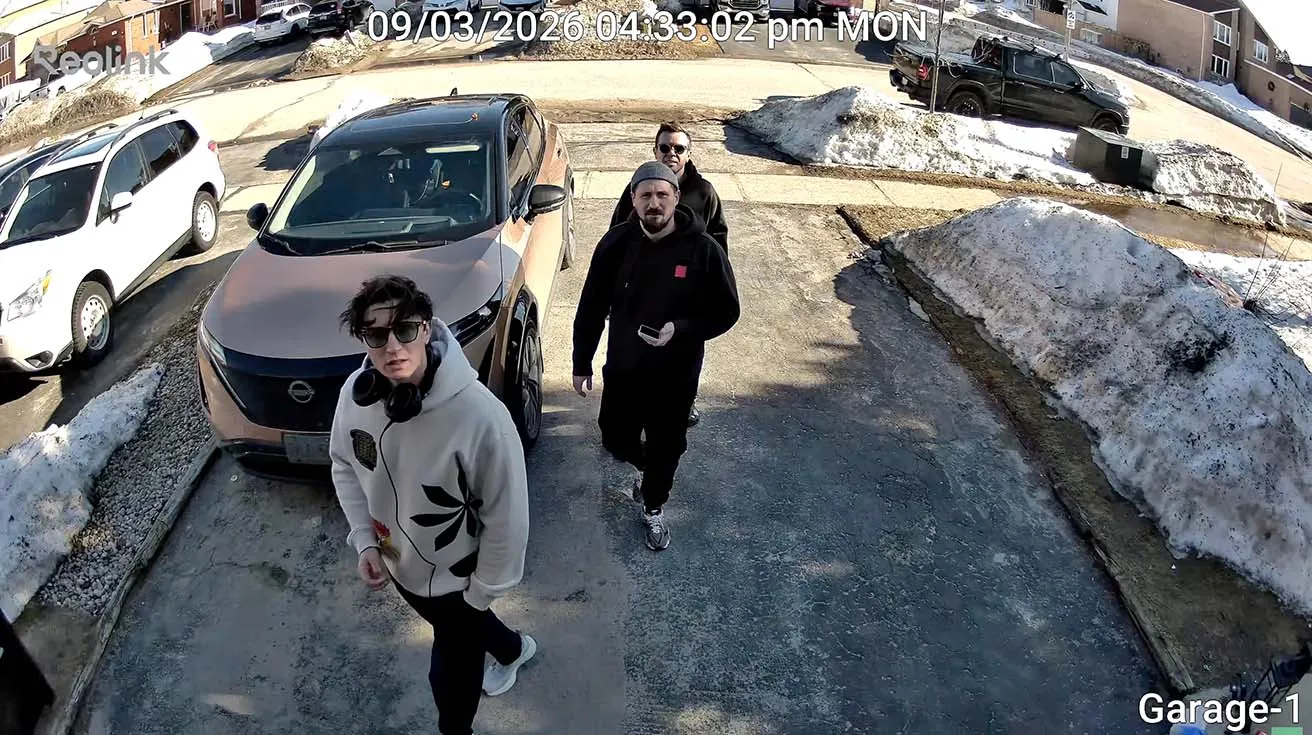
1 / 8
If you want to see how Reolink cameras perform in different scenarios, the article Reolink Security Cameras in 2026: Full Buyer's Guide covers a wide range of models and use cases.
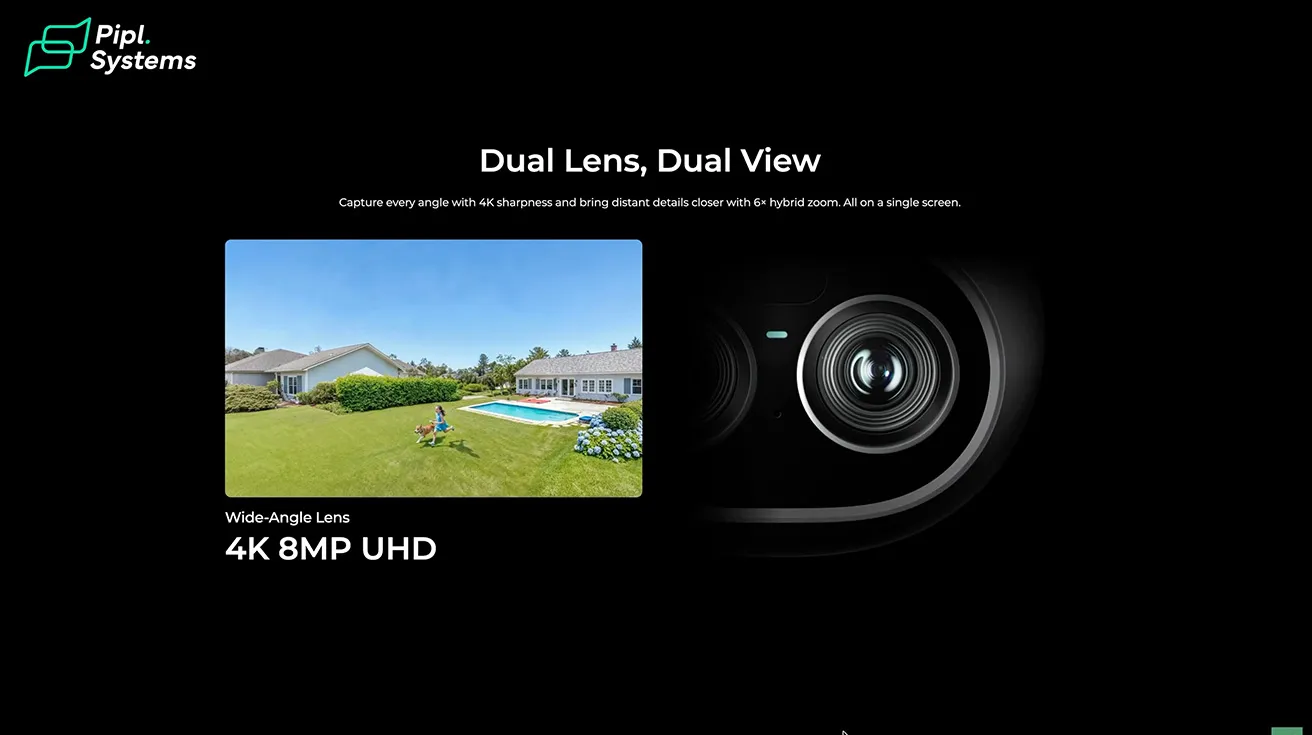
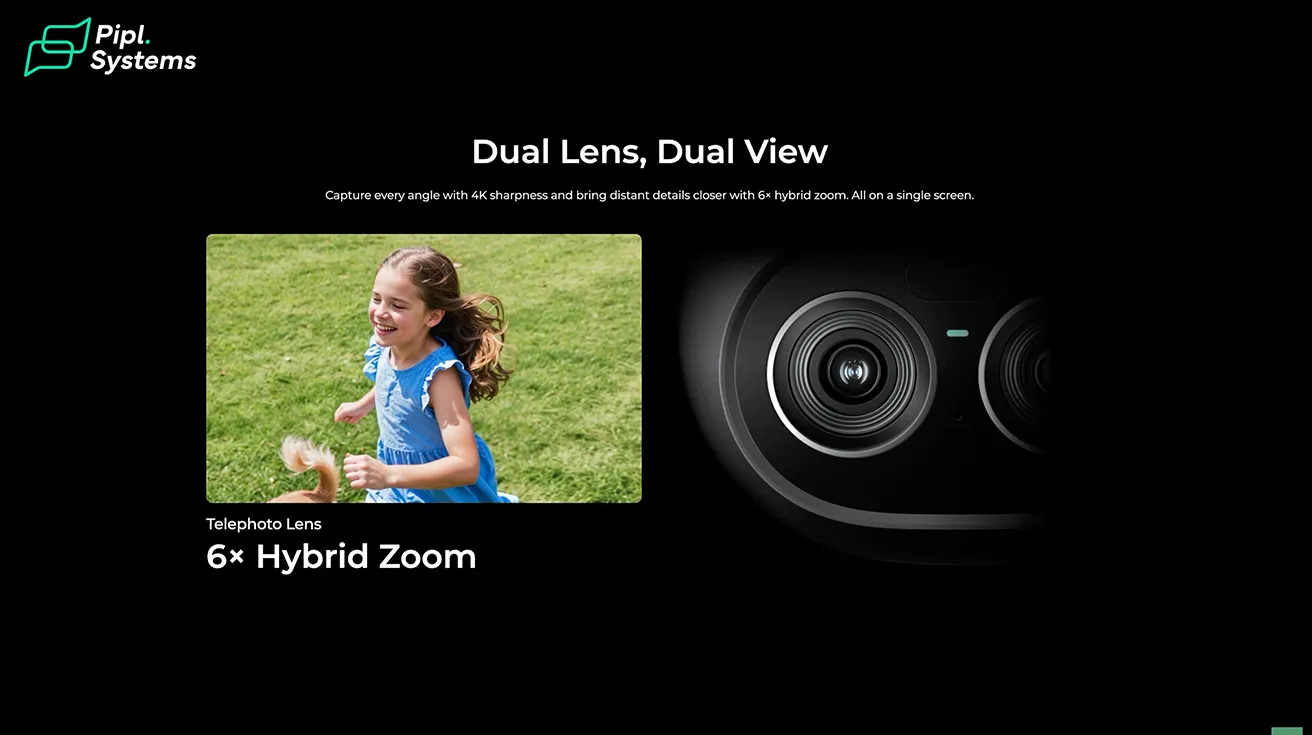
Key Specs and Features: What Makes This Camera Stand Out
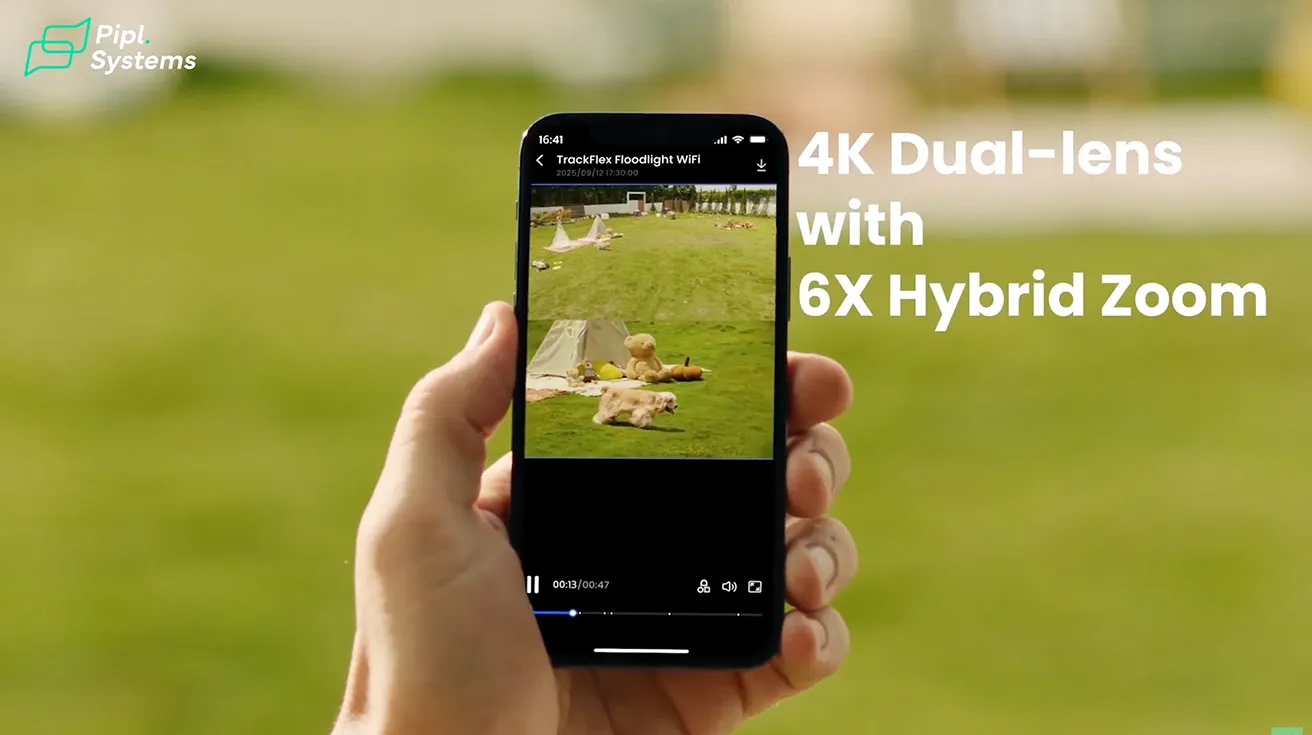
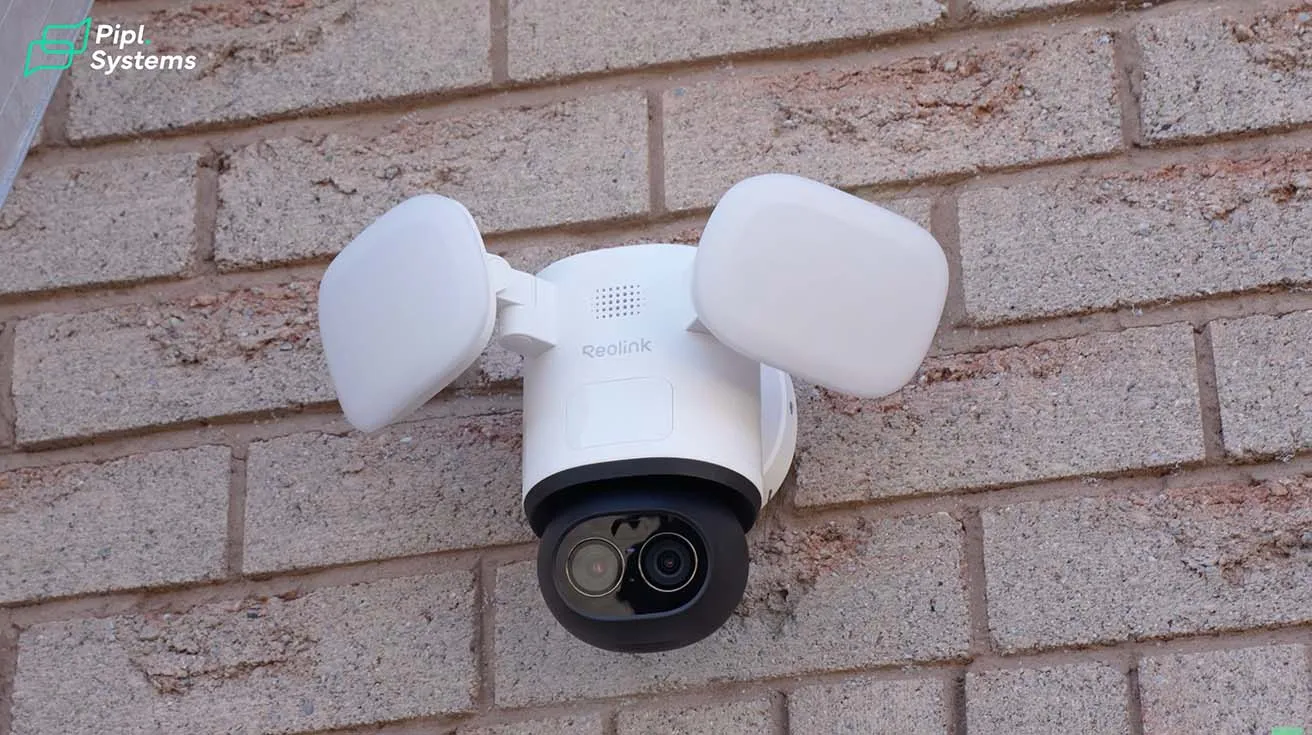
After using the camera for a bit, it is worth talking about what is actually inside this system. The TrackFlex Floodlight WiFi is a hardwired dual-lens 4K floodlight camera with PTZ movement. It combines an 8 MP wide-angle lens with a telephoto lens that supports 6x hybrid zoom. This means the camera can keep a full view of the area while also zooming into detected movement. A motorized base provides up to 355° pan and 50° tilt, allowing the camera to cover wide areas with no blind spots.

1 / 10
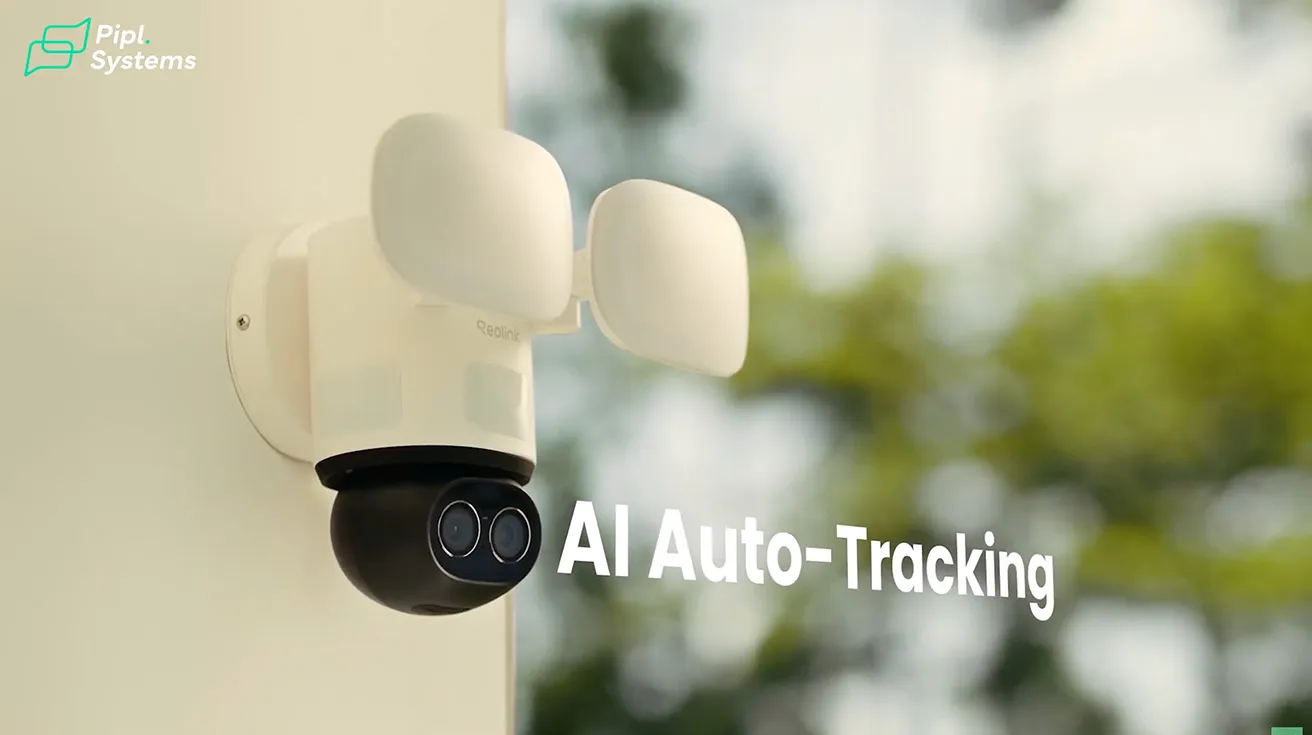
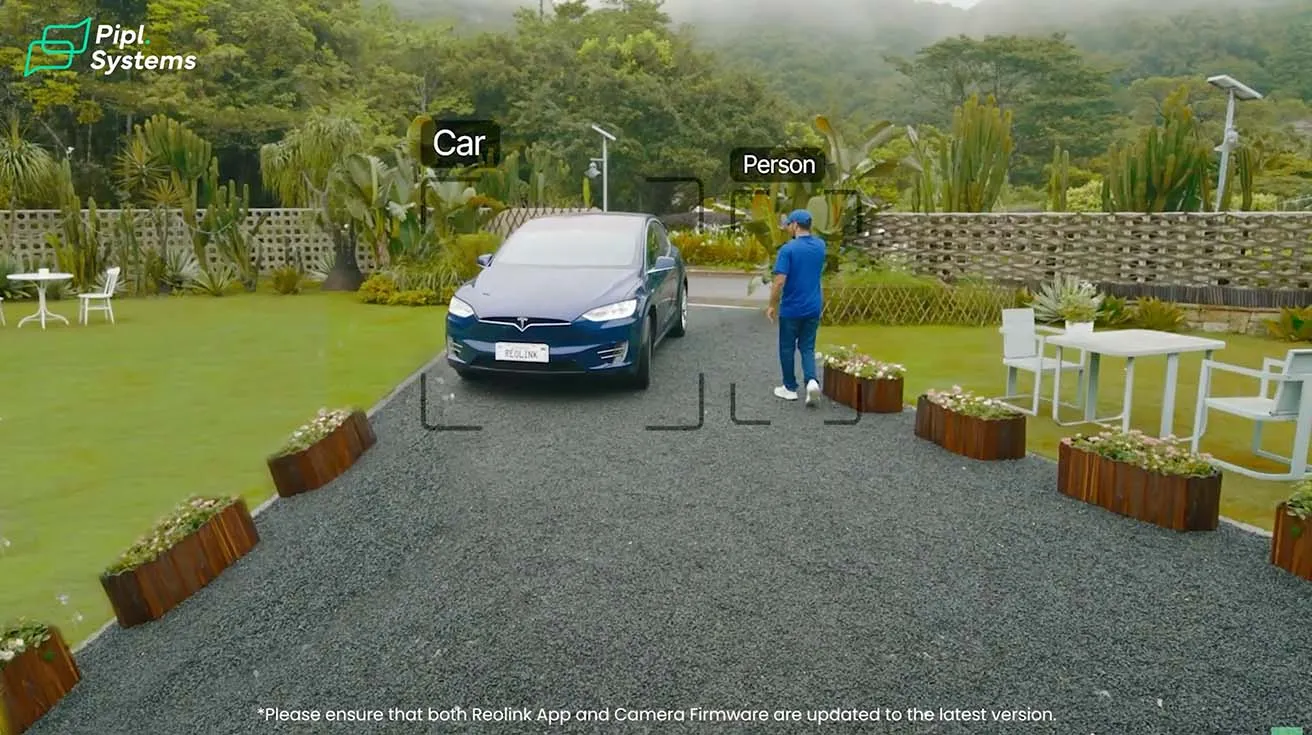
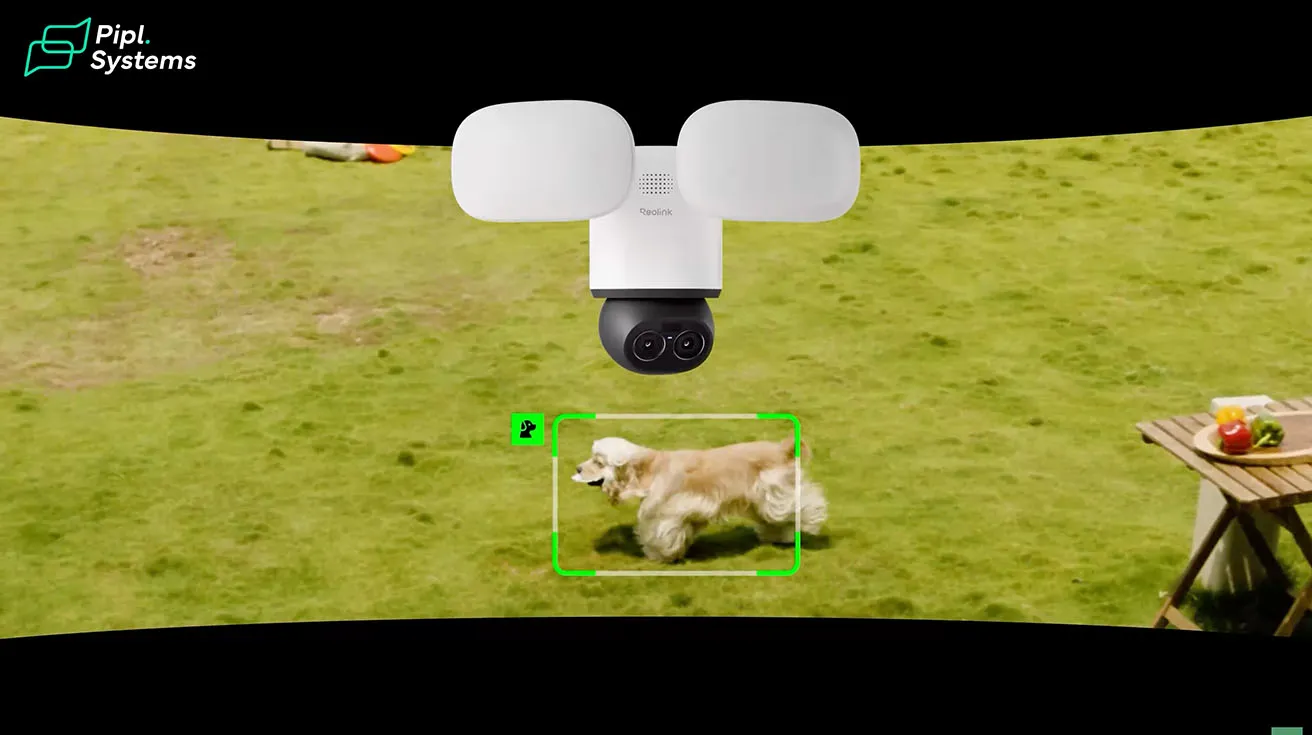
The camera uses AI-based detection to identify people, vehicles, and animals. It automatically follows movement using auto-tracking. Once a threat is detected, the camera instantly activates its 3000-lumen floodlights, while a 110dB siren or your pre-recorded voice is triggered.
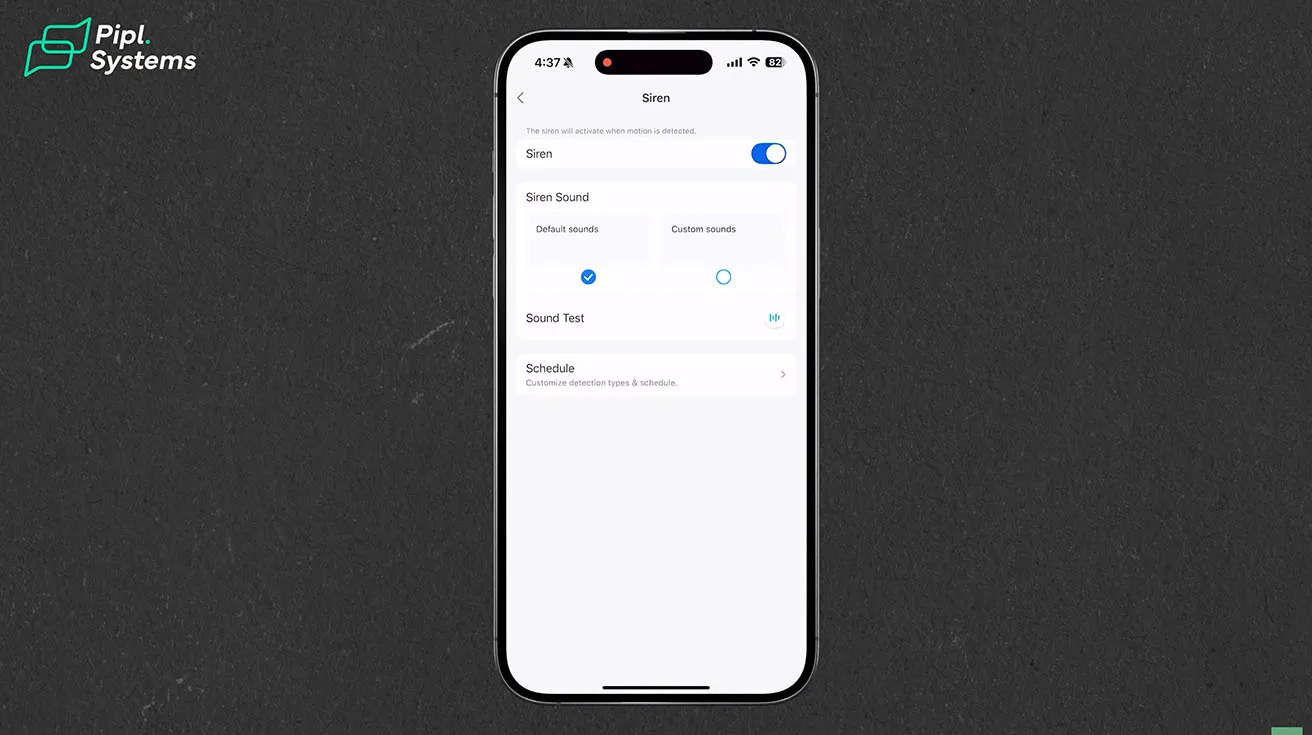
1 / 5
Storage Options with No Subscription
The camera supports a variety of storage options, including microSD cards up to 512GB, Reolink NVR, Reolink Home Hub or Home Hub Pro, and FTP/NAS. Footage remains in private local storage without a required cloud subscription or monthly fee. This was a big factor in my decision. I did not want to pay $10 or $20 per month just to access my own recordings.
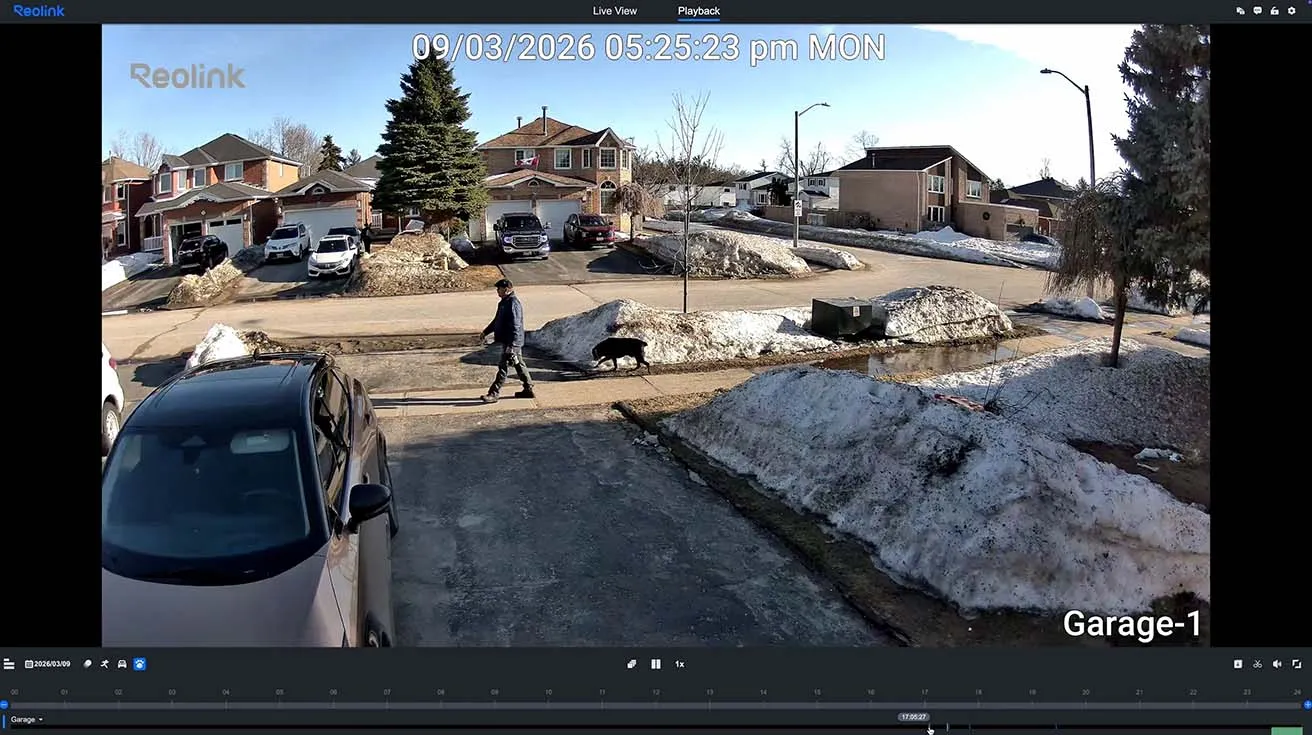
Local AI Video Search
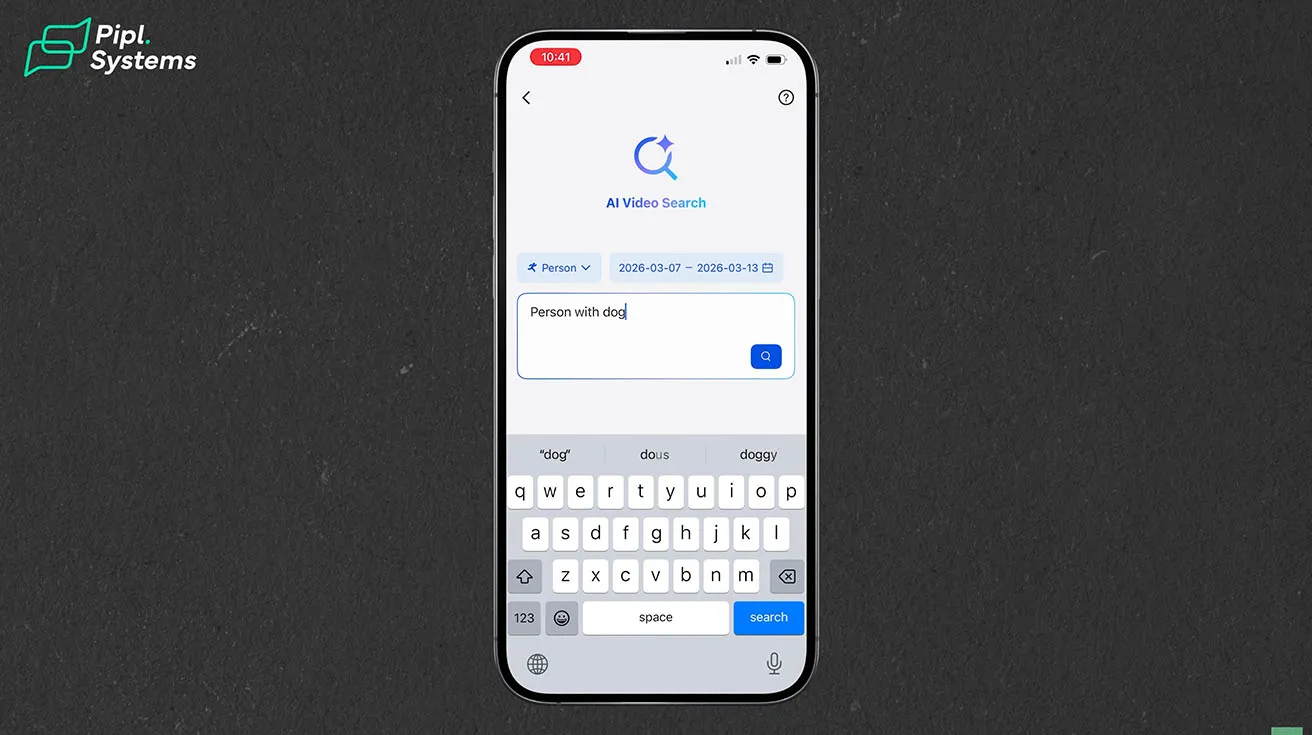
One feature that surprised me is the Reolink AI Search. Powered by ReoNeura, this smart feature takes the pain out of finding footage. No more scrubbing, guessing, or reliving hours of video. Just type in key details - a person, a vehicle, even clothing color - and get the moment you're looking for in seconds. For example, I typed "person with a dog" and the system instantly scanned the locally stored footage and showed all matching clips. From there, I could quickly open the exact moment I needed. All processing happens on device, which means no cloud subscription and no ongoing fees.

1 / 2
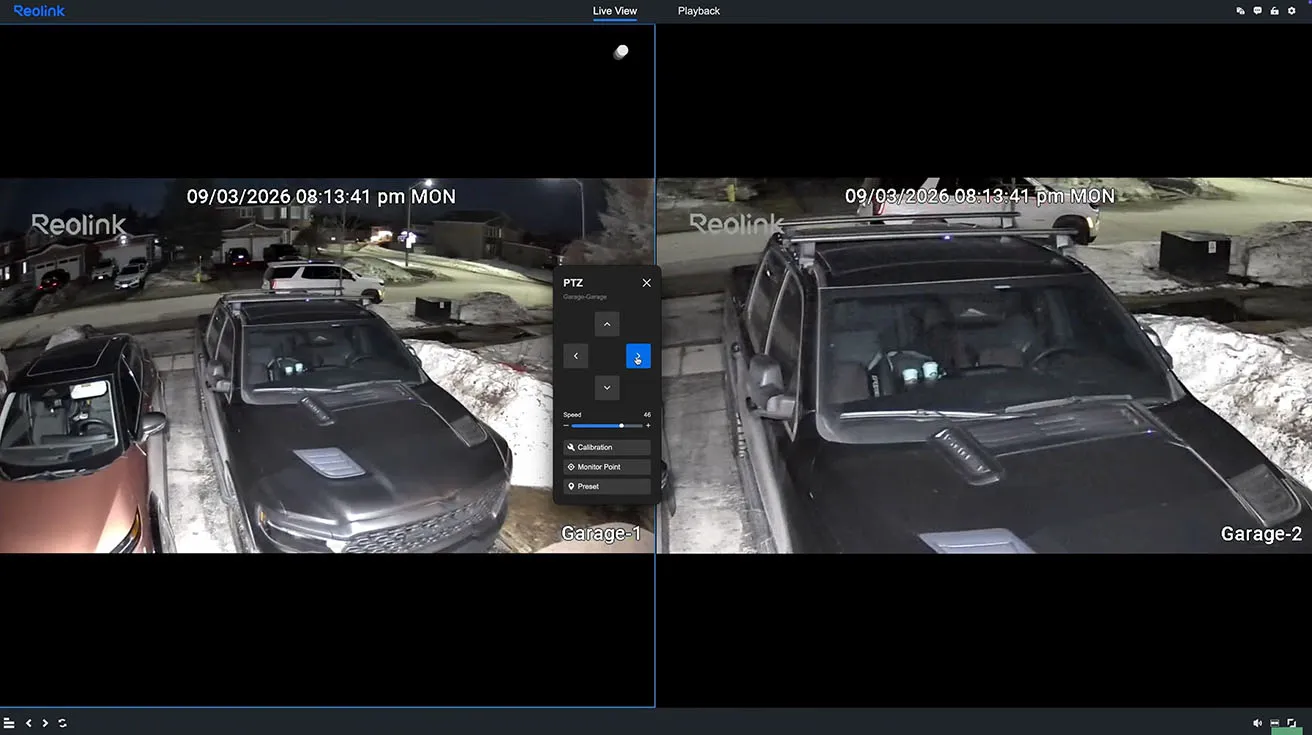
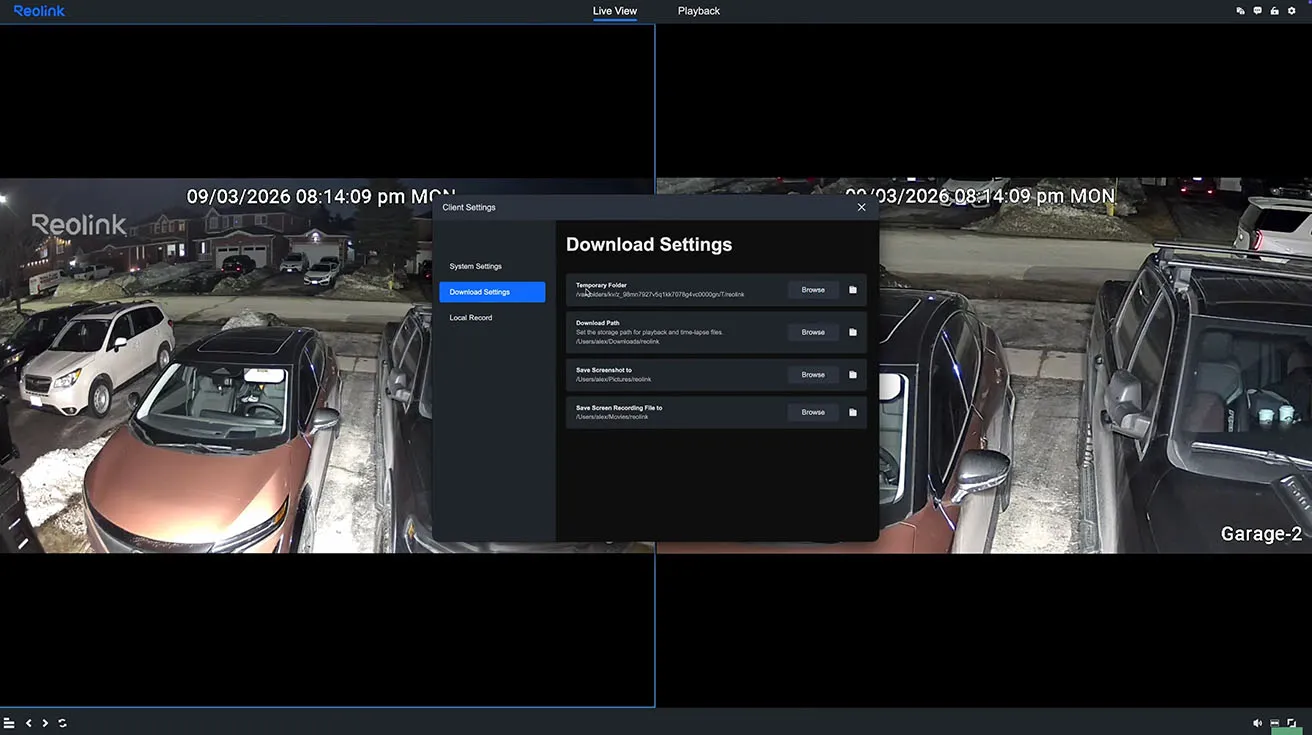
Desktop Application
I also checked the camera feed through the Reolink desktop application. It is another convenient way to monitor the camera from a computer, review recordings, and adjust settings. You can watch from a phone, tablet, or PC, and share access with family or teammates.
For those interested in how other Reolink models handle AI detection, check out the Reolink CX810 and CX820 Review: Budget AI Cameras with 4K Power.
Additional Features Worth Mentioning
Beyond what I covered in my testing, the TrackFlex Floodlight WiFi has a few more features that are worth noting. The camera supports faster and more stable data transmission with 2.4GHz and 5GHz dual-band Wi-Fi 6. With IP66-rated protection, the camera stands strong against dust, rain, and harsh weather, ready for any environment.
It is also compatible with Google Assistant, which means you can use it through voice commands. I have not tested this yet, but it is good to know for future smart home integration. The camera works best mounted between 2 and 3 meters high. My garage light position happened to be right in that range, which probably explains why the coverage and detection have been working well.
For a deeper look at battery-powered alternatives, the Reolink Altas Full Review: Installation, Setup, and Live Demo Guide covers a completely wire-free option.
Final Thoughts After Installing and Testing the Camera
Overall, the experience has been pretty straightforward. I have used several different security cameras around my house from different brands. One thing I noticed here is that the Reolink interface is very intuitive and easy to navigate. The 8-megapixel image quality, the dual-lens system, and the built-in floodlights make this camera a solid option for monitoring areas like driveways or entrances. The auto-tracking feature works well, and the local AI search is genuinely useful for finding specific moments without scrubbing through hours of footage. For now, I will keep testing it over time and see how it performs in everyday use. I am also excited to try the Reolink doorbell and backyard camera next.
1 / 2
If you are considering upgrading your home security, you can check out the Reolink TrackFlex Floodlight WiFi on Amazon or on the official Reolink website.
Guys, thank you for reading. I will keep you posted on how the camera holds up over time.
Watch also our YouTube video:
Quick Specs Summary
| Feature | Specification |
|---|---|
| Resolution | 4K 8MP (dual-lens) |
| Zoom | 6x Hybrid Zoom |
| Pan / Tilt | 355° Pan, 50° Tilt |
| Floodlight | 3000 Lumens, adjustable color temperature |
| Detection | AI-based (people, vehicles, animals) |
| Out-of-View Detection | 270° via 3 PIR sensors |
| Siren | 110 dB |
| Two-Way Audio | Yes |
| Storage | microSD (up to 512GB), NVR, Home Hub, FTP/NAS |
| Wi-Fi | Dual-band Wi-Fi 6 (2.4GHz / 5GHz) |
| Weather Rating | IP66 |
| Subscription | None required |
Frequently Asked Questions
Do I need an electrician to install this camera?
Not necessarily. If you are comfortable replacing a standard outdoor light fixture, you can install this camera yourself. The wiring process is similar. Just make sure to turn off the breaker before starting.
Can I set up the camera before mounting it?
Yes. You can power the camera with a USB-C cable and complete the app setup indoors before mounting it on the wall. This saves you from configuring everything on a ladder.
Does the camera require a monthly subscription?
No. All recordings are stored locally on a microSD card, NVR, or Home Hub. There are no monthly fees for accessing your footage or using the AI search feature.
How does the AI video search work?
You type a description like "person in blue shirt" or "vehicle" into the Reolink app. The system scans your locally stored footage and shows matching clips. All processing happens on the device itself.
Is the camera weatherproof?
Yes. It has an IP66 rating, which means it is protected against dust and powerful water jets. It can handle rain, snow, and temperatures from -10°C to 55°C.