

Today, we continue to disclose the topic of a Hikvision 2nd Generation Modular IP-intercom System, and specifically this time, the connection, the software configuration, and a quick start of the indoor station in combination with the outdoor station, main video intercom module, to make it work together.
Set Up Structure
- Supplying power and network via LAN cable to monitor and door phone due to PoE Technology
- Activation in the SADP Tool
- Set up in IVMS-4200
- Test and Demonstration
- Device activation in Hik-connect

What we are doing today is we start from supplying power and the network to the indoor station and video intercom via a PoE switch, or you can use a 12V. power adapter. Next, we go to the SADP Tool software and activate it. After, we continue in the IVMS-4200, where we configure the devices in a specific way to create their relationship to each other. Then we test and check whether everything works the way it is supposed to, and in the end, we enroll our devices into the Hik-connect mobile app to access the system’s functionality from the phone.
The Wiring

1 / 2
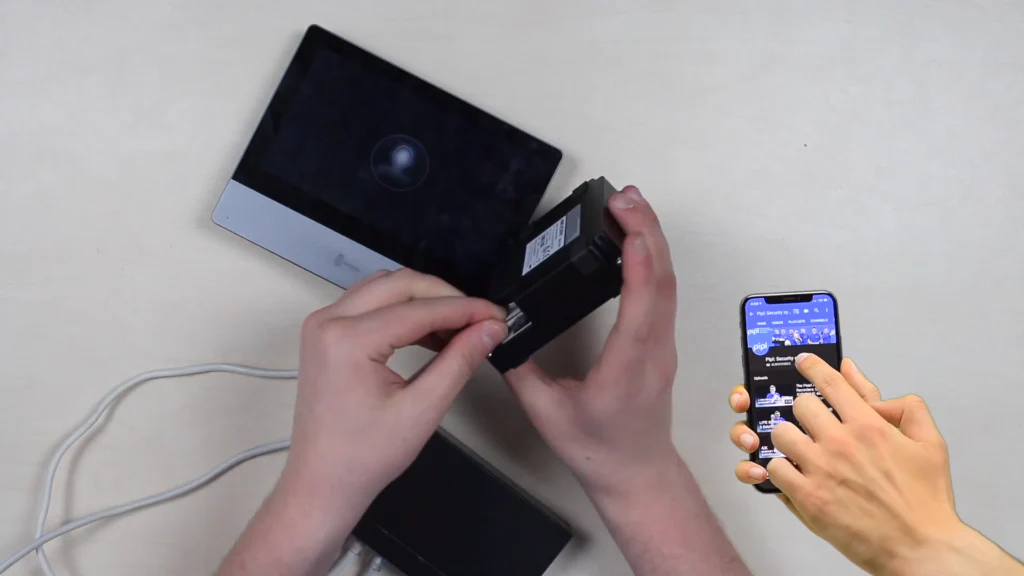
We do the wires. We carry the wire out from a PoE switch to the monitor and separately to the video intercom. By the way, they can also be powered via a 12-volt power adapter, but we use a PoE-type connection as a basis due to this way requires a single wire only. Devices start up, the monitor screen lights up, a light-indication appears on the intercom – awesome, let’s move on.
Software Part: Activation
We need the SADP Tool and IVMS-4200 from Hikvision. We open the SADP Tool, locating devices in our network and activating them. You can also do the same in the IVMS-4200, but I’m used to SADP, so that’s the way I pick. The identical steps we take to activate 2nd device. After activation, we need to modify the standard factory devices' addresses from the 0 subnet to our subnet and assign them unique addresses in our network. So this is what we do – selecting the device in SADP and modifying to what we need. Enter the user data below and save. Now we repeat the same things for the 2nd device, and we’re done!
Device Set Up in IVMS-4200
Heading to the IVMS-4200. Here we add our devices, that is: switching to the device management tab, locating them, and adding. We drag it to the device field, enter the user data that we have created at the last stage in the SADP Tool, and that’s it. The device status can be verified by seeing the online status. Now the important point – after adding, we go to our monitor configuration, and what we need to do – we need to enroll the intercom in the monitor and to, kind of, mark out their relation to each other – what are their roles. We go to the Network tab and select Linked Network Configuration – here we set the IP address of our panel and SIP server, which essentially just duplicates the IP. Also, we’re able to initially indicate and configure the interaction between the monitor and the door station on the screen of the monitor itself. To do that, go to the settings on the monitor, 2nd tab, and open the advanced settings with an admin password, which by default is 888999. Here we select the 3rd tab, which is device management, and the panel will be located there automatically. So we’re done with the software part, thus we move on to the test and demo.
Demonstration
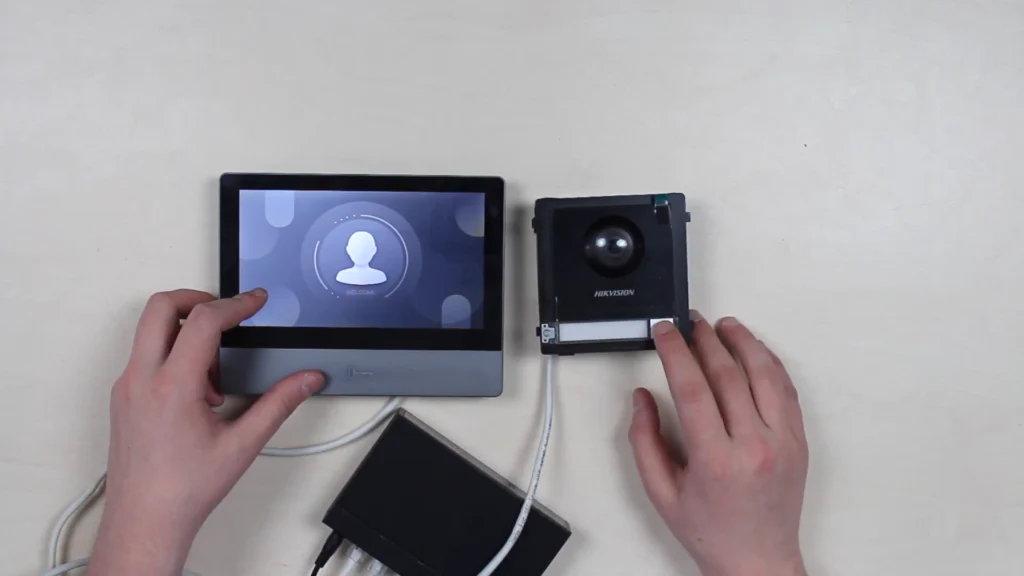
This is how it looks in the end – an activated monitor, an activated outdoor station, and we have already marketed their interaction. We call, we see the video from our side, we can talk with the interlocutor, and from here we can open the door, when it is connected, of course. By the way, from here we can see the scene in a live mode at any time. And here we can bring in our IP cameras.
Adding System To Mobile Hik-connect / IVMS-4500
Now we’re adding our monitor to the Hik-connect / IVMS-4200 mobile app, available for free on iOS and Android, and obtaining access to its functionality from the phone. And since the verification codes in new Hikvision devices are instantly embedded in the device from scratch, it just got much easier. We go to the settings, second tab, the settings for a Hik-connect service. Now just press the “add device” in a Hik-connect on the phone and scan this area.
Watch Full Video Tutorial On Youtube!
Conclusion
We see a bunch of positive changes and improvements in regard to the 1st generation, and all those pros came together in this modular Hikvision IP intercom system. We have examined its main functionality – that is, a monitor for receiving and making calls, video calls, remote door opening, and an external door station DS-KD8003-IME1. And a lot of things are left out of our attention today, but we will definitely continue to review a wide range of Hikvision modular IP-intercom system possibilities in upcoming materials, and there will be functionality.