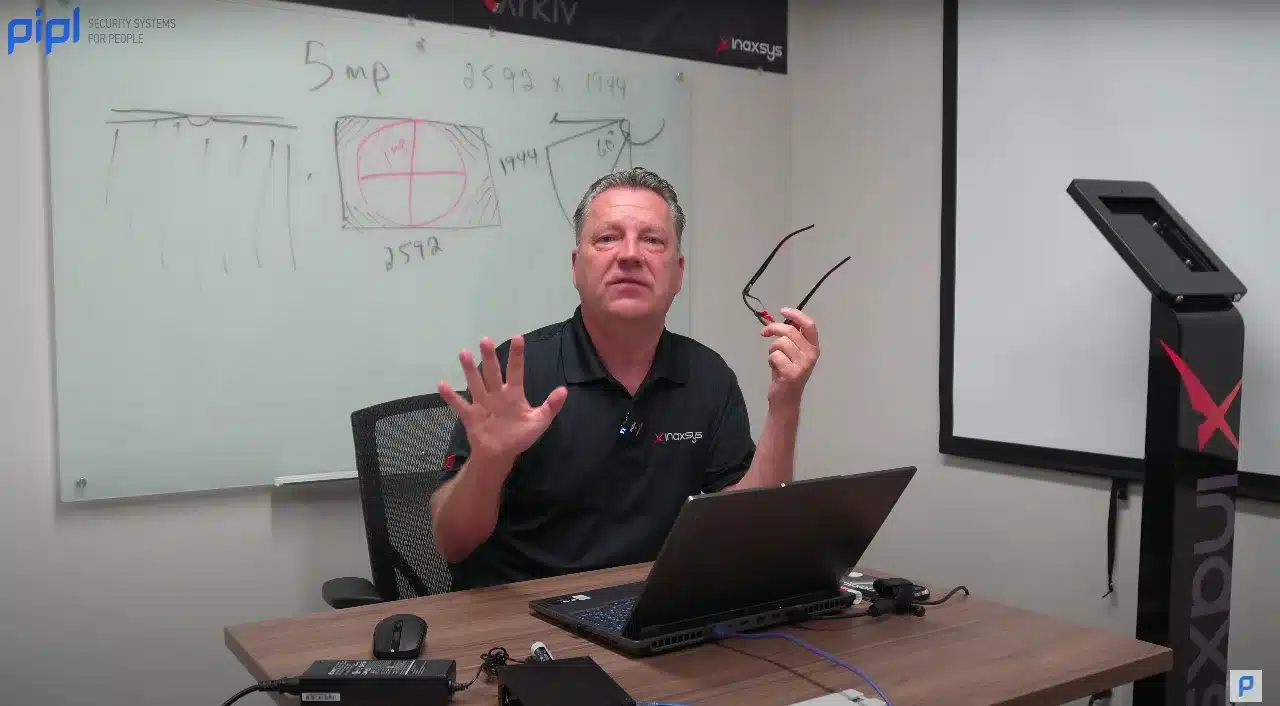
Today, we are privileged to have Mark McRae, a leading security industry expert and President of Inaxsys, to share his experience with the Arkiv video management software and STORM video surveillance.
Let’s delve deeper into how to connect a STORM 360° Fisheye IP Camera, highlighting the most common settings that you might come across.
Part 1: Fisheye IP Camera Equipment Setup
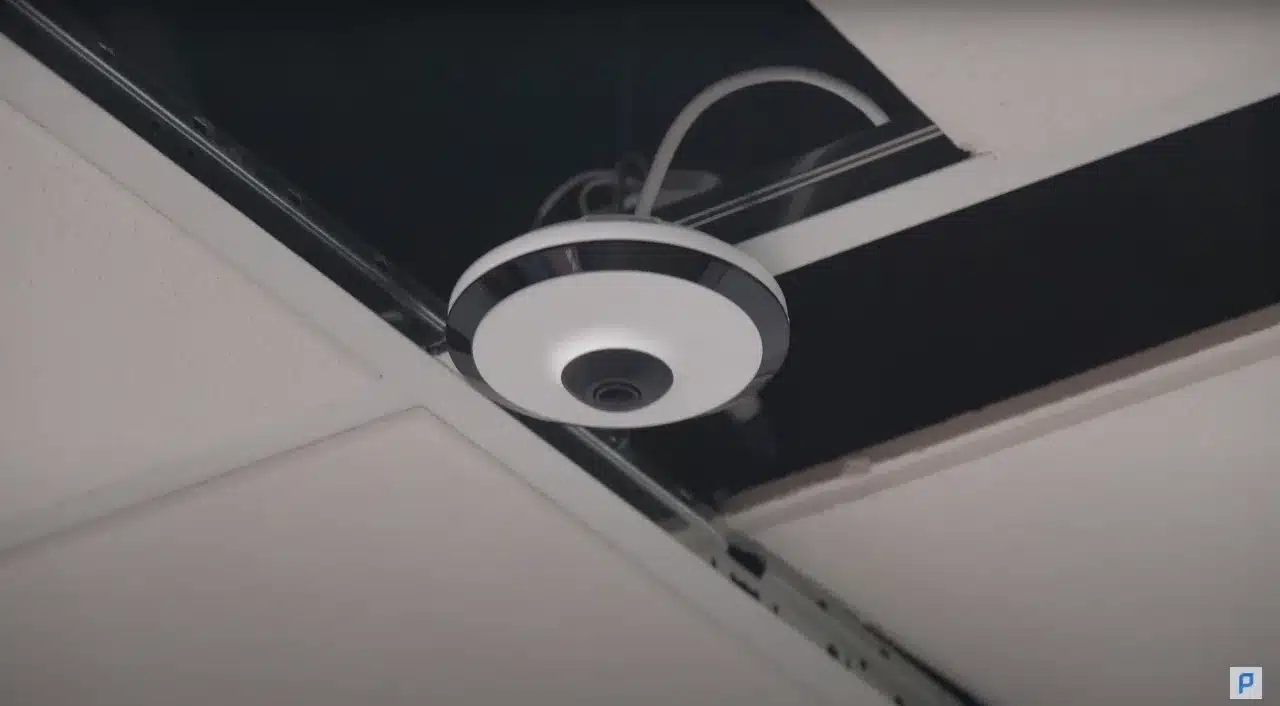
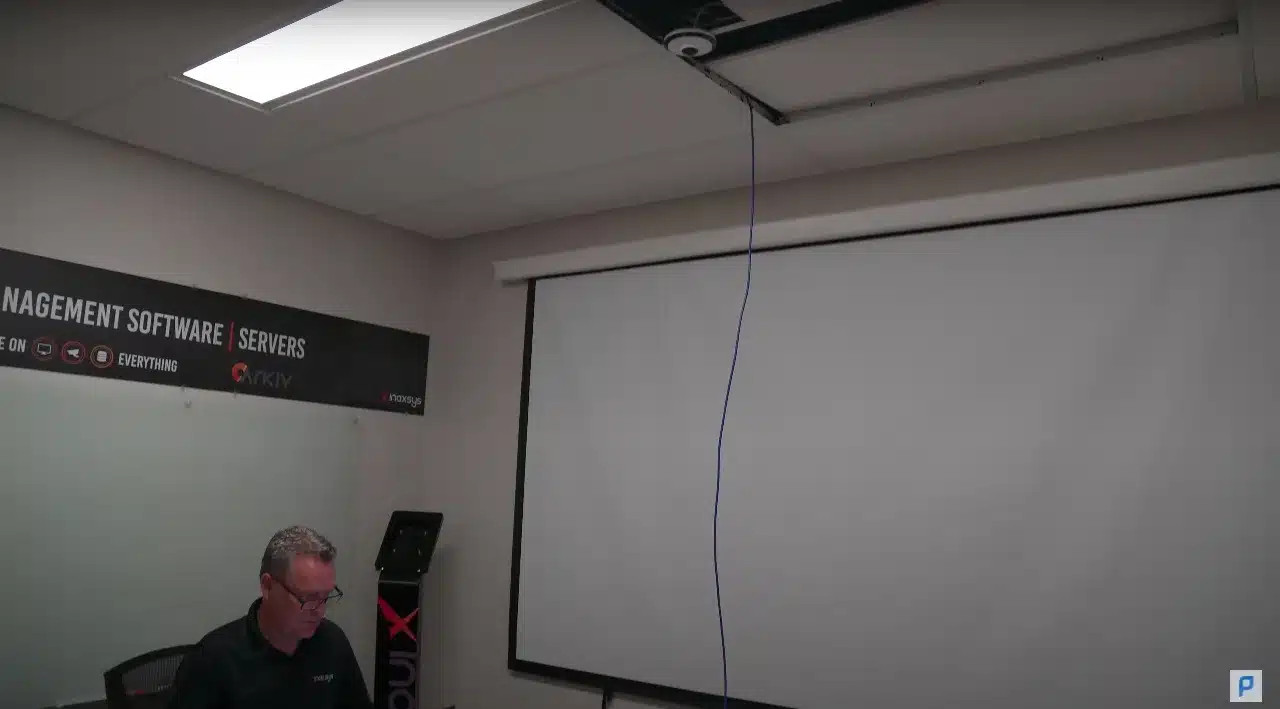
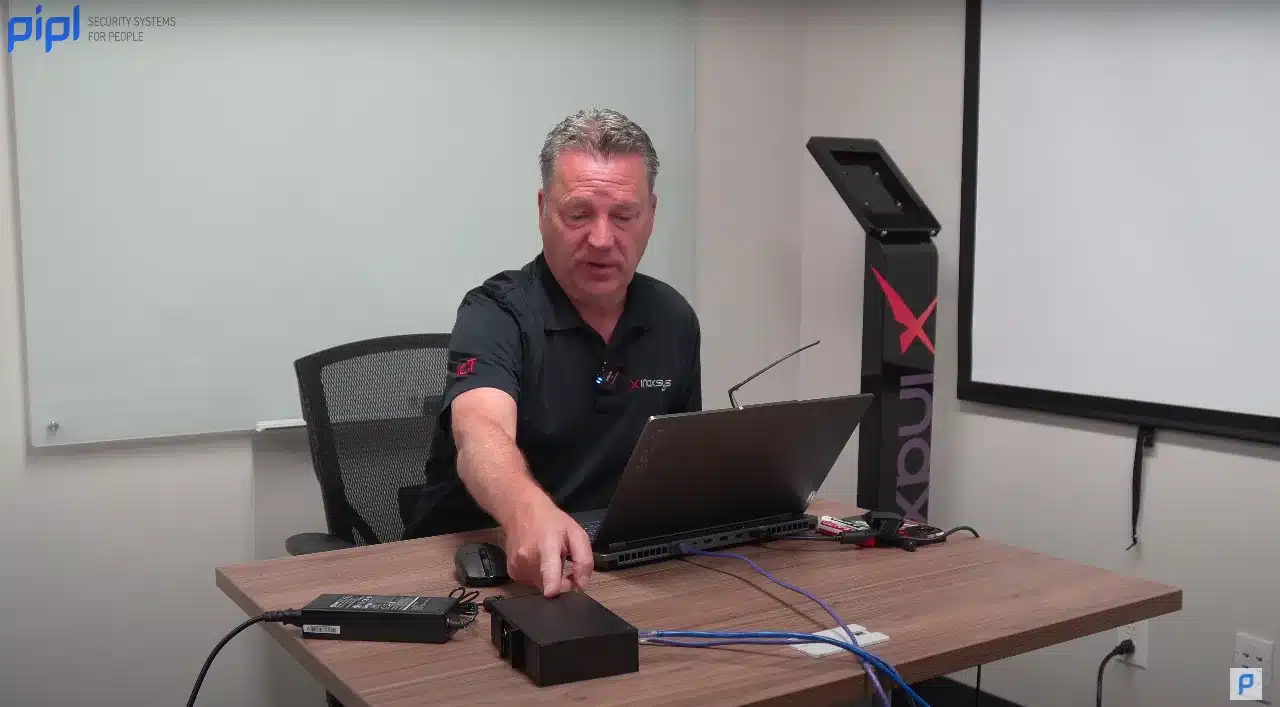
Mark begins with a setup that includes a camera temporarily installed on the training room ceiling, a PoE switch, and a laptop connected to the PoE switch. This setup will help us delve deeper into the camera’s settings and how to use it effectively with Arkiv, their video management software.
Initial Connection and Configuration
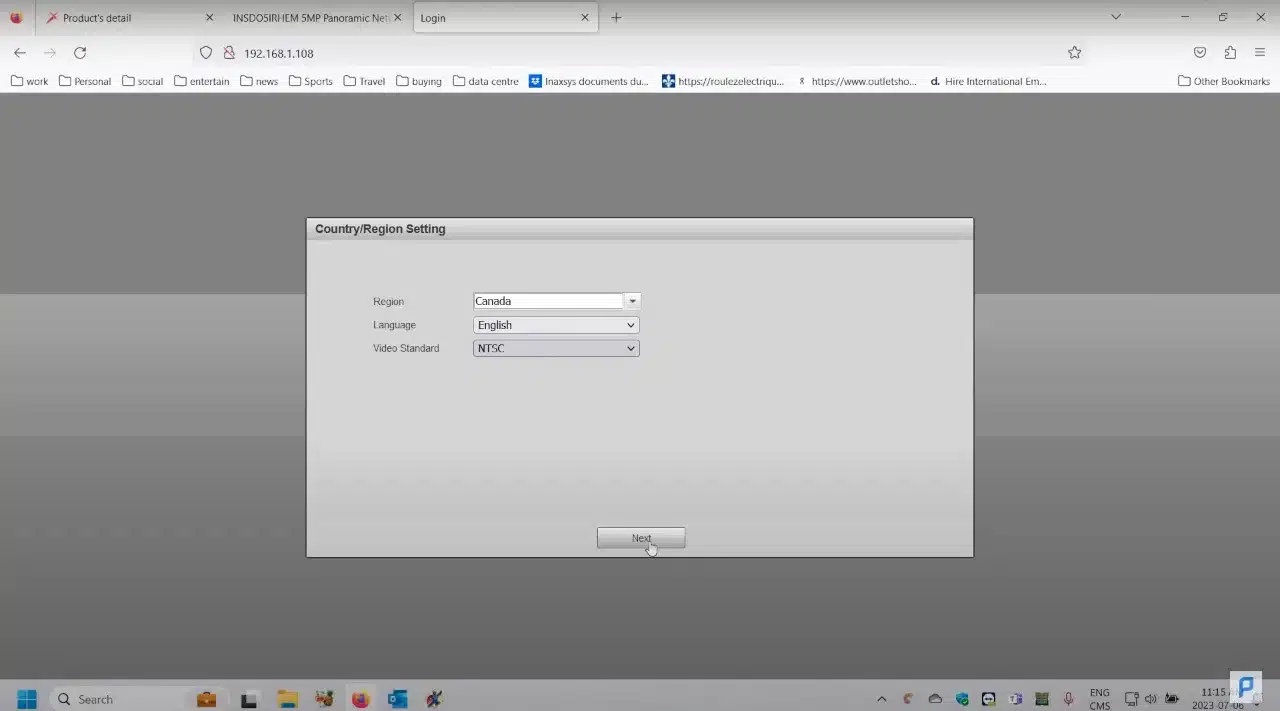
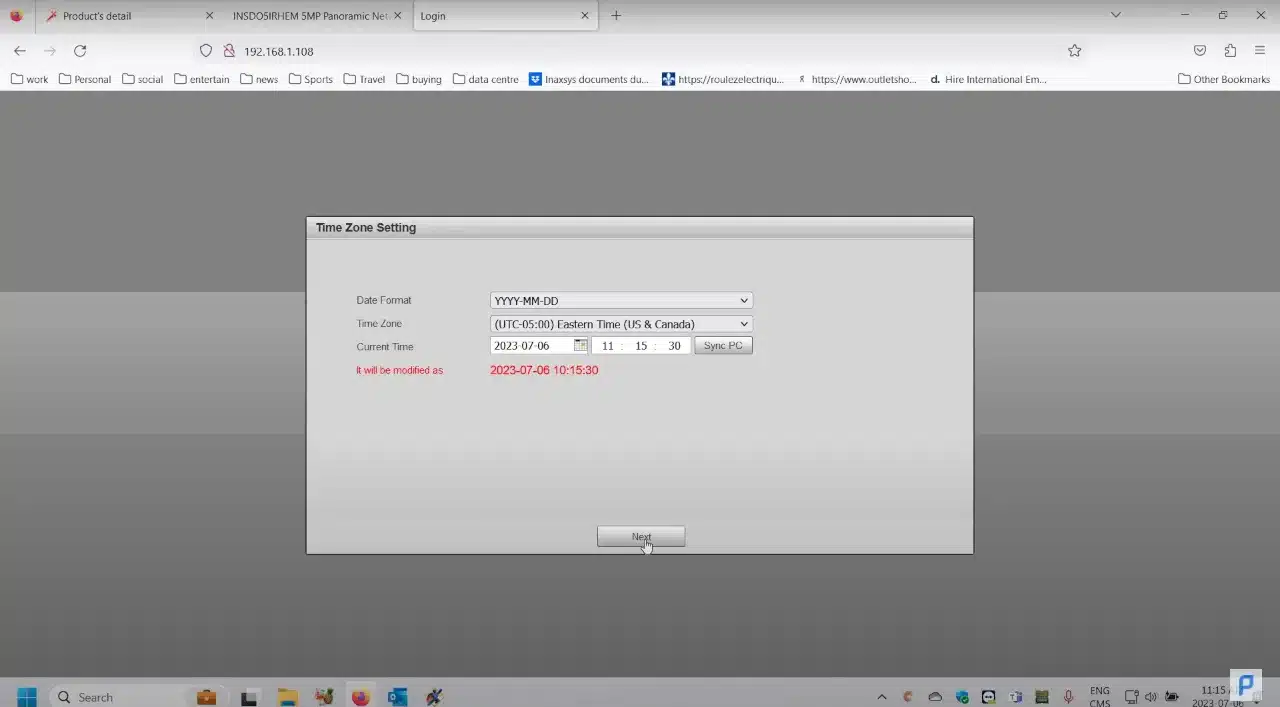
The camera’s default IP address is 192.168.1.108. Mark initiates connection to the camera by typing in this address. He chooses Canada as the location and English as the preferred language. Considering he’s in Canada, he opts for the NTSC video standard. The camera system requests date format which he synchronizes from his PC for convenience.
Admin Setup
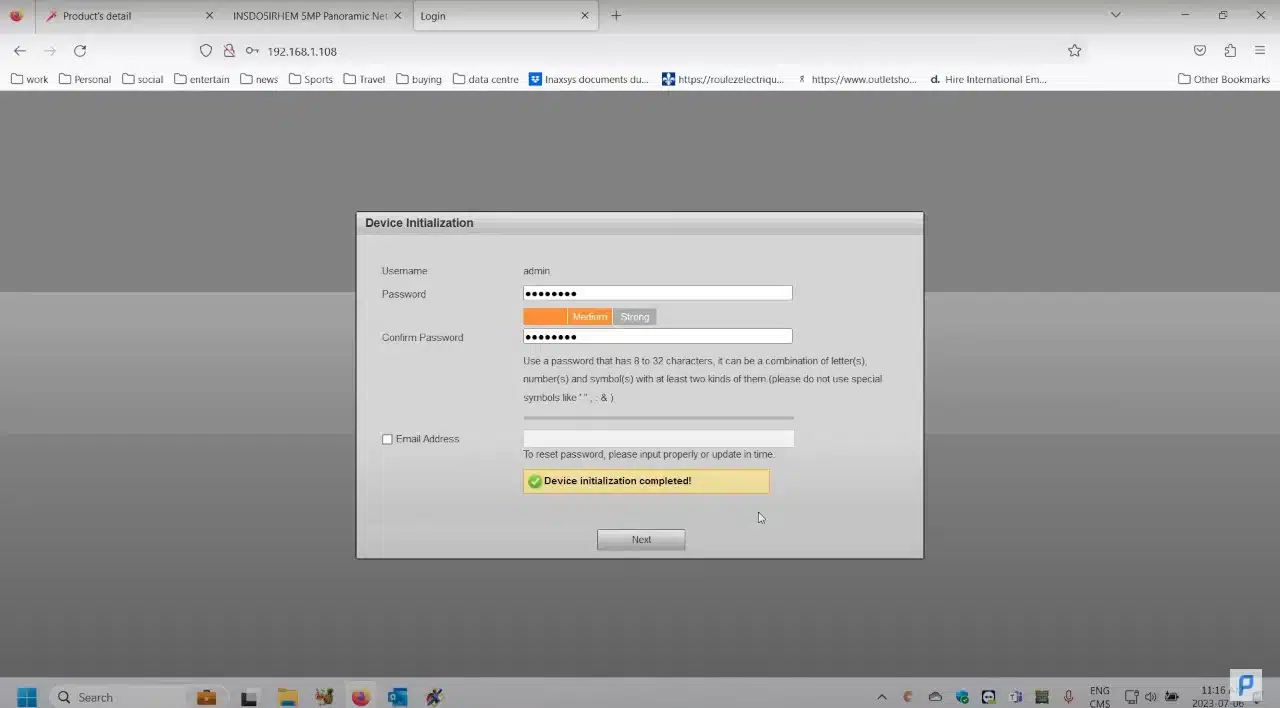
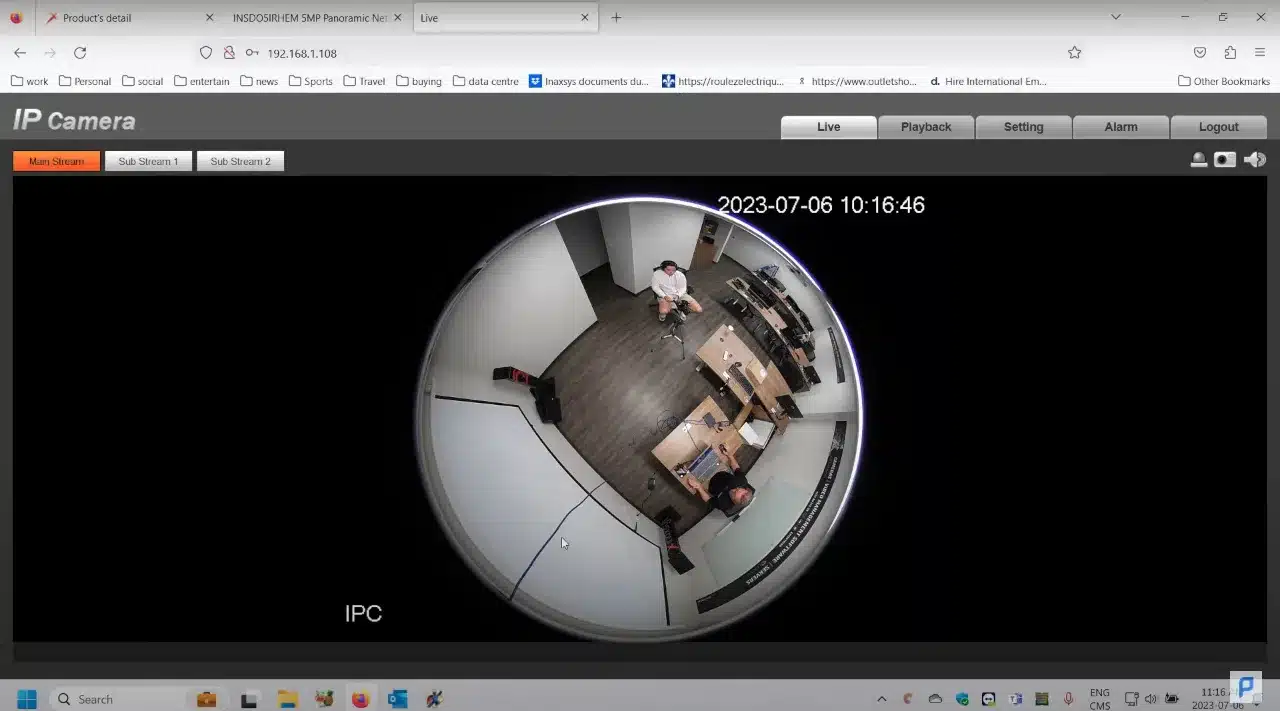
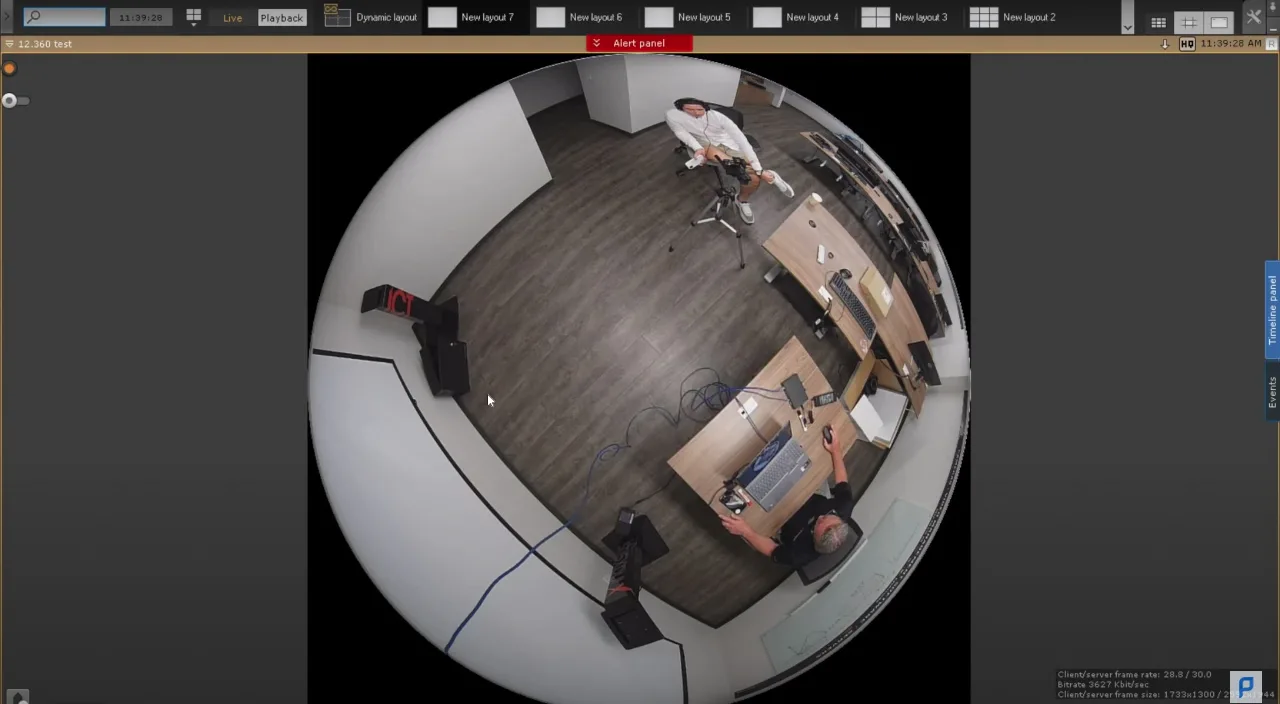
The system then asks him to input a username and password. The initial username he inputs is “admin,” coupled with a password of “admin256,” which he finds easy to remember. He decides not to add an email address and unchecks the email option to prevent receiving any updates. He doesn’t opt to connect peer-to-peer using a DVR and instead decides to connect with Arkiv software later on. As his camera doesn’t have access to the internet, he chooses not to auto-check for updates. After logging out, he logs back in using the admin credentials to view the camera’s initial 360-degree hemispheric view.
Camera Settings
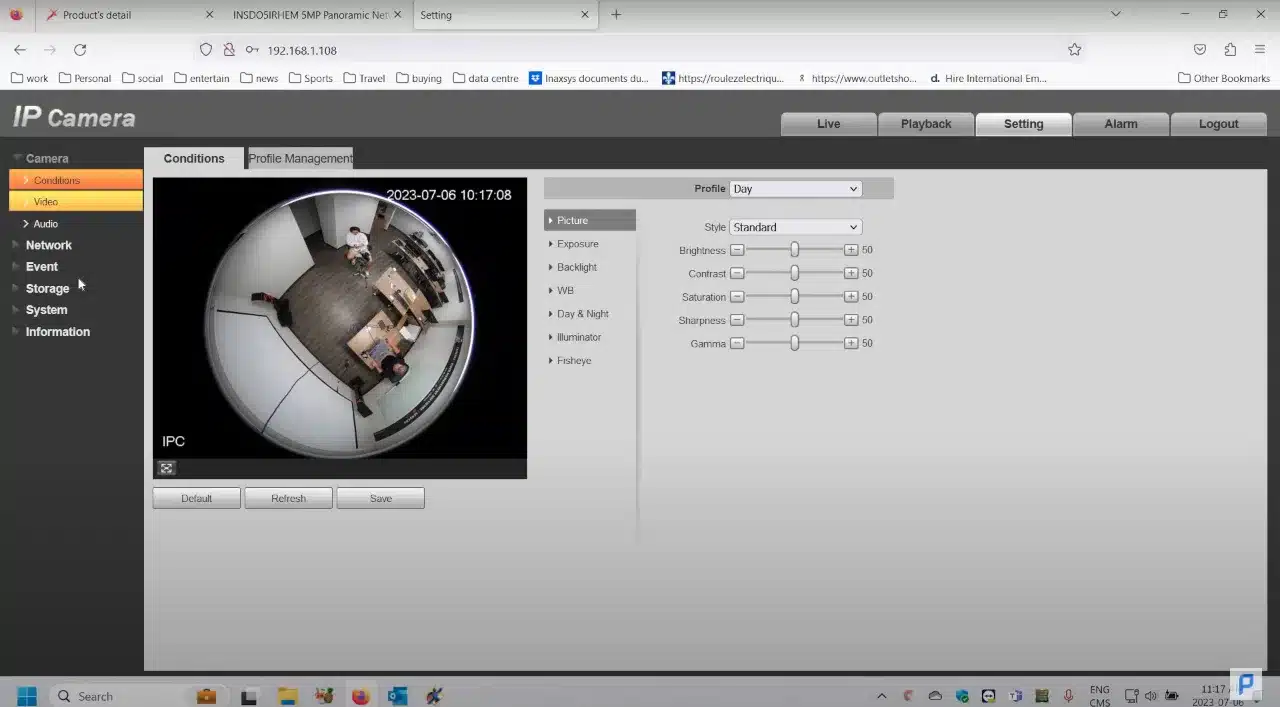
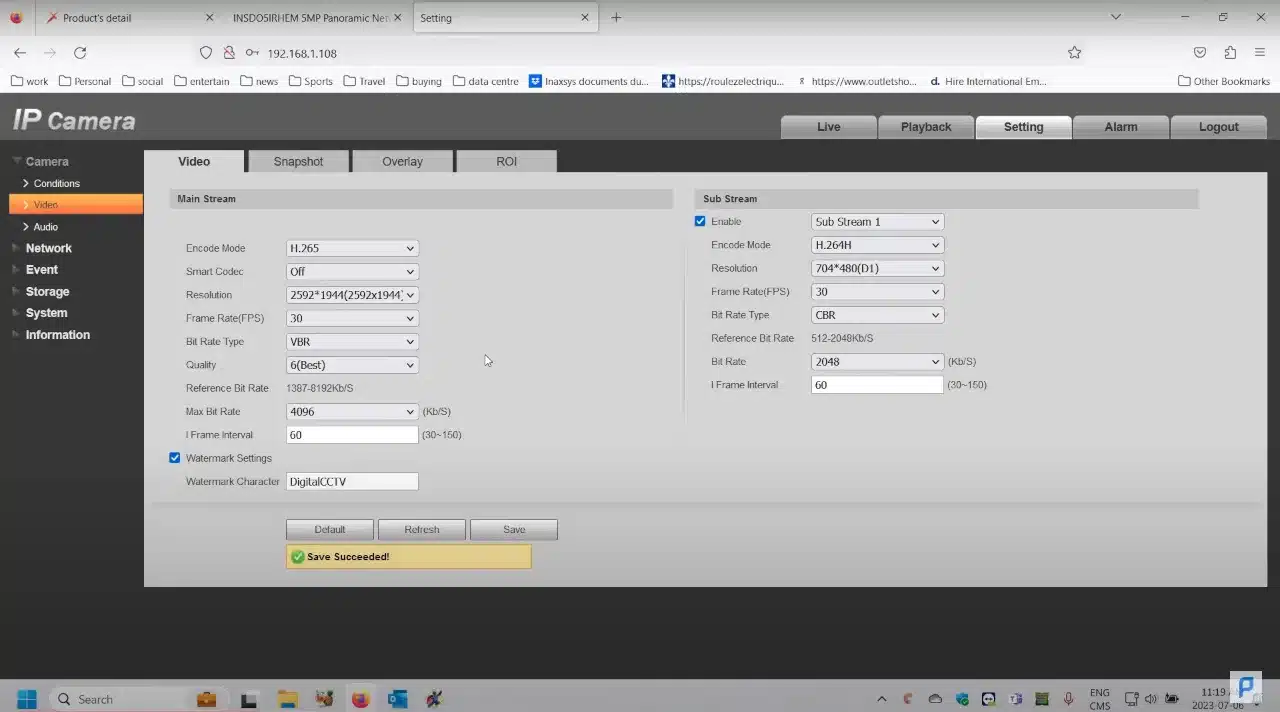
The first settings that Mark modifies are under the ‘conditions’ tab. He changes the encoding mode from H.264 to H.265, a more efficient codec. He keeps the camera’s resolution at its highest (5 megapixels) and maintains the suggested frame rate of 30 frames per second for fluid motion. He switches from a constant bit rate to a variable bit rate, allowing the camera to adjust its bandwidth use depending on the complexity of the scene, which can lead to bandwidth and storage savings. He chooses the highest quality (6) and sets the max bit rate at 4096 kilobits per second. After saving these settings, Mark removes the channel title and time title, as these are not needed in Arkiv.
IP Address Adjustment
Under the networking settings, Mark shows how you can change the IP address of the camera, which might be common in different installations. For this setup, he leaves it at the default static IP address, but he explains that in other systems, you might want to switch to DHCP or choose a different static IP address.
Resolution Understanding with 360° Cameras
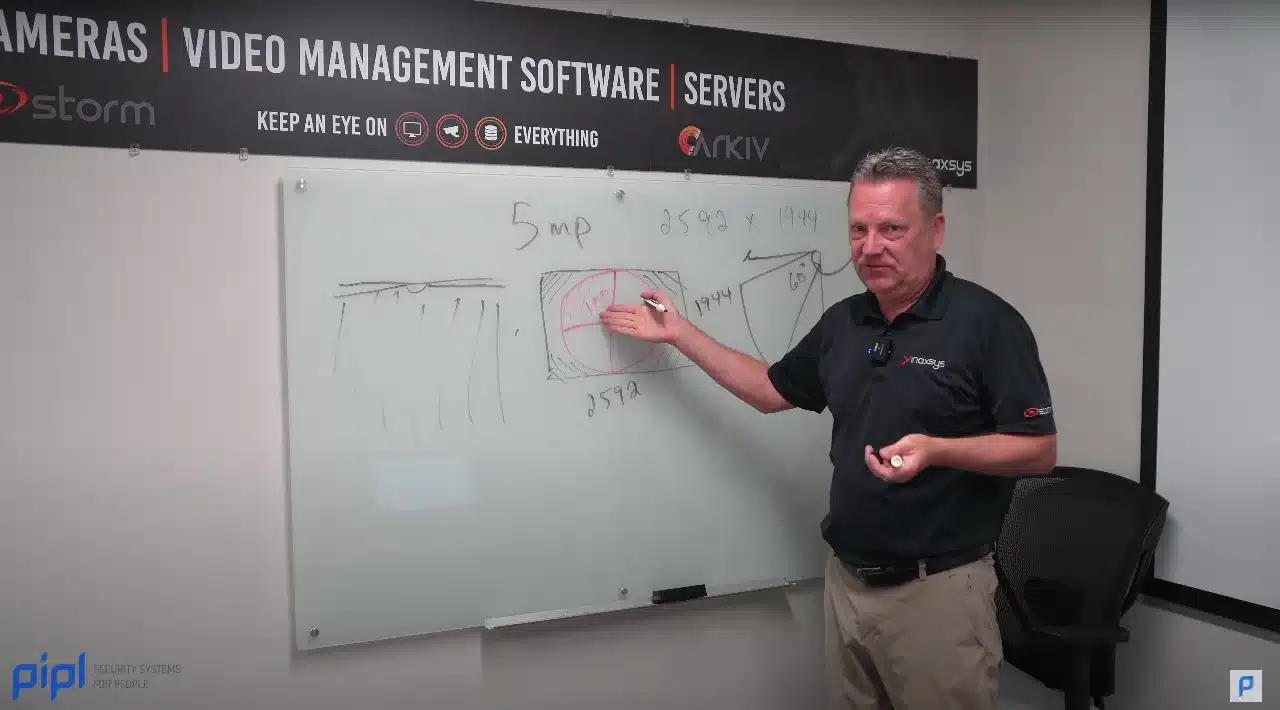
Mark explains the difference in resolution with 360-degree Fisheye IP Cameras, clarifying that 20% of the camera’s field of view is lost due to the round lens occupying space inside the rectangular field of view of the camera’s 5-megapixel resolution. This reduces the effective resolution to 4 megapixels. Additionally, he points out that a 5-megapixel hemispheric camera is an overview camera, not an identification camera. The resolution is further reduced when considering the camera’s 180-degree field of view, which in essence makes a 5-megapixel camera effectively function as a one-megapixel camera in a 90-degree field of view. Mark clarifies that hemispheric cameras are best used as overview cameras due to their wide field of view and reduced pixel density when viewing specific subjects.
By understanding the setup, configuration, and functionality of 360° Fisheye IP Cameras, installers can better serve their customers by setting up systems that meet their specific needs. Every component, every setting, and every decision can have a profound impact on the quality of surveillance and the effectiveness of security measures.
Part 2: Camera View and Connecting to Arkiv VMS
Now that the initial setup is done, let’s delve into how the camera’s view works and how to connect it to Arkiv VMS.
Understanding the Camera’s View
- Remember that the hemispheric camera provides a 360-degree view. This means that a significant portion of the view may be a wall, especially in indoor settings.
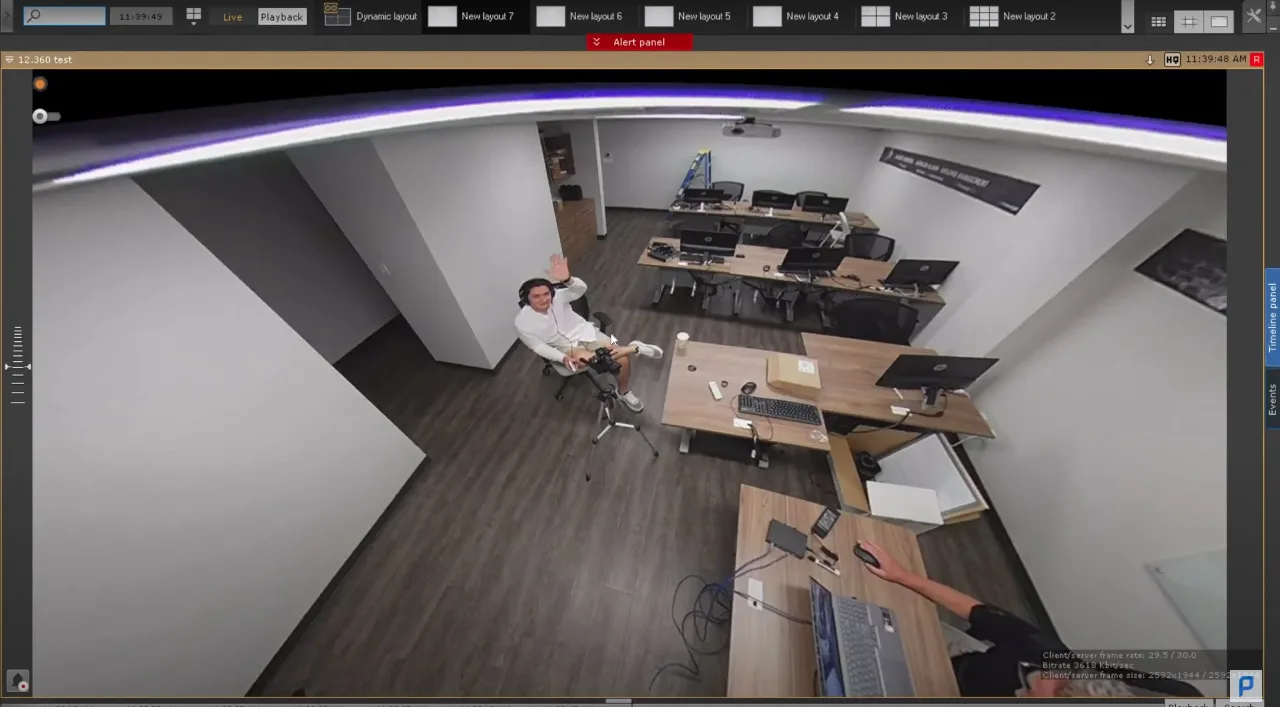
- Comparing the 5 megapixel hemispheric camera with a regular camera, the latter will have a direct focus on the subject while the hemispheric camera captures a wide view.
- Due to its unlimited horizontal and vertical fields of view, a hemispheric camera technically has less than one megapixel focused on any specific area. This makes it a specialty camera meant for overview. It’s not ideal for identifying faces or other specific details without a secondary, higher resolution camera.
Connecting the Camera to Arkiv VMS
- After setting up the camera, refresh your login on Arkiv VMS to ensure your username and password have been changed from the default.
- Open Arkiv VMS and login. In this case, the default username and password is ‘Root’.
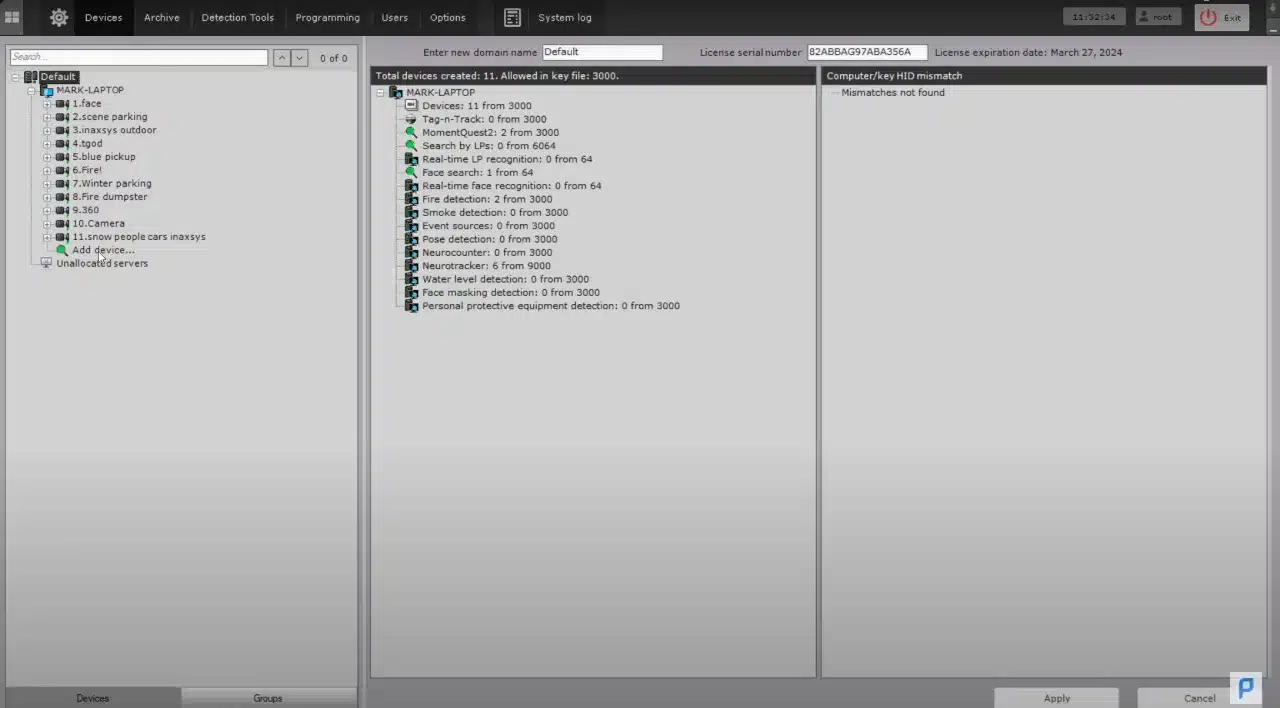
- Go to the ‘Devices’ menu, which is found under the screwdriver and wrench icon at the top right-hand side of the software. Here, you can search for and connect new devices.
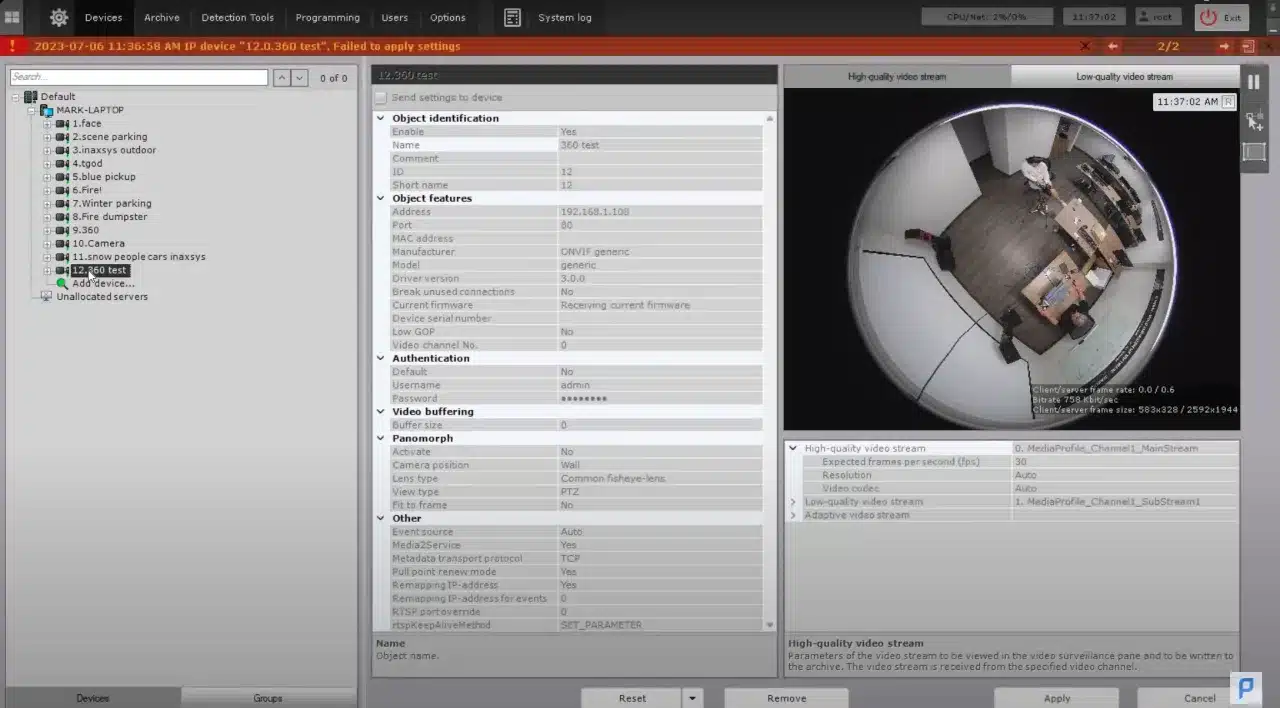
- Expand the server (in this case, the laptop server), and select ‘Add Device’.
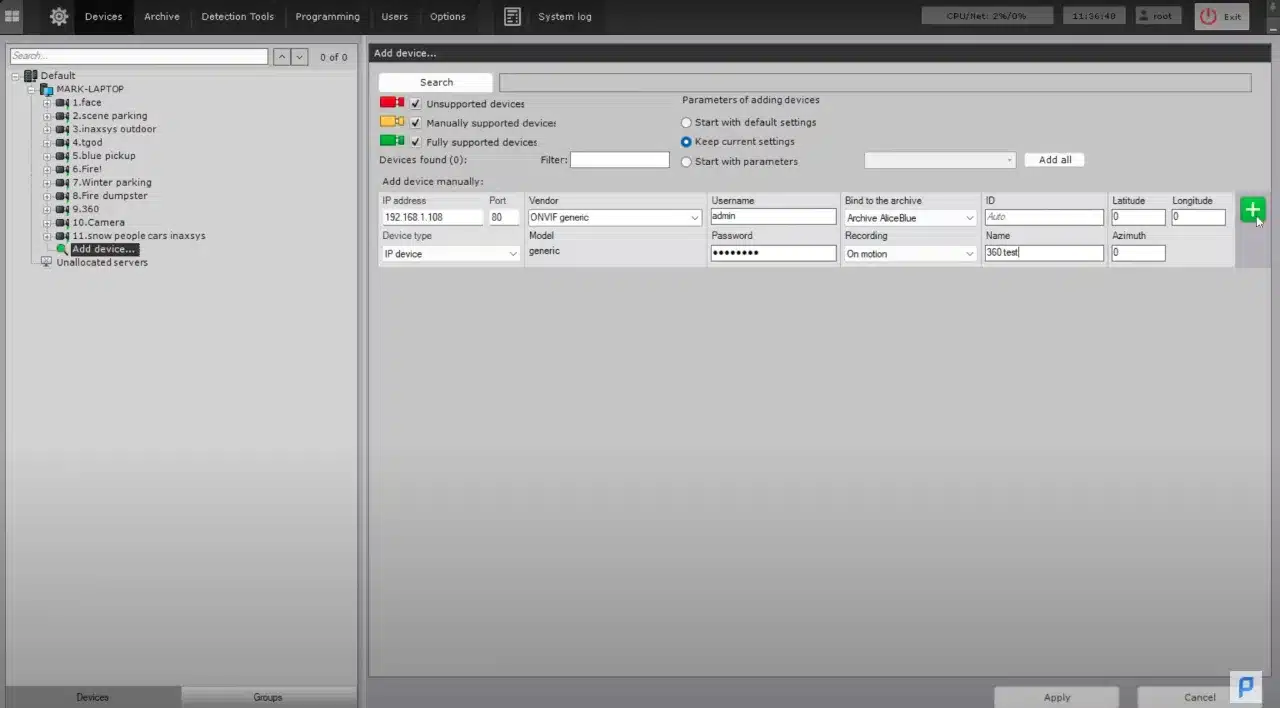
- Enter the IP address of the camera (e.g., 192.168.1.108) and choose the vendor (Univis was chosen in this case due to the generic onvif driver).
- Enter the username and password for the camera (admin and admin256 were used here).
- Bind the camera to an archive location where you want the recordings to be stored.
- Decide on the recording settings. In this case, the camera is set to ‘record on motion’.
- Set the ID and name for the camera. It can be set automatically or manually. For this tutorial, the name ‘360.test’ was chosen.
- After verifying all the details, click on ‘+’ to add and connect the camera to Arkiv VMS.
Configuring the Camera View in Arkiv VMS
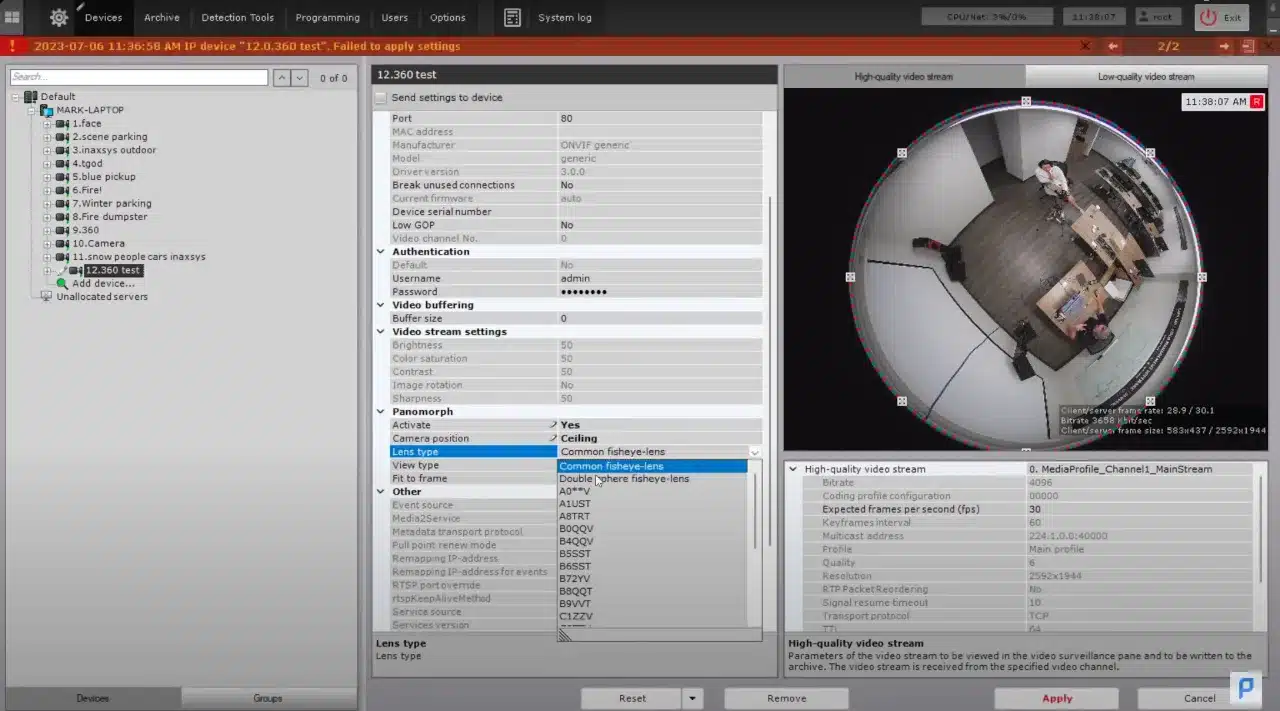
- Once the camera has been added, it will appear in the devices list. Click on the ‘Panamorph’ option to activate the 360-degree view and select the camera’s position (e.g., ‘Ceiling Mounted’).
- Choose the lens type, in this case, a common fisheye lens was selected.
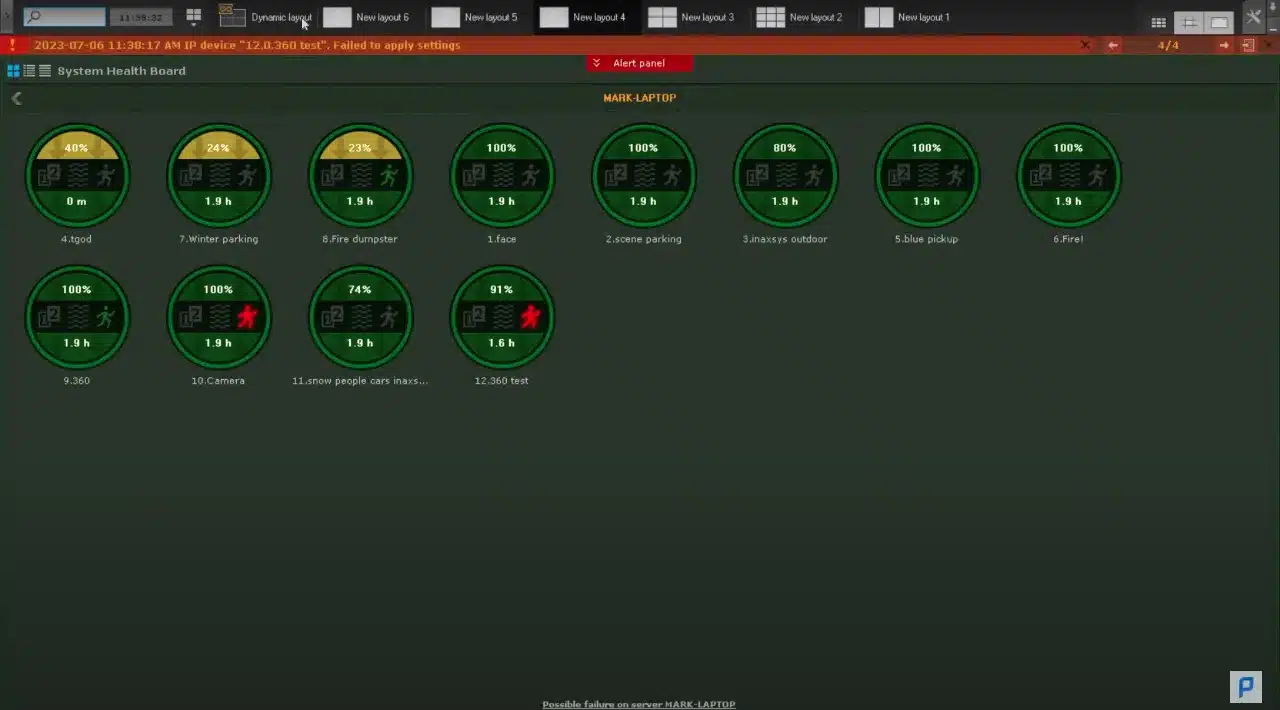
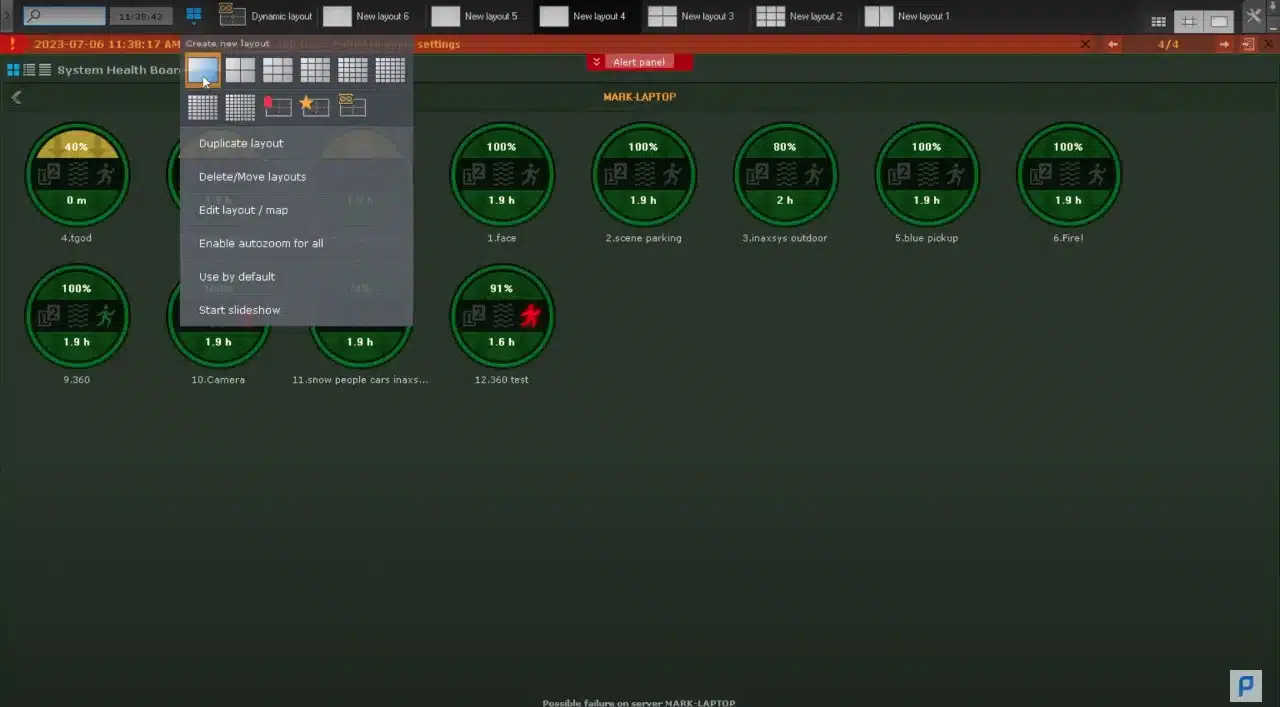
After applying the settings, go back to the live view screen and create a new layout. Select the layout that suits your needs and add your newly connected camera. - You can select whether you want to use the low or high stream based on your preference.
- Save the settings, and you will now have a live view from the 360-degree camera.
Understanding the Resolution Limitations
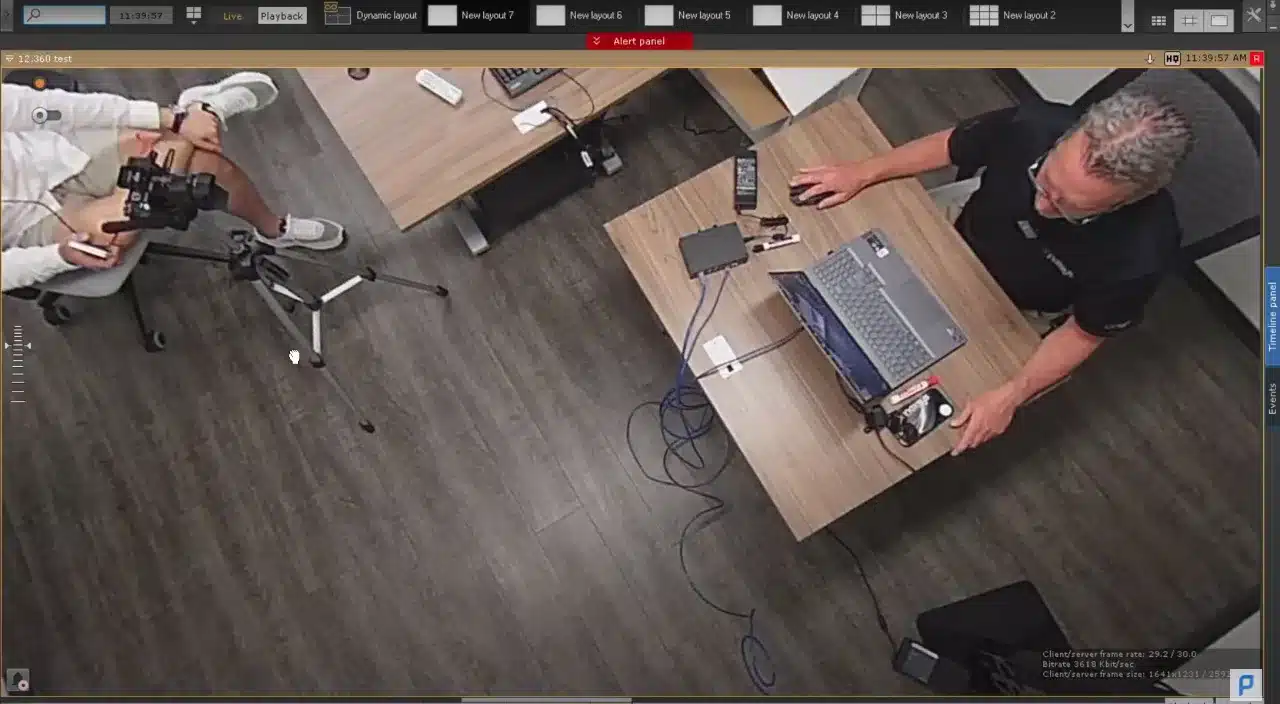
- Once the camera view is set up, you might notice pixelation when zooming in on the video feed. This is due to the spread out resolution of a 360-degree camera.
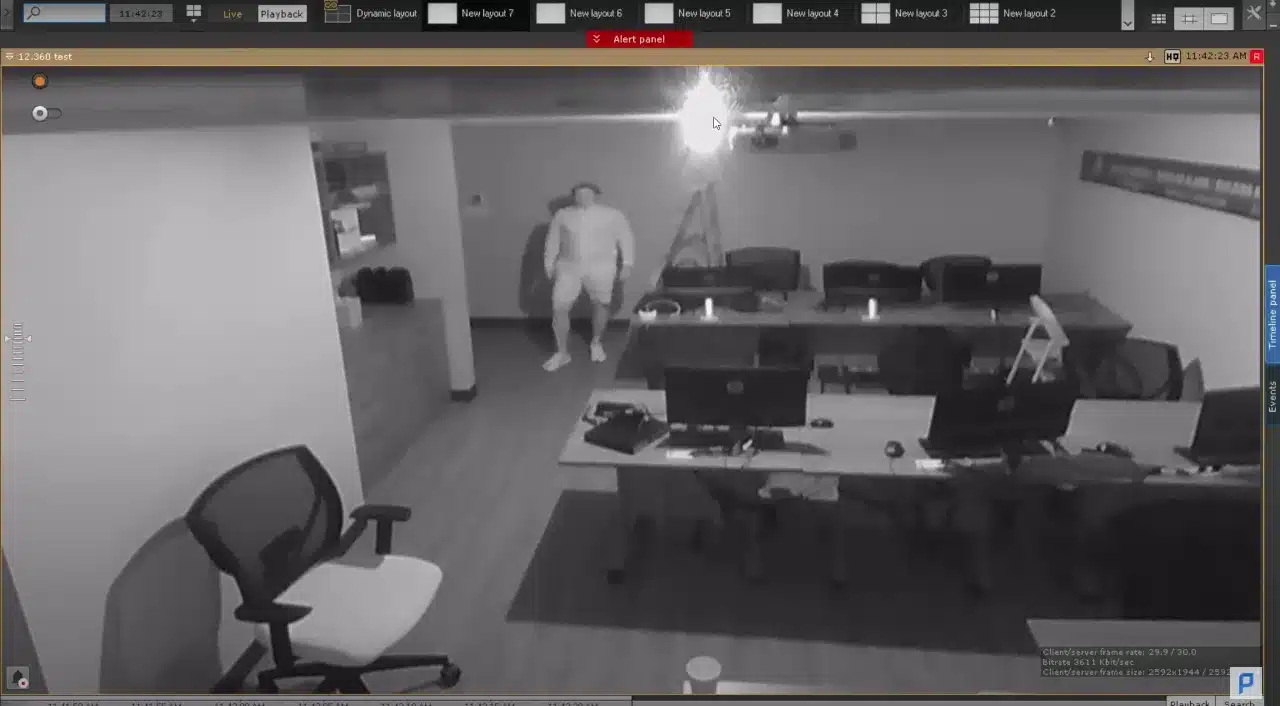
- The farther away the subject, the more pixelated the view will be due to the reduced resolution at greater distances.
- Light conditions also affect the camera’s resolution. For example, a low-light environment will result in a more pixelated view.
- You can adjust the resolution and light settings according to your requirements. Higher resolution cameras may be better for long-distance viewing.
Additional Considerations
- If the primary goal is to identify subjects, a secondary, higher-resolution camera with a smaller field of view should be used.
- The hemispheric camera can serve as an excellent overview or surveillance camera, capturing everything within a 360-degree radius.
- If you need help with the setup or any other aspects, don’t hesitate to contact your camera manufacturer or distributor for support.
Congratulations! You have now successfully set up a 360-degree Fisheye IP Camera and connected it to Arkiv VMS, understanding its unique view and how to navigate it for the best surveillance results.

To access a special offer on Inaxsys products, simply visit the Inaxsys page on the Pipl Systems website and make a request. Our team will connect you with an Inaxsys representative in your region, who will assist you in obtaining an offer on favorable conditions tailored to your requirements. Take advantage of this opportunity to enhance your security systems with cutting-edge Inaxsys products. Visit our website and submit your request today to unlock exclusive benefits and secure your organization’s assets.

