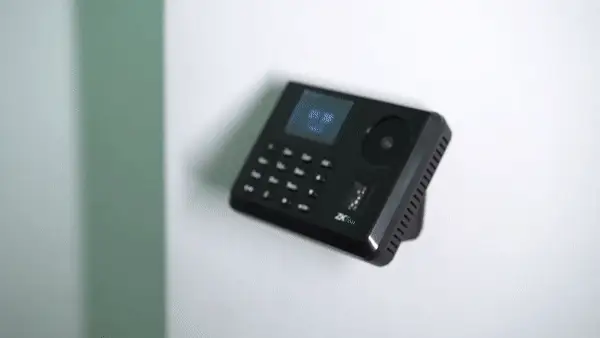
There are several reasons why we have selected ZKTeco P160 Bio Access Control and Time Attendance terminal to be installed in our office. And first of all, it is touchless. That is why here we have a camera for hand palm recognition, making us able to avoid touching at all, as our main entry criterion.
Specifications
The maximum number of different hand palms that you can enroll in here is 600 hand palms.
Right below the camera, there’s the opposite of touchless authentication – the fingerprint scanner. Where you can register as many as 3,000 different fingerprints. And the accuracy is quite high.
Continuing, the space around the scanner is a Mifare card reading area, and you put the card over it to get identified and get into the building. Here you can enroll as many as 10,000 different cards. Then there’s the speaker to inform of a status, 2.8 inches. Screen with time and data, which is here to report the status as well, and the keypad for password authentication and settings access, and other operations.
In total, we’ve got 4 authentication methods:
- Hand Palm – 600;
- Fingerprint – 3,000;
- RFID access card – 10,000;
- Passwords;
And this ZKTeco P160 can hold up to 100,000 records, gathered from all authentication attempts and all entry and out events with event time and person’s ID. Which is exactly what’s meant by the Biometric Access Control and Time Attendance Terminal. ZKTeco P160.
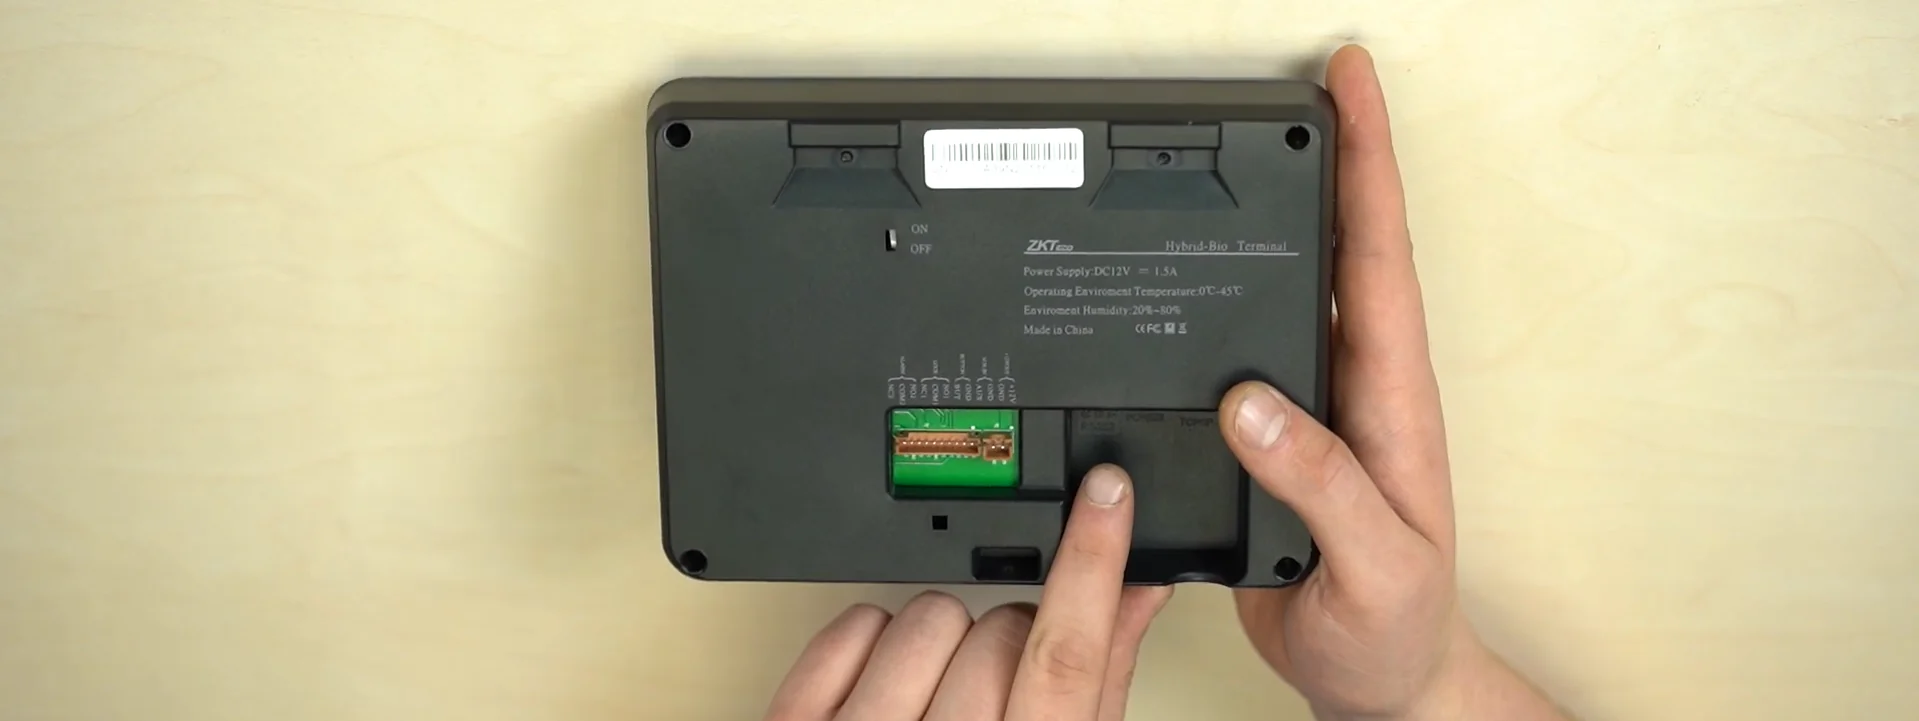
On the back, we have an Ethernet cable in, which supports the PoE feature, 12V Power in, next to it there’s RS-232 for a direct printer connection. And the area with terminals is the access control socket with AUX Input and 12V Power out, and there you can connect buttons, locks, and alarm devices. On the opposite side, we have a reset button and the USB2 port to export data with logs of events by offline means.
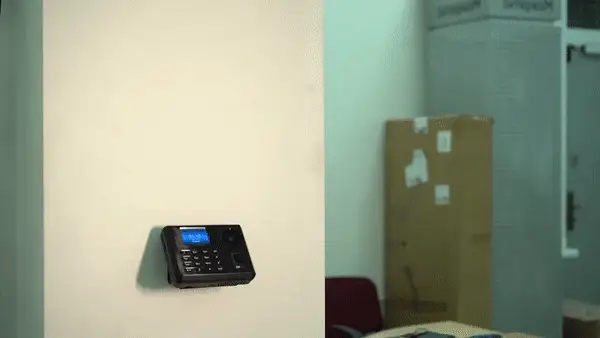
Then we were installing it in our office so our employees could use it. First of all, we marked out the location and drilled a hole in our drywall column, then we pushed the twisted pair cable through the gap between the roof and our ceiling. We are using a single cable to transfer the data and power the terminal at once, so we divide the cable cores, where a brown and blue pair are responsible for power, and the orange and green lines make it able to transmit data.
Next, we drilled one more hole for the back plate, then we fastened it with dowels for the drywall, and we’re done. From now on, our employees will check in every time they come to work and every time they leave. This is how you deal with employees’ unpunctuality.


