After you bought a camera, a pretty logical question occurs: How do I install it? And then you go asking Google, and among the search results you find many various guides, and that’s how you got here. Hello, we are the Pipl Systems team, and we want to quickly guide you through the “Do it yourself” camera installation process with no side help if you are on your own. And by the way, at the end of this page, you will find 3 video guides for different scenarios:
- IP Camera Featuring PoE Install;
- IP Camera Without PoE Install;
- Analog Camera Install
Components
You will need:
-
- The Camera;
- Junction Box: original fullmetal, or a plastic one;
- Compressed cable;
- Connectors for a cable self-compression: power and video, BNC connector, Passive Amplifier.
We are reviewing 2 junction boxes: the original metal box that looks like a full-value camera part in a joined position, and a plastic one. And the reason is that the plastic box has a lot of variations in size, hole position, colors, and price, generally, but it’s water resistant too, as it’s a metal brother. And actually, specifically, the plastic ones are mounted mostly everywhere, judging from the experience. So there are 2 ways to install the camera: out of the box, on the adjacent wall, and on top of the box.
And we recommend going for the box install because as time goes on, both the box and the camera on top there get loosened under the precipitation and the pressure of snow weight and water. Gradually, that causes the box cracks and the box cover slips off, so it’s better to be a separate installation if you are using a plastic junction box. If your decision is to mount on the box, take the original one, and you’ll get it protected and aesthetically pleasing.
Cables: either you buy a ready-to-go compressed cable, or you compress it yourself. For a self-compression, you’ll need some connectors, the standard power, and the video connectors. Also, on the BNC connector and the passive amplifier to make use of twisted pair instead of the coaxial cable.
All of these options, metal or plastic boxes, are often used in the surveillance area, where you can find both of these installation types. It’s up to which one to choose, but these 2 are ok.
The Installation
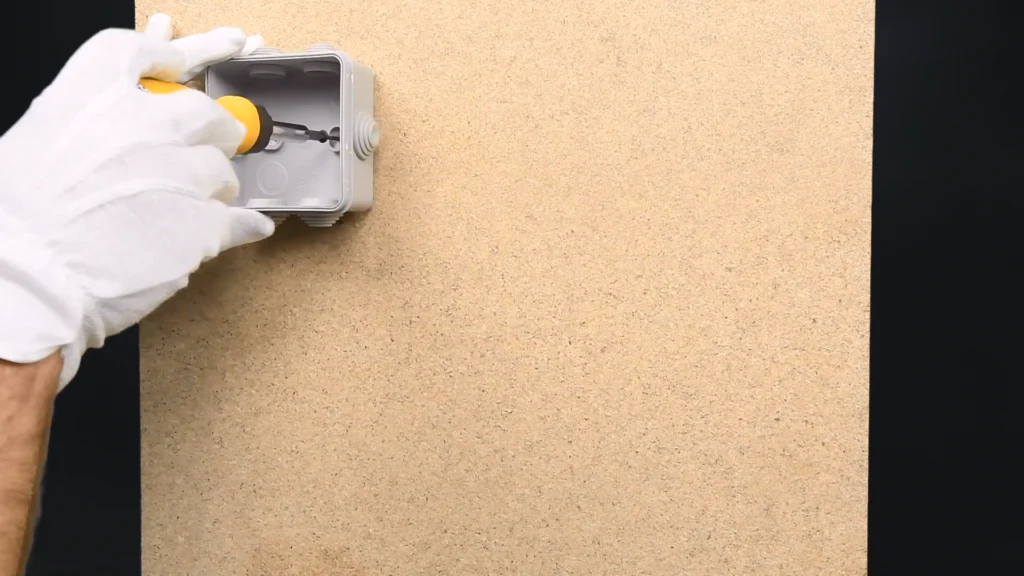
For our tutorial, we have picked the airtight non-original Schneider junction box, and we are going to install it over a DWP board with a screwdriver instead of the perforator, which you might use in case you have a thicker wall or an automatic screwdriver to speed up the process. What we want to show you is, again, that you don’t need any extra tools to make everything work, and you’re able to arrange a video surveillance system or simply install a camera indoors or outdoors with a regular tool kit that almost everyone has in-house.
1. Mark the place for box mounting.
2. Fasten the junction box to the wall with screws as shown on image.
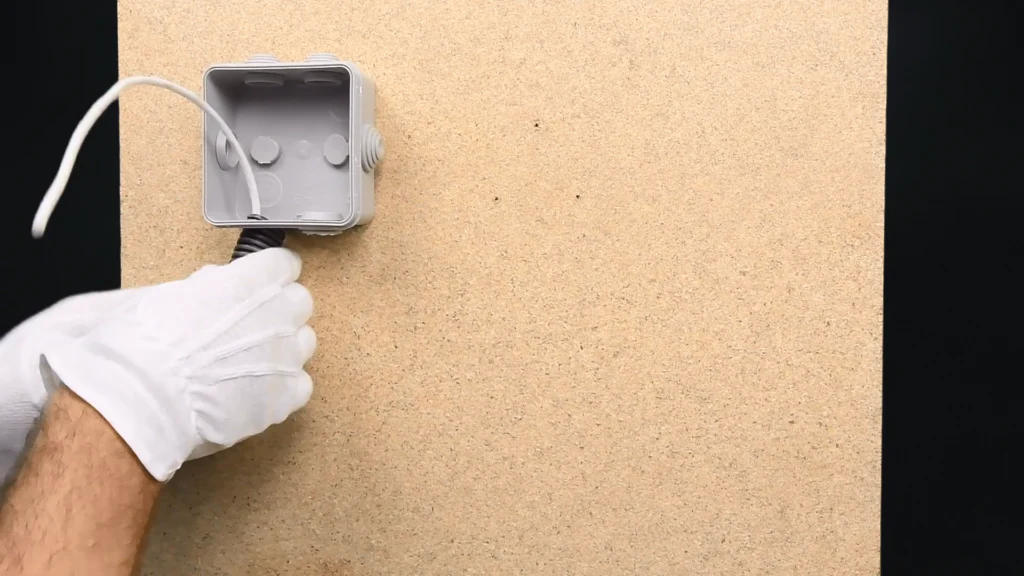
3. Pave the combined power plus video coaxial cable into the corrugations and then push it into the box, carefully rotating it and fixing.
4. Map out a place for the camera.
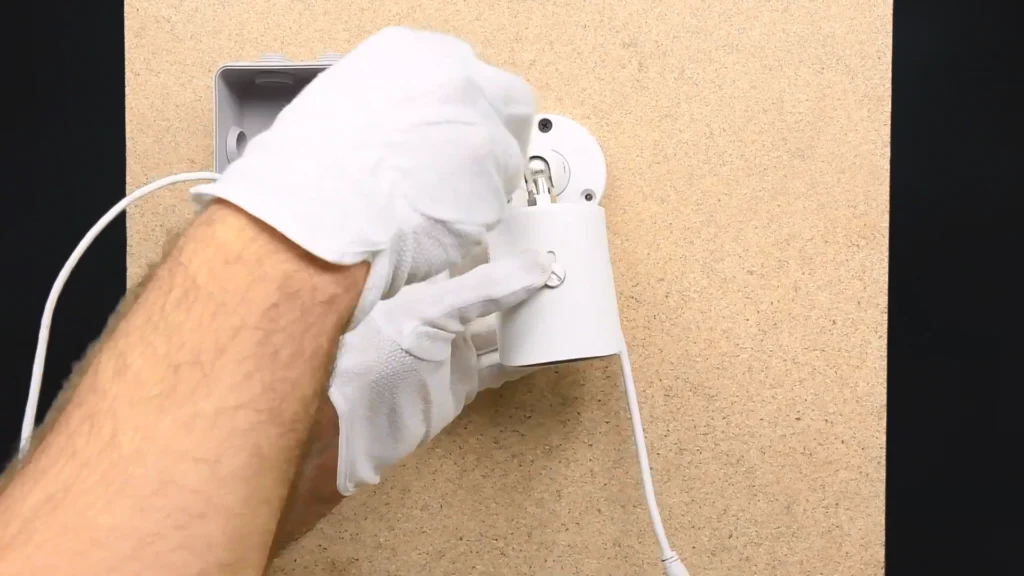
5. Fasten the camera.
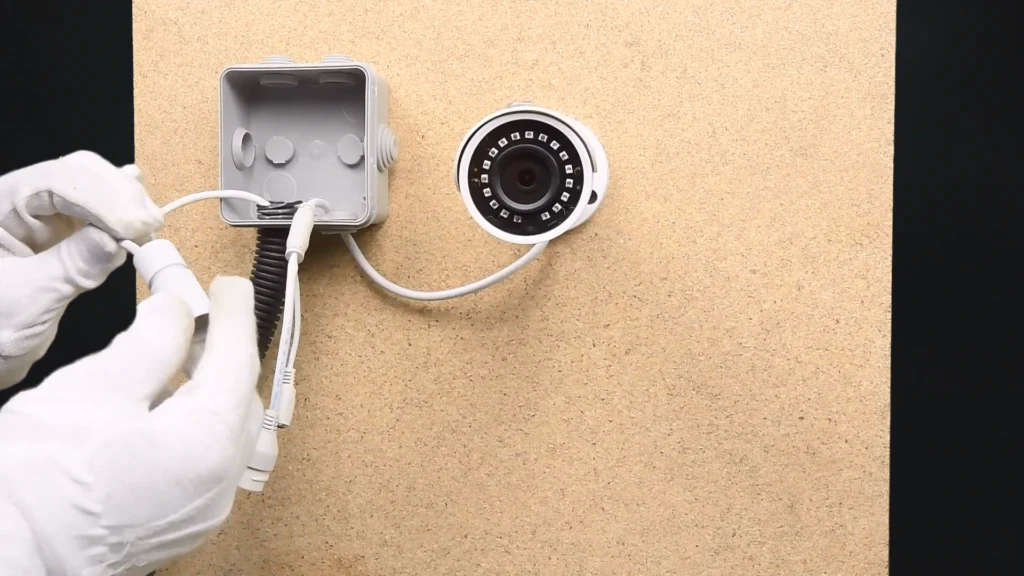
6. Push the camera’s communication tail into the junction box.
7. Put the waterproof cap on the cable.
8. Commute the joints.
9. Done!
Conclusion
I believe we’ve shown you how easy it is to set this whole thing up, especially if you have a guide in front of you. It depends on the situation which tool to use, either a screwdriver or a perforator if you’ve got thicker walls, but we take the easiest way because not everyone has a drill. And the camera, well, there are a lot of manufacturers and a lot of camera variations, but the main principle is the same, and it works with everything. We’re pretty sure the box components will differ depending on the manufacturer, it can be a fastener kit, the mounting stencils, and other parts.
But the main technology remains: we mount the camera’s bracket, the cam itself, then take a wire and push it into the junction box where it is protected against moisture, additionally isolating the elements to make it more reliable and time-protected. And the connectors may vary a lot by the size, type, can be compressed or not, amplified or not, but mostly it depends on your system. And if you’ve got something to say about how you arranged this whole thing, we’d really like to see your comments and suggestions – welcome!
Videos:
IP Camera Featuring PoE Install
IP Camera Without PoE Install
Analog Camera Install

