

No need for comparisons and disputes about this one. PIR CAM detector of a new Hikvision AX PRO Alarm has 1 undeniable and critically vital advantage in comparison to the network security cameras. Let’s get to it.

1 / 2
Until we get to what really matters about this guy, I want you and me to go through what Hikvision has to say about their device. And you see this? Hikvision admits they have a way smaller signal transmission range. Not the smallest one, though.
Although the part where they are absolutely ahead of everyone else is the number of photos in a series – 20 opposed to 5, 8, and 7. But is it good at all? Okay, the number is bigger, everyone’s showing off by having something “ bigger. BUT! The practical utility?
What I mean is that it takes more time to transfer 20 photos than 5 photos, right? Like, 4 times more time it takes. And we are talking about an alert signal transmission time – the lower, the better, critically! BUT! We will put it to the east, of course, and at a bigger distance, a bit further.
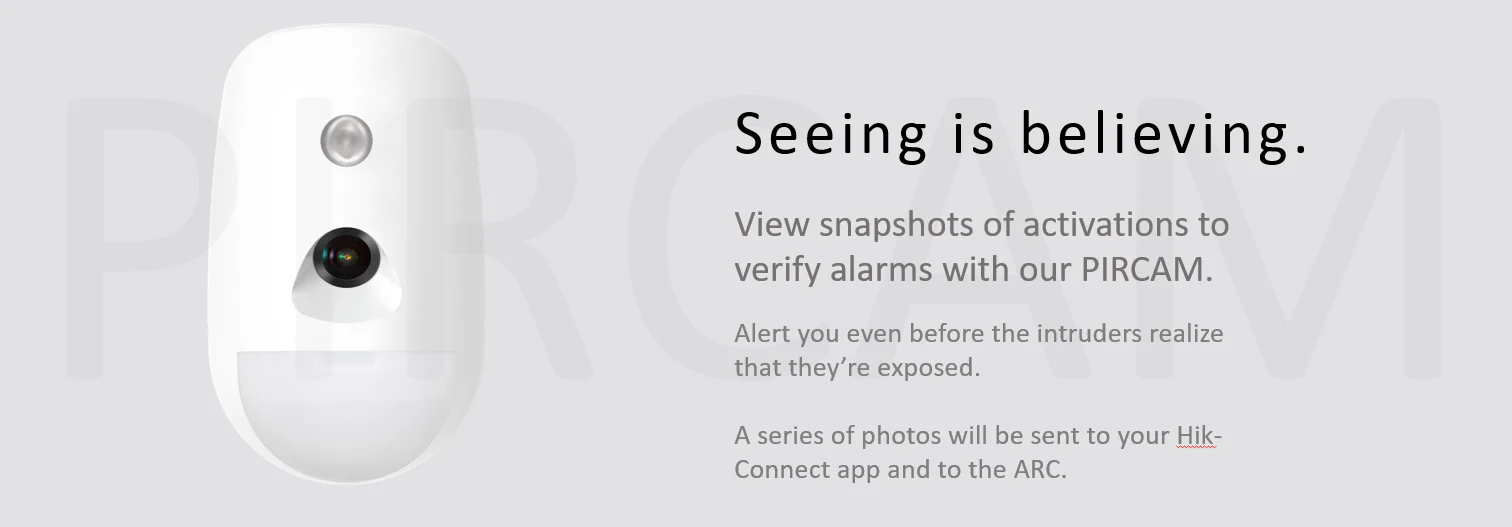
AX PRO PIR CAM: Main Things
Briefly about the technology core – how it does what it does. We went through this in the AX PRO PIR detector material, so I’m not stretching this out. You are warm-blooded, I am worm-blooded – due to this fact, we emit a certain kind of light. Specifically, the infrared lighting. And our friend PIR Sensor is designed that way to spot that emission. In 2 words – behind the plastic Fresnel lens, there is an infrared-light sensitive element, the PIR sensor itself, and it’s just able to distinguish all the environmental objects from the person and animals. And also sun, and fireplace, but that’s it. So the installation rules are – don’t ever install it facing the window or a fireplace, and don’t put any high objects in front of it – you don’t want the sensor’s view sight to be blocked by something. The recommended installation height is from 1.8 up to 2.4 m, with an average of 2.1, a bit above the average person’s head.
Alright, you just want to know if this is a good thing to get for yourself. And yes it is, I insist! Unlike regular PIR sensor, what PIR CAM offers is, as you can guess, taking photos on an event – on a PIR sensor triggering.
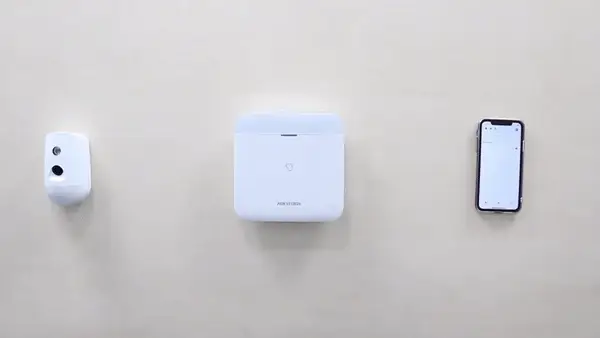
The camera shutter takes series of up to 20 photos in a row, and then it sends it to the AX Hub, along with the alert signal via radio frequencies, and from there they go to the Hik-connect App on your phone via network.
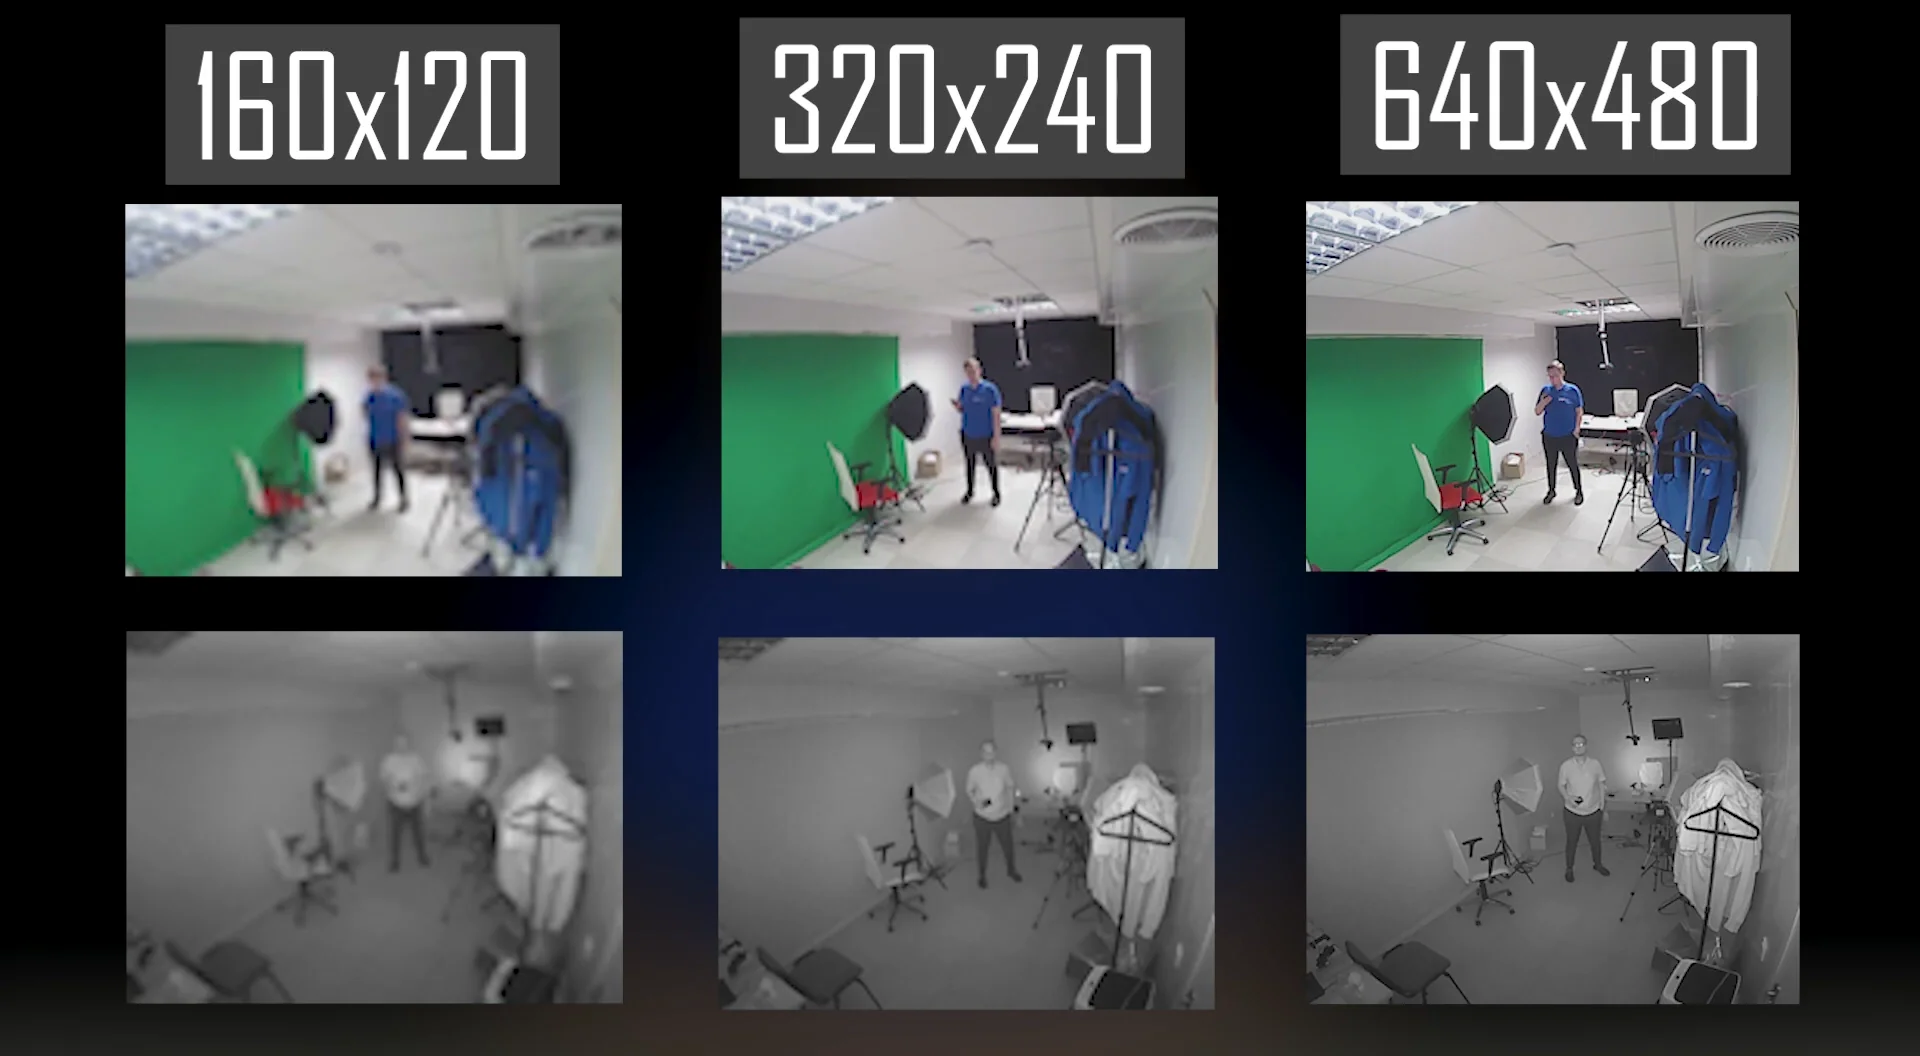
And they come in 3 available resolutions. Of course, the bigger it is – the more time it takes to deliver them to you.
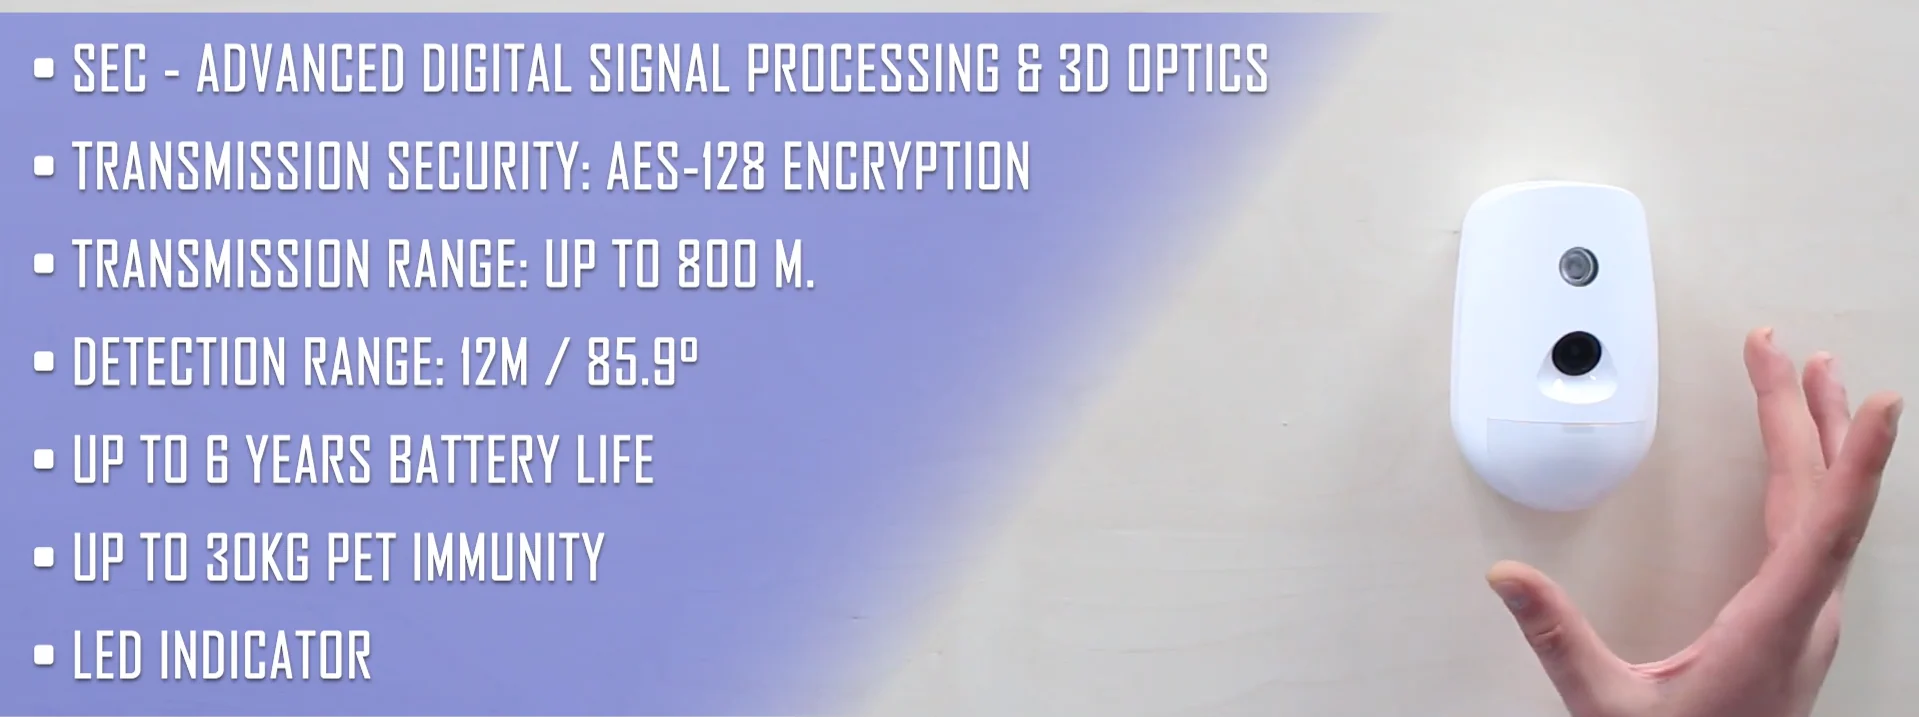
Demo & Specs
It is durable, it was designed to serve you for as long as 6 years, and this number means something. There are literally 3 batteries here, you won’t find such in other sensors. The operating range is 8 m., which is not bad and not the best, remember that table from the material beginning? Below, not accurate, I’m showing a transmission over a bigger distance, and even the data transmission through the floor.
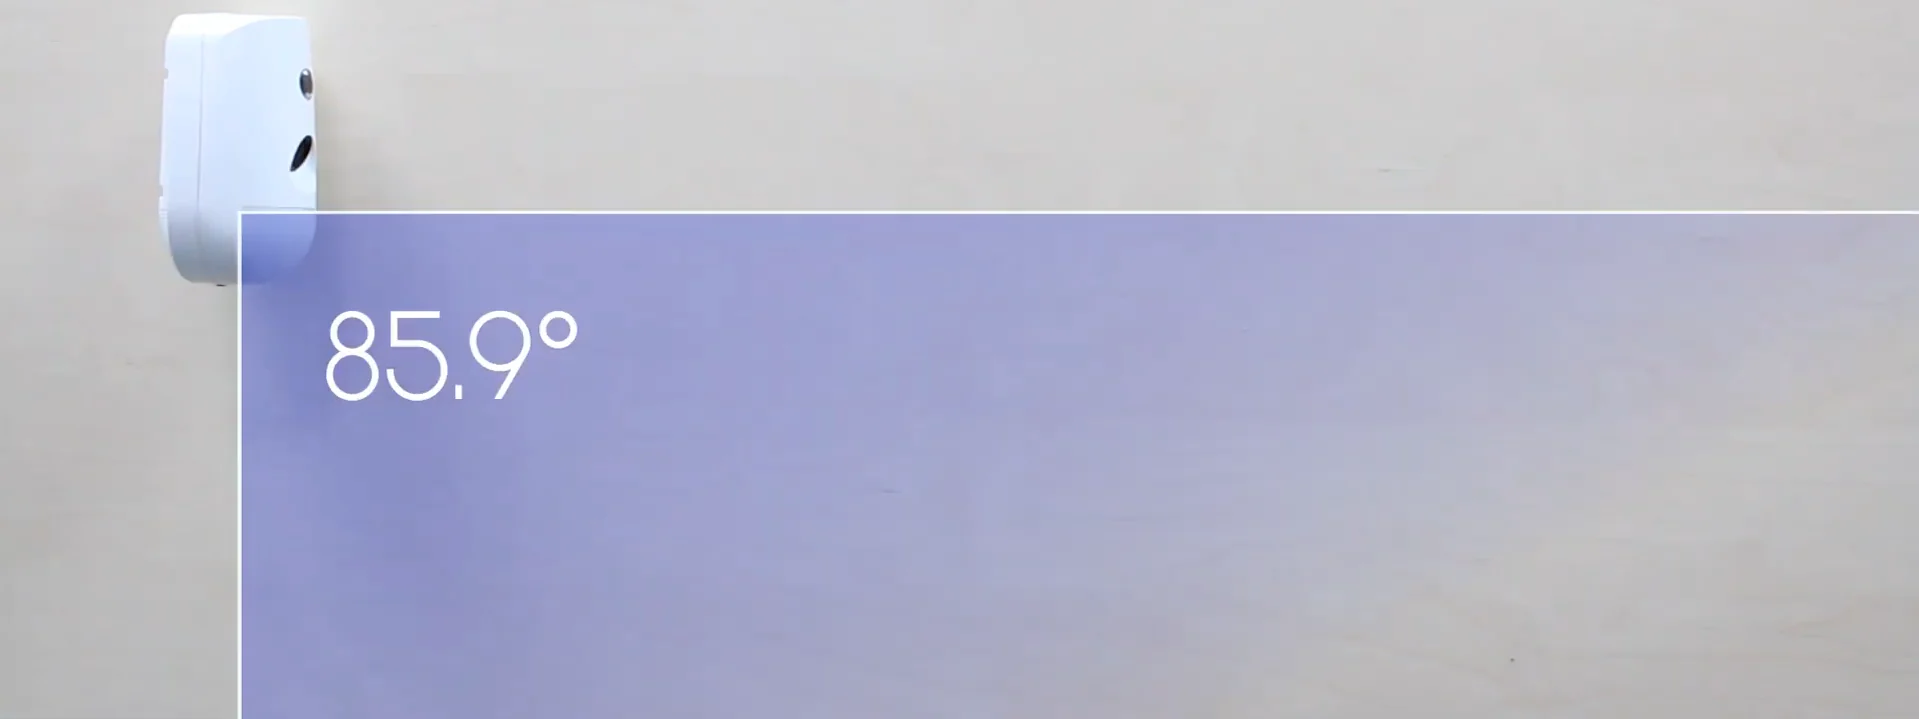
Anyway, 800 opposite to 1700 means faster alert signals. The detection range itself is 12 meters in front of the sensor, opposite to 15 for a regular PIR, but you have the same 85.9 degrees field of view, which is almost a quarter of 360. Your detection view angle looks something like this:
It has plenty of other nice features – more reliable 868 MHz. frequencies signal transmission, pet immunity for pets under 30 kilograms in weight and 40 cm in height – it just ignores them. The temperature compensation algorithm, meaning a more precise target recognition and a reduced number of false triggerings, is caused by the environmental temperature change. Also, there are different technologies like IFT, which reduces different infrared and electromagnetic noises recognition, and the data is protected due to the AES-128 encryption.
Activation / Start-up
Okay, to start this one up, you need to have AX PRO Hub up and running, online, and have access to the network, and you need to have the Hik-connect app installed on your phone. With activated Hub in there, unscrew the single screw on a body top. Now, in the Hik-connect app, open your Hub and go to the second tab, press the add device button. Scan a sensor’s QR code. Now, toggle the switch on the sensor’s back. The LED will blink green 7 times, and you will hear a prompt coming from the Hub, saying that the PIR detector has been added. Also, you’ll see a notification on top, and you’re on the sensors’ settings screen. Now you go back, and there you can arm the system with the PIR CAM active.