
The Ajax Starter Kit consists of:
Intelligent Central (a Hub) including the 220W cable, LAN-cable and a fastener kit;
- Intelligent Central (a Hub) including the 220W cable, LAN-cable and a fastener kit;
- DoorProtect Sensor has an additional magnetic stick, screws and a tape in the box with it;
- MotionProtect Sensor comes with plugs and a bracket;
- Remote SpaceControl trinket with an alarm button.
Ajax StarterKit and StarterKit Plus Kit equipment


1 / 2
When you’re up to buy these be sure to pay a close attention to the presence of a fabric seal on the box. Basically that’s a sticker located on the upper end of the box and it’s function is to ensure that the kit has not been opened before and you got a brand-new device. However, it’s necessary to take into account that before selling the Ajax StarterKit and StarterKit Plus, the only person who allowed to check the insides is the manager. Therefore, a damaged seal does not always indicate that something is wrong.
Step by step Ajax StarterKit connecting algorithm.
1. Remove the hub’s top, install the SIM-card, plug the LAN-cable (RJ-45) and 220W power supply wire to the device.
2. Press and hold the power button until the Ajax logo lights on the front side. Initially, it will be highlighted in red and after establishing a connection the lightning will get green.
3. Install the Ajax Security app on your phone and go through the sign up process. Next thing you need is to verify your phone by 6-digit code, sent to you as SMS and the email. If you answer positive to the question “Do you want to duplicate a password?”, then every time you log into the program you’ll have to enter a password. That’s an additional verification that will protect the security system from invasion if a smartphone was lost, stolen or accessed by third parties.
4. After the authorization click the “Add hub” button, set an arbitrary name and scan the QR code located under the cover of the device. Note that you have to be connected to the internet in order to succeed authorization.
5. Fill in or skip the following items:
– add rooms (kitchen, living room, corridor, or a whole house), you can also set a photo for the rooms;
– add users (residents of the apartment, office staff);
– add a device (if the nex thing you going to do is join a 1 more sensor);
– add camera.
The Door and Motion Protect Sensors Activation
1) Enter in the name field your planned location for the sensor. For example: “entrance door” or “cabinet window”;
2) Scan the QR-code to detect the device ID;
3) Select a room from the previously formed list of rooms;
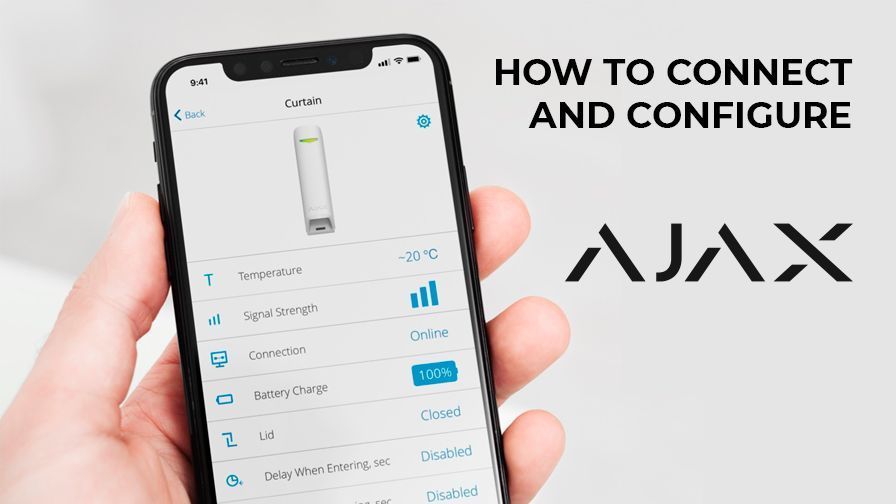
4) Press a power button on the sensor. Consequently, the app will display the device image and all available information about it: temperature, Internet connection, battery charge, status. Note that if there’s a break more than 2 cm between the DoorProtect magnets, the ϕ symbol will appear.
5) Go to the settings and activate needed functions, such as: night mode, delayed opening or closing, notification of an open window or door at the time of arming the object;
6) Install the sensor’s magnetic elements end-to-end on the outer edge of the door or a window and the movable part too approximately in the same vertical line with the door handle;
7) Make sure that a connection is established between the sensor and the Hub and the information is being exchanged – to check that you could just close or open the door, a window several times and match if those actions were reflected on the smartphone screen.
The motion sensor attachement is carried out in a similar way. When you’re planning the location of the lens, focus on the room’s interior. It is best to attach the sensor in the corner opposite to the front door.
It’s desirable for windows to don’t get into the infrared radio signal area – heated by the sun curtains are fluctuating from the slightest air movement and that causes false alarms sometimes To determine the most convenient place you can use the “test detection zone” function in the settings.
SpaceControl Trinket Activation
The SpaceControl Trinket is used to enable and disable the alarm, well, mostly it’s duplicating the functions of an Ajax phone app. In addition, an alarm button that built into the trinket is also responsible for a capture group call in emergency cases.
Basically the trinket is connected to the Ajax Security system in the same manner as the sensors:
1) Press “Add device” button;
2) Enter “keychain” in the name field;
3) Scan the device ID with the QR code on the package or under the cover of the remote;
4) Simultaneously press the set (o) and the alarm button (!);
5) Select the needed functions in the settings.
In the end of successfull activation all elements of the StarterKit base system and setting the object under protection, smart and text notifications will be sent to the smartphone when an alarm is triggered – as we set earlier, by opening a door or the window, movement or a sensor damage. And the pressed alarm button’s signal is always being sent to you, regardless of whether the alarm is activated at this moment or not.